Happy Stampin’ Tuesday!
Brrrrr!!! I am freezing this morning! It is 32 degrees in March! Thankfully it should get up to around 46 today, so I can thaw out a bit.
This set helps me to think warm. How can you not think of warm beaches with Bermuda Bay cardstock? It is such a rich summery color. Today’s card was inspired by Katherine Shudrova and starts out with a Bermuda Bay card base that measures 4-1/4″x11″ and is scored at 5-1/2″ for a crisp fold. Therefore, this card opens upward and is considered a top fold card.
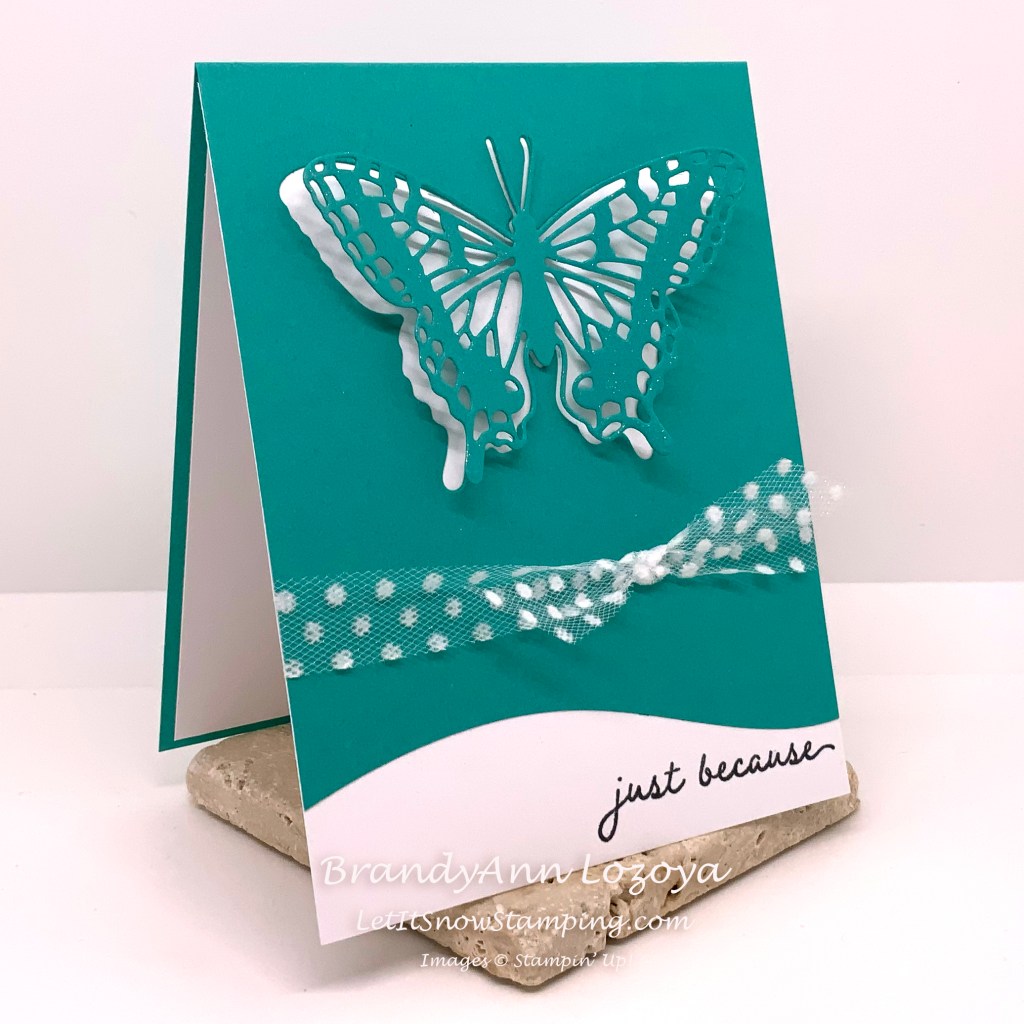
First step in making this Casual Stamper card is to cut out the butterfly and curved edge. To help make sure that my butterfly stayed centered, I used a small piece of painter’s tape to hold it to my cardstock. If you do this, make sure it is the less tacky painter’s tape, otherwise it will mark your cardstock. I only have the blue one, but I use it over and over, so it looses some of it’s tack. I always have a few pieces taped to the handle of my die cut machine for quick use.

Next, I added my ribbon. Since I am running low on my favorite ribbon, I cheated and cut a smaller piece and taped the edges to the back of the Bermuda Bay card front. Then I took another smaller piece to tie a knot in front. This method allows the ribbon to look like it is tied tight without stretching the ribbon. The second photo is of another project that I did this method on.


Now, you will need a piece of Basic White cut to 4-1/4″x5-3/8″. This is for the backing to the butterfly. Add adhesive to the inside of the card front where you attached the ribbon. I made sure to have extra adhesive near and around the butterfly and edges. Then I lined up the Basic White to fill the gap where I cut the curvy border.

Next, I used my Wink of Stella pen to add sparkle to the butterfly wings. This set calls for a Wink of Stella pen! I have used it on every butterfly because butterflies always sparkle when flying in the sunlight.

Using a dimensional cut in half, I popped up only the body. This makes it look like the butterfly was cut from the cloth and is getting ready to fly free. The trick to lining it up perfectly is to line up the bottom edges of the butterfly and roll it into place. You can check it by gently pressing down the wing to see if those edges line up.

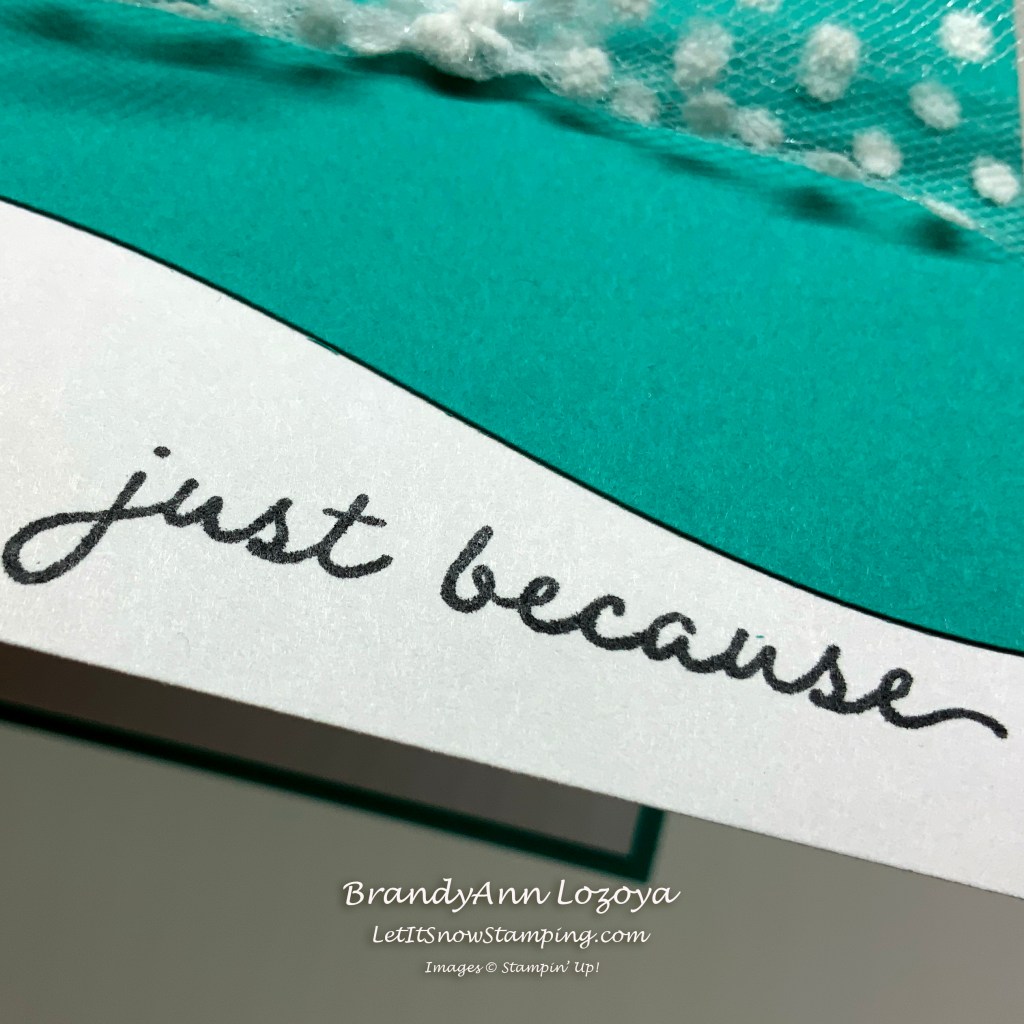
The hardest part for me is to have a straight sentiment. I even showed my hubby that I was so proud of myself for getting it on straight this morning, LOL. Typically I like to stamp my sentiment then cutting it out, but today the sentiment is stamped directly onto the white lining of the card front.
Since this is a darker card base, make sure you add a liner on the inside to write on. I like to use Basic White for most of mine. It is a piece of Basic White cut to 4’x5-1/4″. I have a small drawer by my stamping area that has a bunch of pre-cut liners. I use them as inner liners, as mailing liners (that I place in the envelope in front of the card so the gems and other delicate embellishments stay safe from the mailing process), and for sentiment cuts. They are easy to grab and use for almost anything!

I hope you enjoyed today’s project. Make sure to subscribe to Let It Snow Stamping so you never miss another blog post. Every week I pick a stamp set and make one project (possibly two) every weekday. As an added bonus I also make videos for new techniques. The techniques can also be found under the Technique Corner tab.
Make sure you find LISS on:
Facebook (#LISStamping, @LetItSnowStamping),
Instagram (@LetItSnowStamping),
When ordering use the March 2021 host code for extra benefits
K6M4TYCT
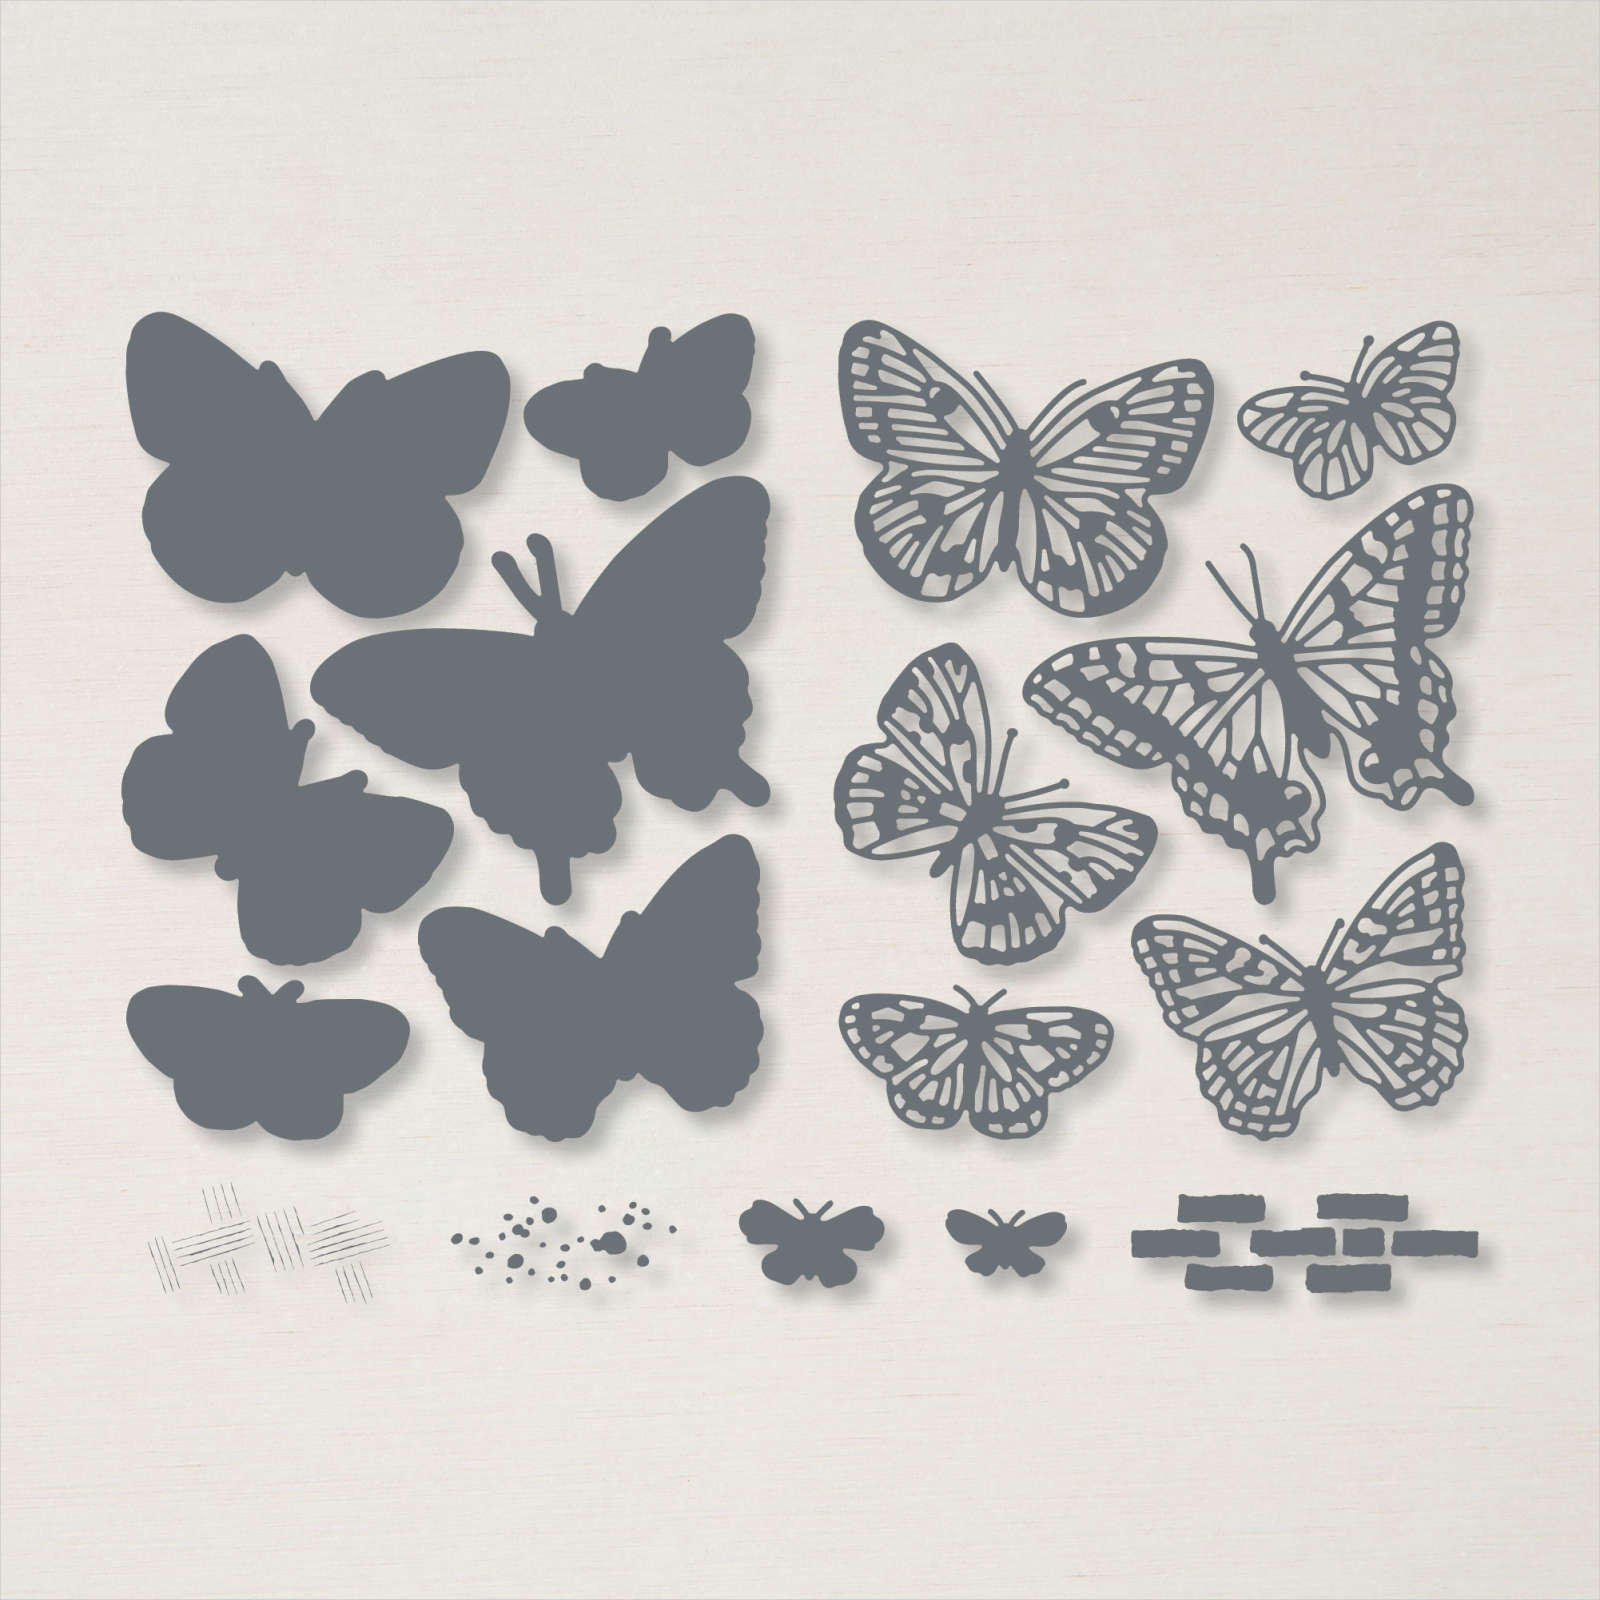
BRILLIANT WINGS DIES
$44.00
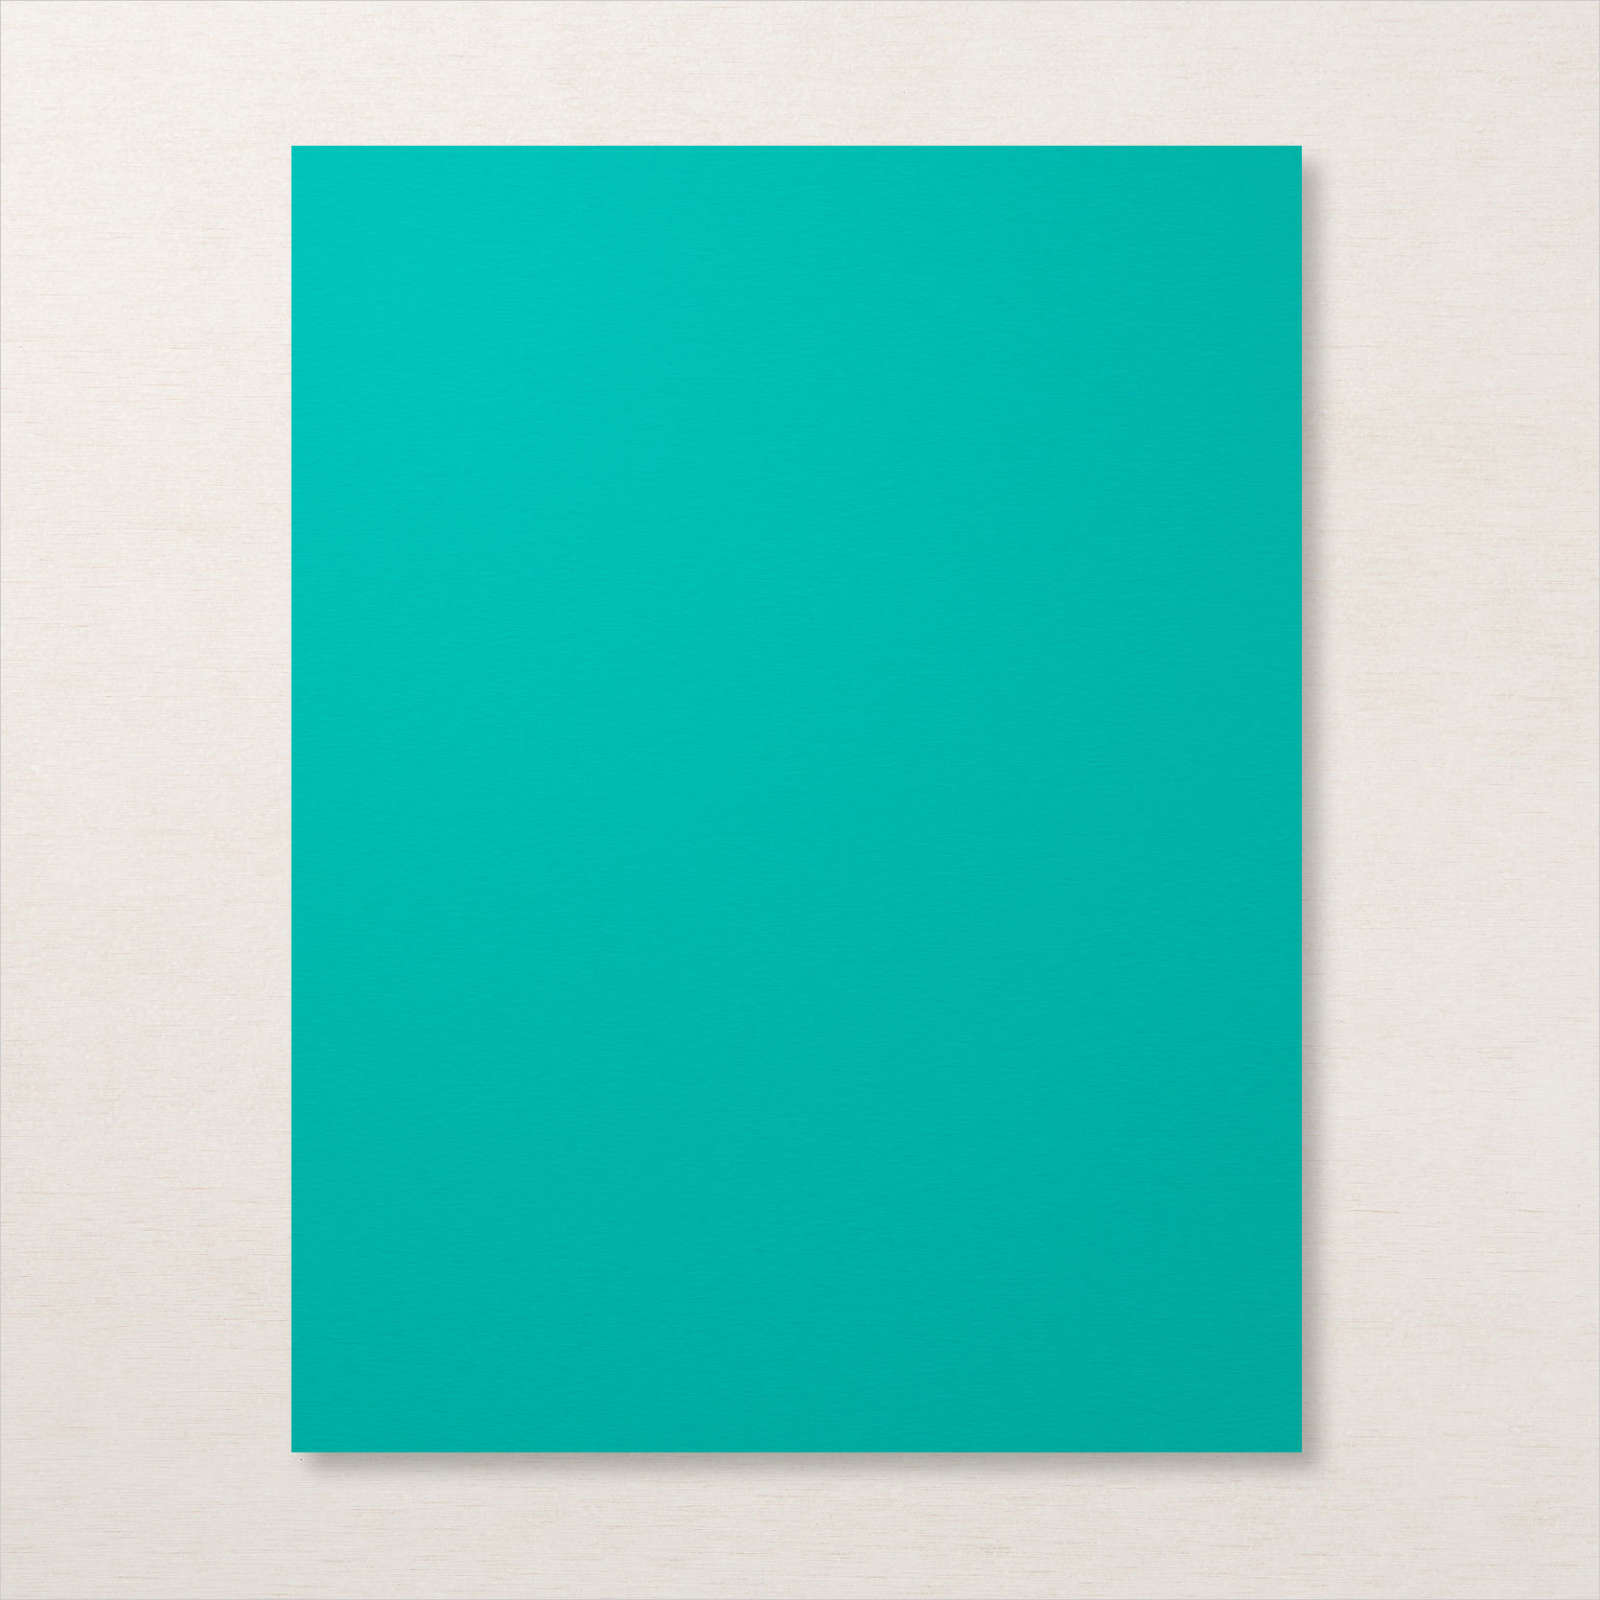
BERMUDA BAY 8-1/2″ X 11″ CARDSTOCK
$8.75

BASIC WHITE 8-1/2″ X 11″ CARDSTOCK
$9.75
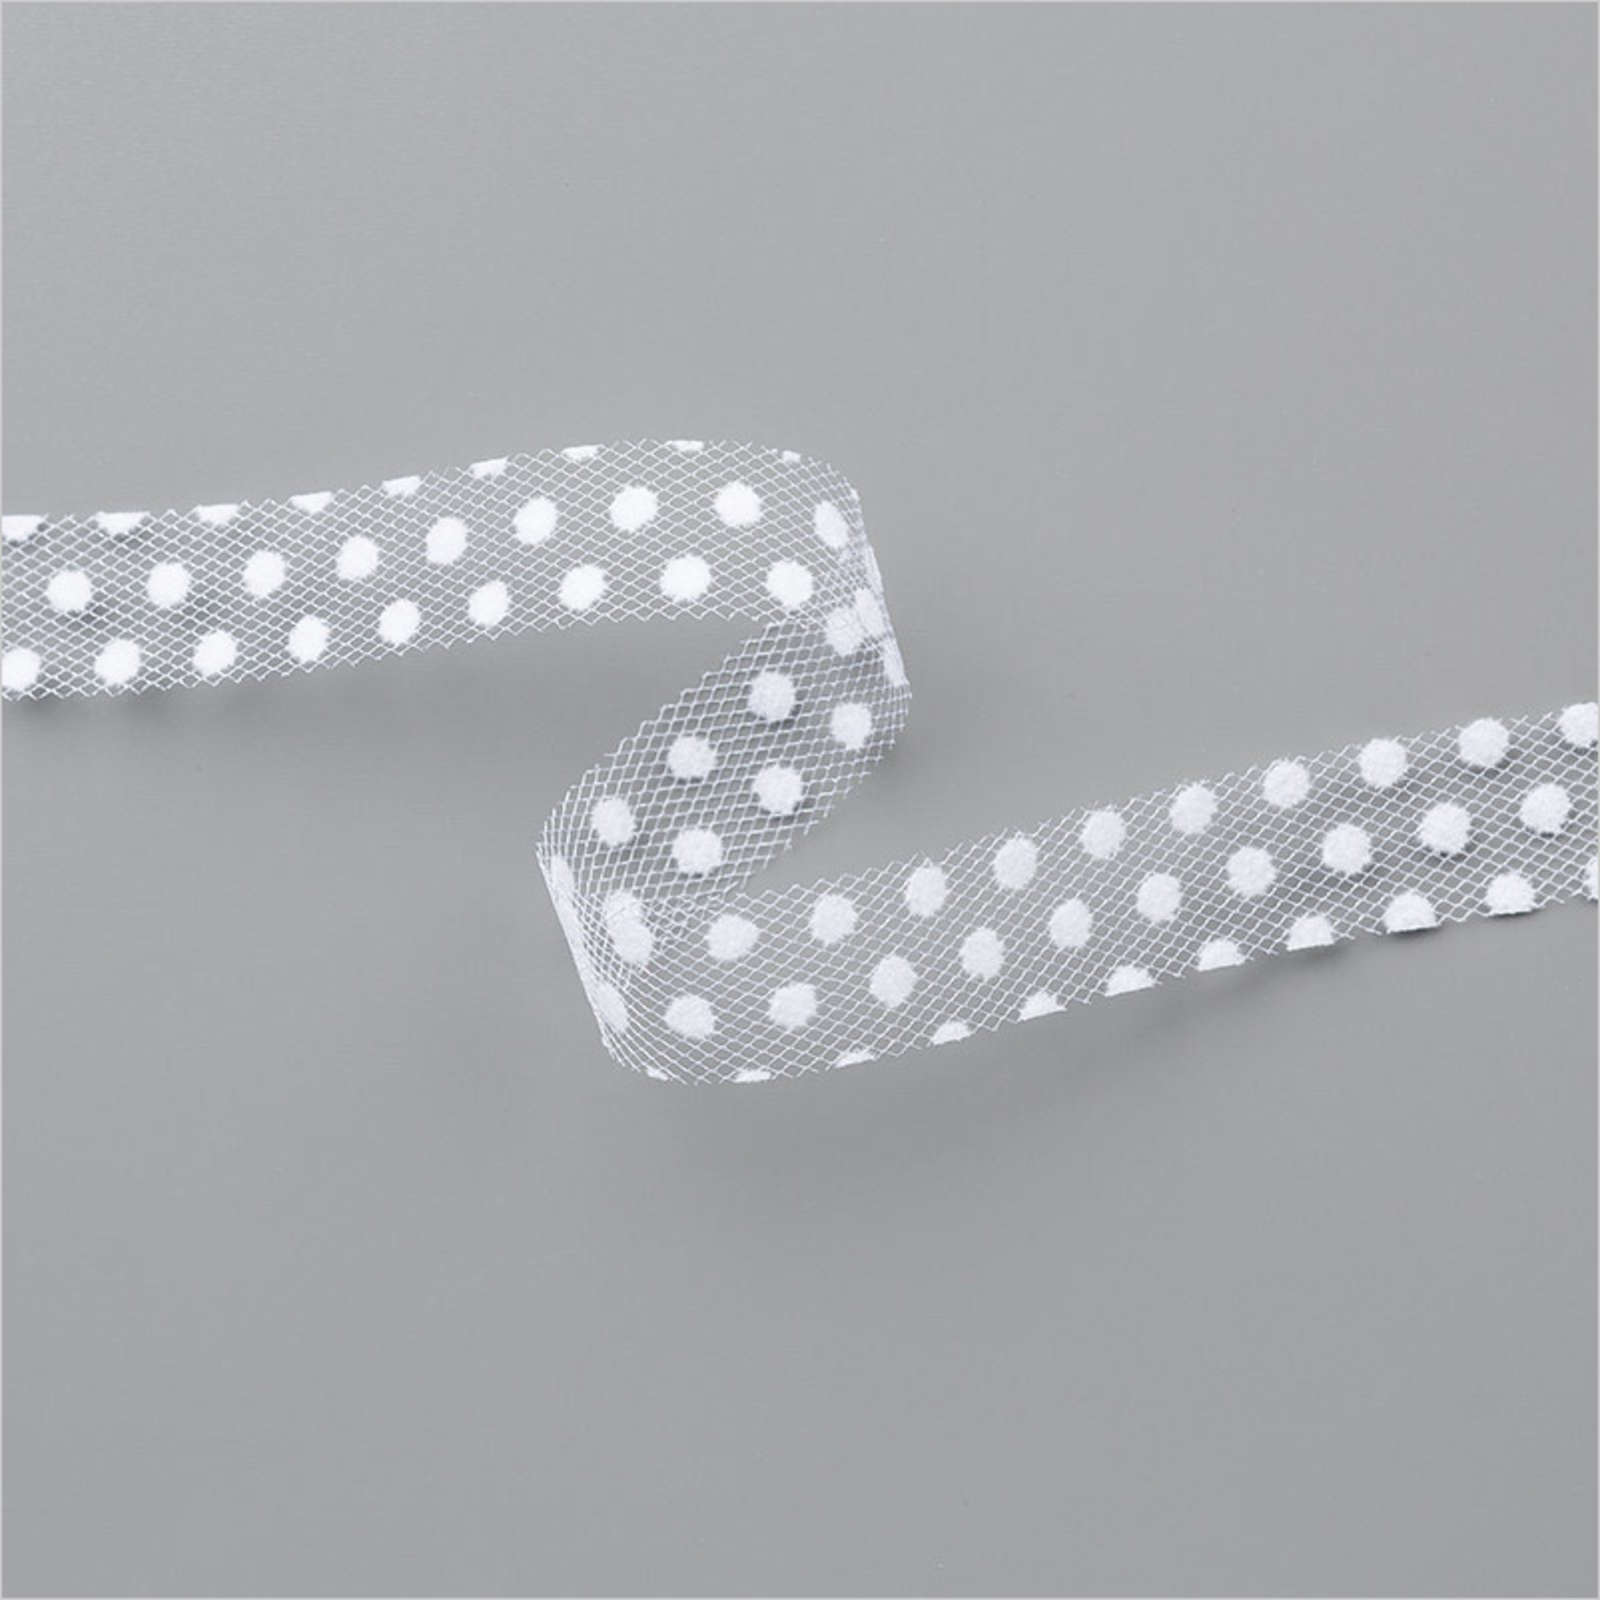
WHISPER WHITE 5/8″ (1.6 CM) POLKA DOT TULLE RIBBON
$7.50

STAMPIN’ DIMENSIONALS
$4.00
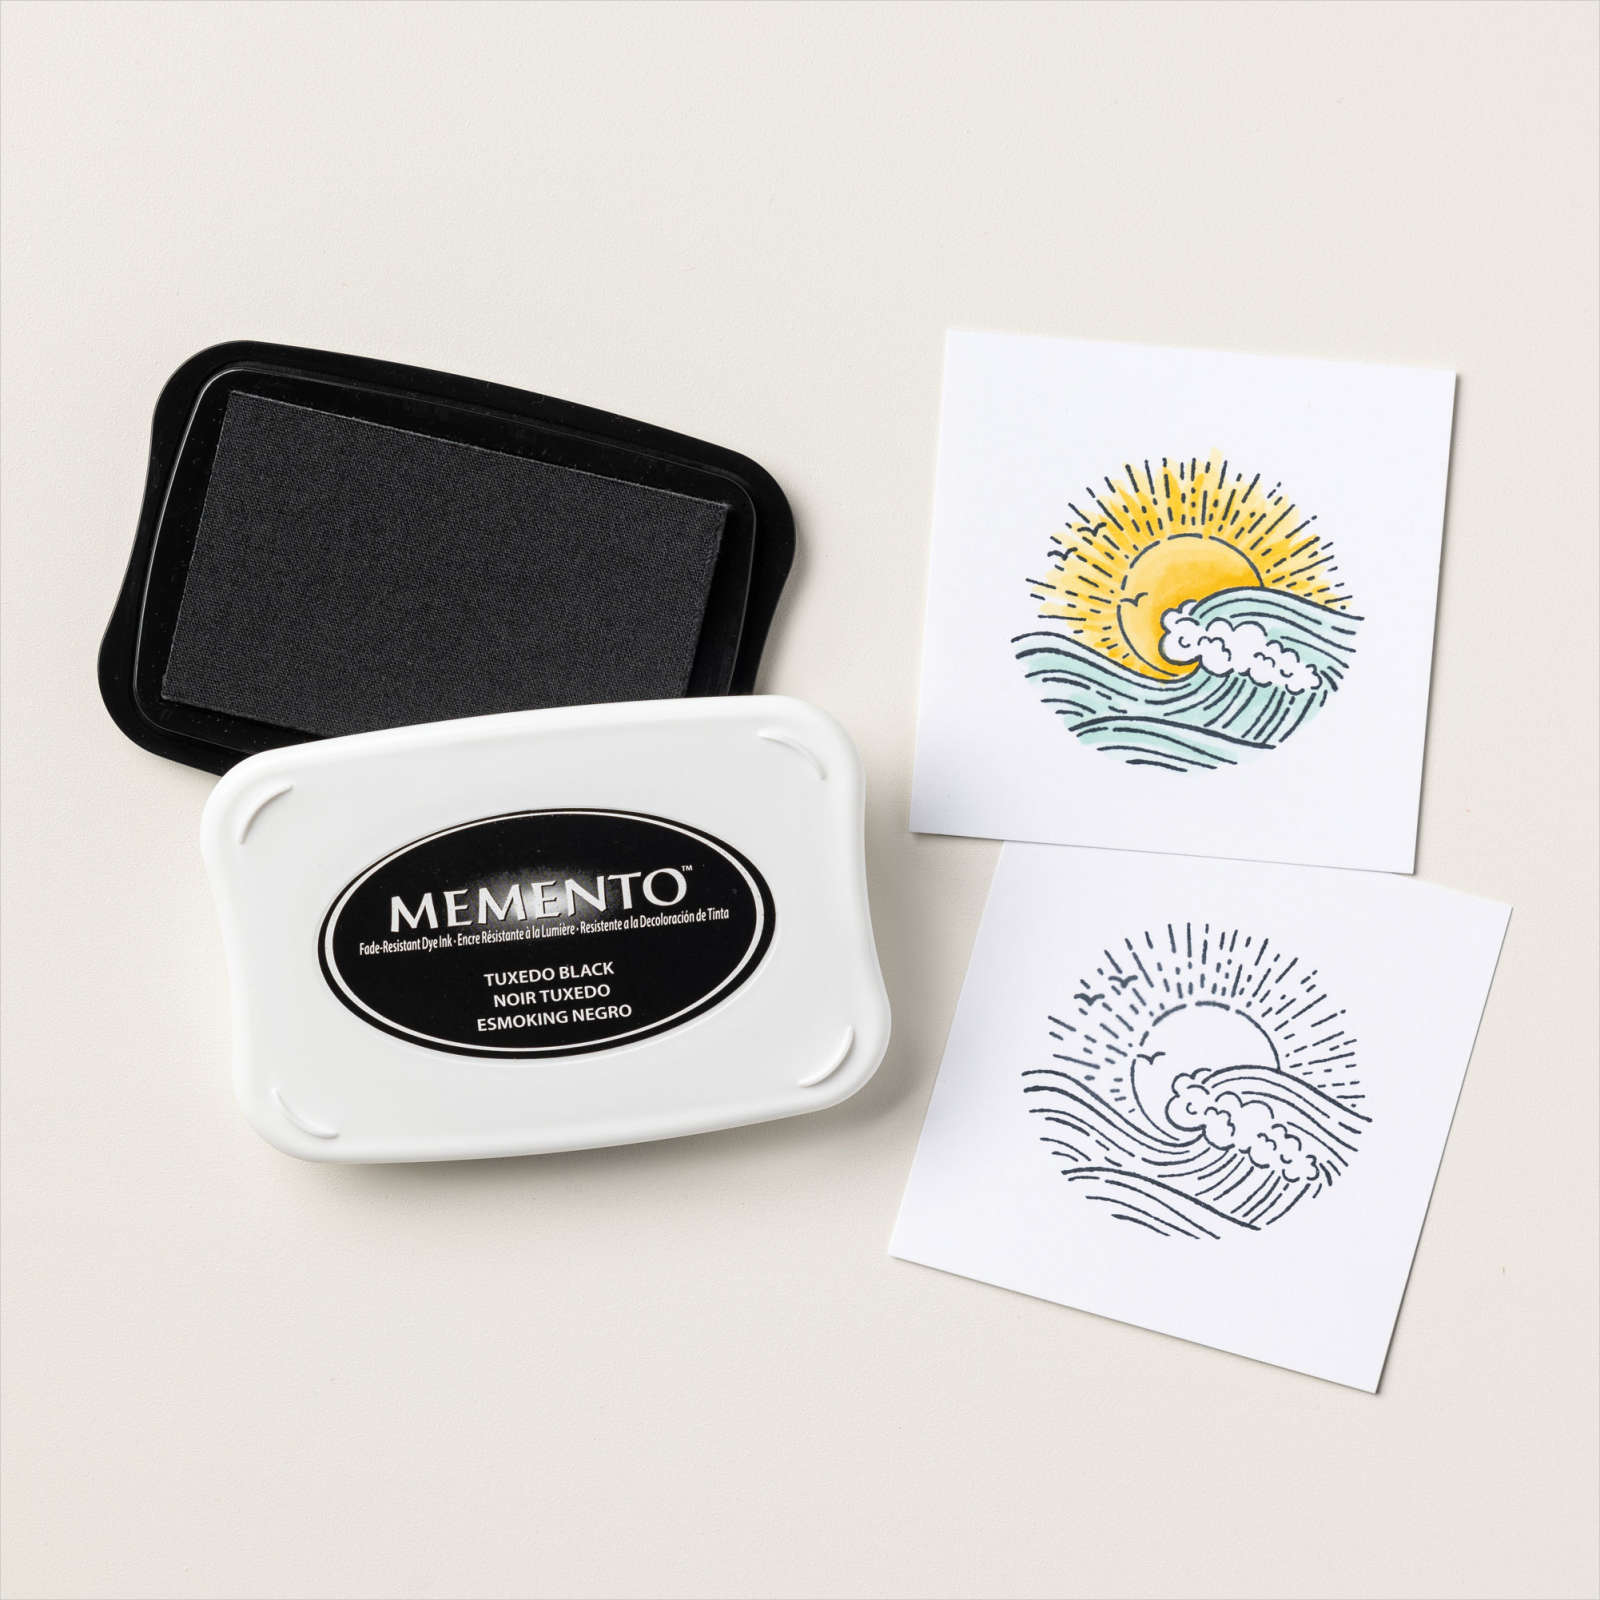
TUXEDO BLACK MEMENTO INK PAD
$6.00

CURVY DIES
$29.00
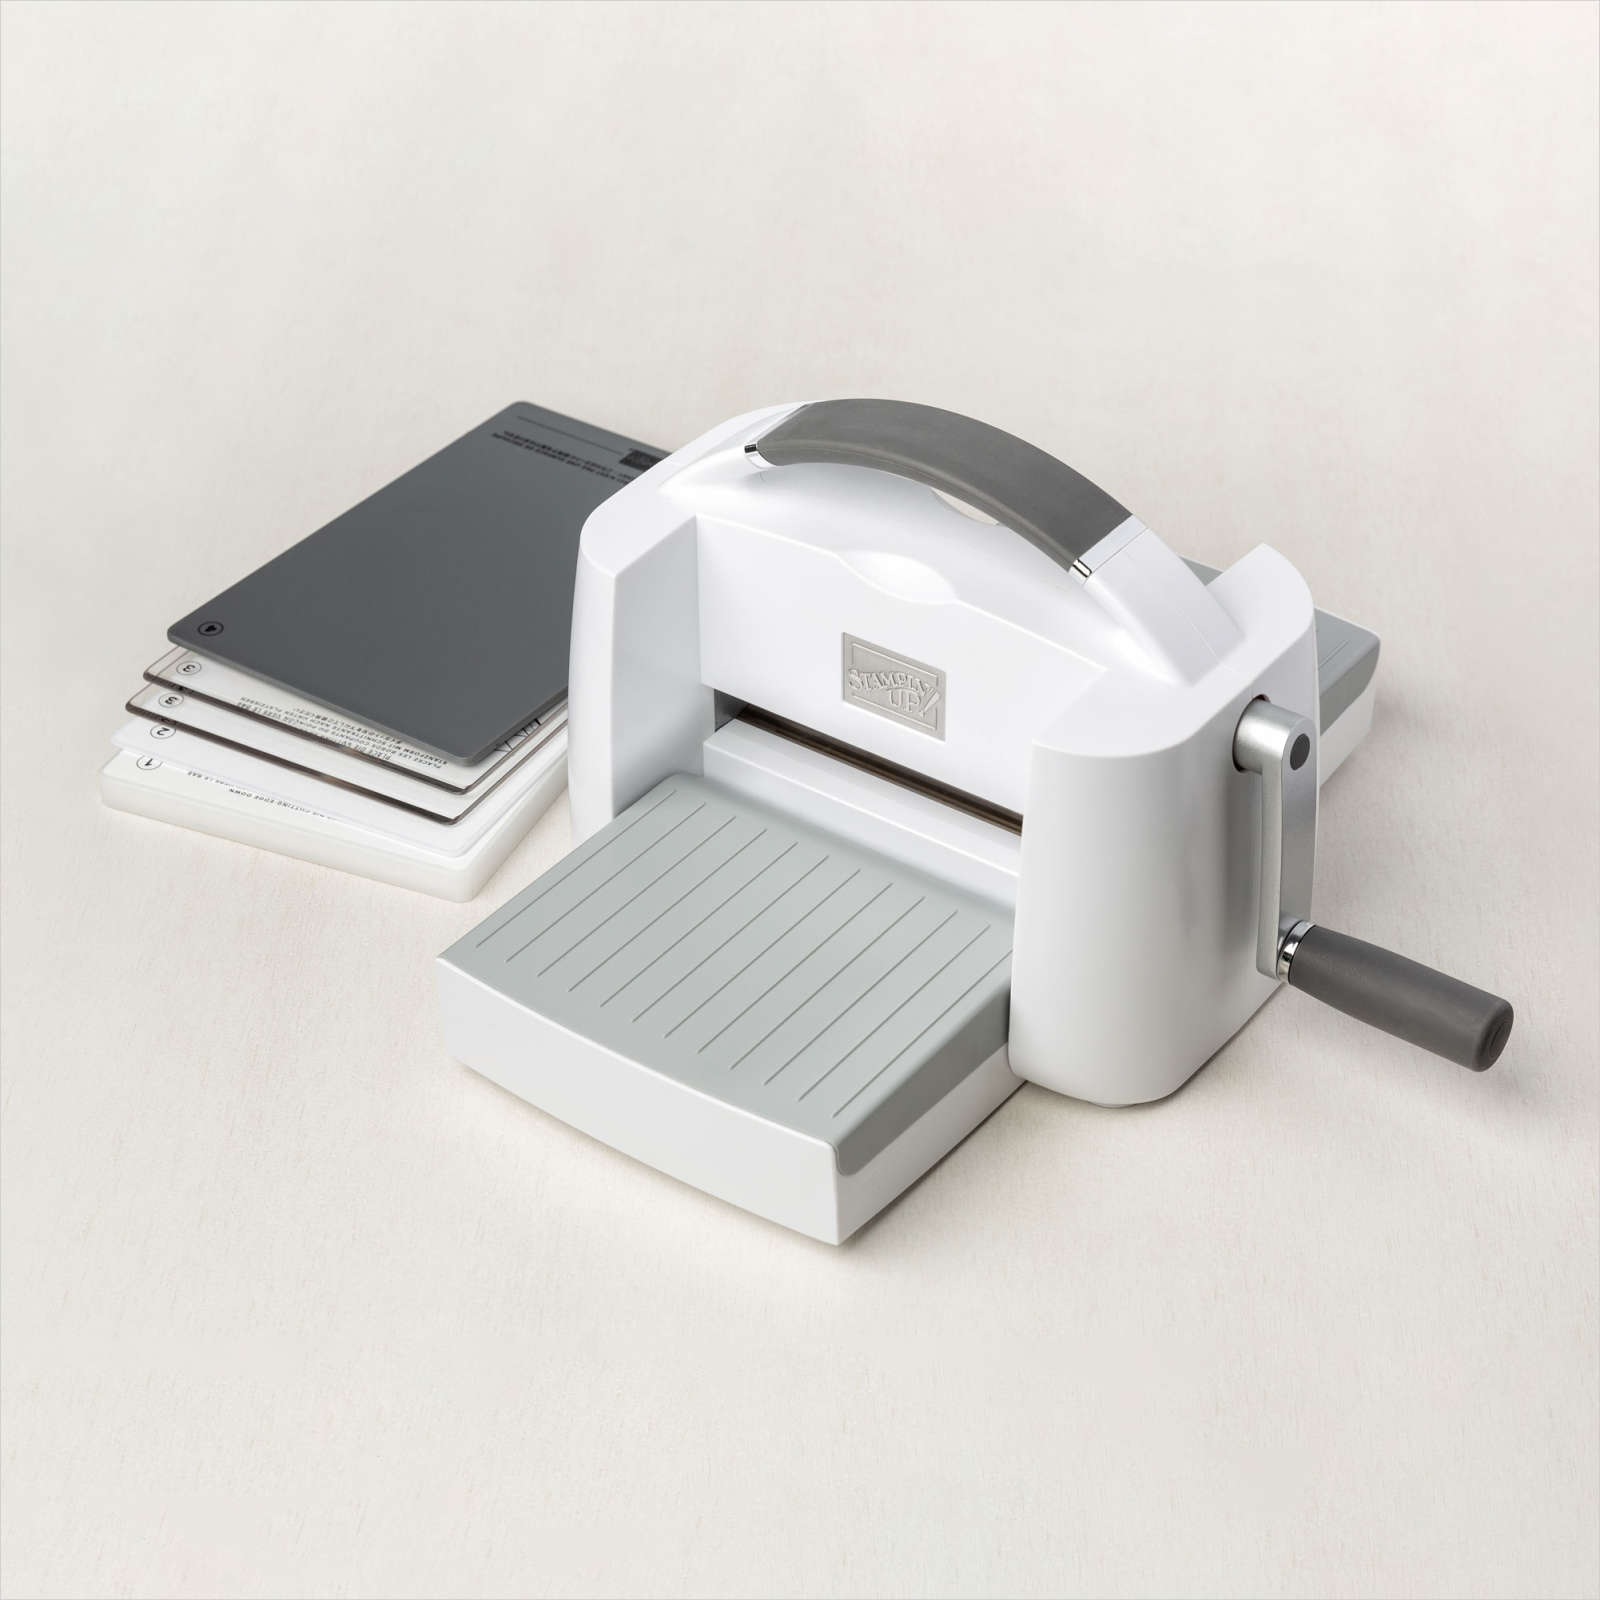
STAMPIN’ CUT & EMBOSS MACHINE
$120.00


WINK OF STELLA GLITTER BRUSH
$8.00

BRUSHED BLOOMS CLING STAMP SET
$21.00
