Happy Stampin’ Thursday!
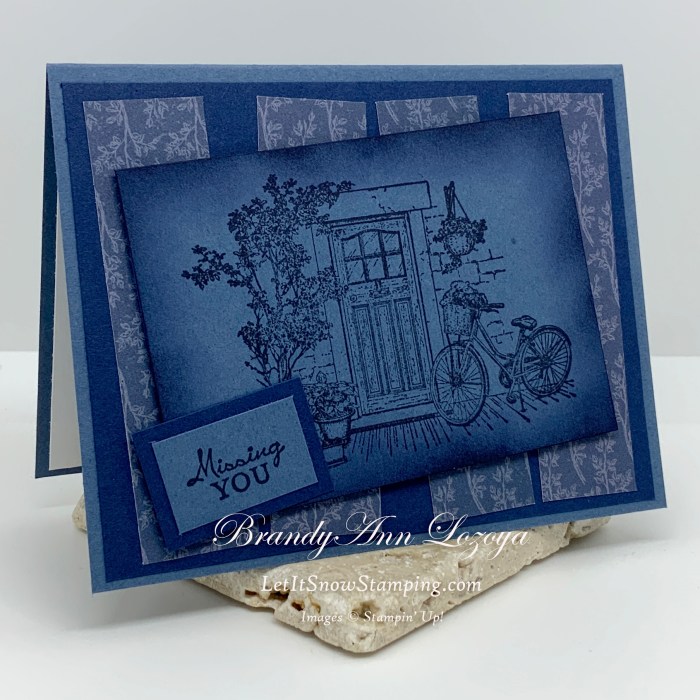
Today’s project is rather blue, so it needed a proper sentiment. Luckily Feels Like Home has the perfect sentiment for my card today.
The Project
Level – Beginner II
With Layering and Blending Brush inking
Supply List
- Stamp Sets
- Sale-A-Bration Feels Like Home Cling Stamp Set
- Free reward with a purchase of $50 or more until September 30th, 2021
- Sale-A-Bration Feels Like Home Cling Stamp Set
- Cardstock/DSP
- Misty Moonlight
- Card Base measures 5-1/2″x8-1/2″, scored and folded at 4-1/4″
- Image layer measures 4-1/4″x3″
- Sentiment layer measures 1-1/4″x3/4″
- Night of Navy
- First mat layer measures 5-1/4″x4″
- Sentiment mat measures 1-1/2″x1″
- Basic White
- Inside panel measure 5-1/4″x4″
- Pattern Party Host Design Series Paper
- Cut 4 pieces measuring 1″x3-3/4″
- Misty Moonlight
- Stamp Pads
- Night of Navy
- Adhesive
- Stampin’ Seal
- Stampin’ Dimensionals
- Tools
- Bone Folder
- Blending Brush
- Clear (Acrylic) Block A & B
- Paper Trimmer
- Simply Scored Scoring Tool
- Stamparatus
Instructions
Begin by folding card base at score line and burnish with a bone folder for a nice crisp fold.
This week I have been using the Stamparatus stamping platform to help with this large detailed stamp. With the Stamparatus (or other stamping plate form) I am able to stamp an image again in perfect alignment if the first image does not stamp completely. For my video lesson on how to use the stamping platform and it’s advantages, please CLICK HERE
Stamp the image in Night of Navy onto the Misty Moonlight image layer.

Using a Blending Brush, brush night of Navy ink onto the cardstock’s edges in a circular motion. Begin with the brush on your creating mat and brush onto the cardstock. This will help reduce blotching.
BEGINNER LEVEL I ALTERNATIVE – add a Night of Navy mat behind the stamped image that measures 4-1/2″x3-1/4″.

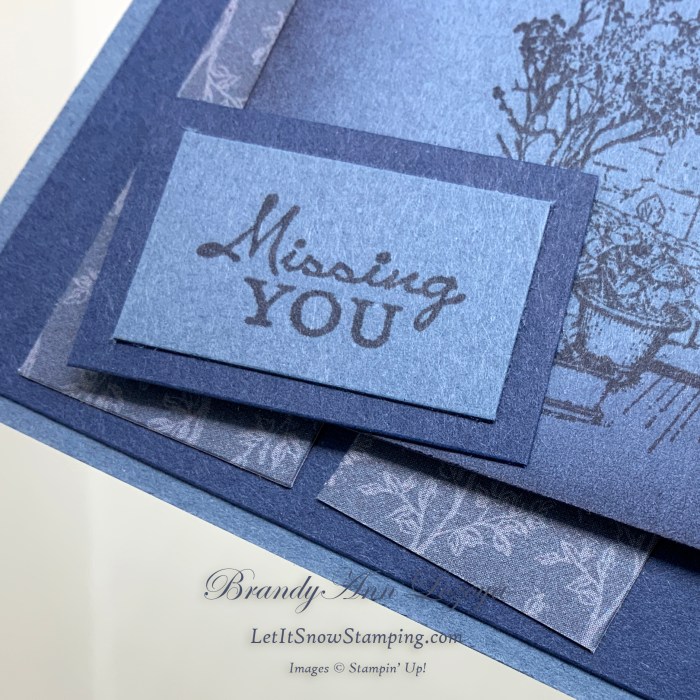
Stamp sentiment on the small Misty Moonlight piece using Night of Navy ink and adhere to the sentiment mat.


Next, adhere the Night of Navy layer onto card base, followed by the DSP strips as shown below.


Adhere image layer onto card front using Stampin’ Dimensionals. I used the long edge pieces of the Stampin’ Dimensionals and cut them to size.

Now add the sentiment to the bottom left corner, using Stampin’ Seal adhesive.

The Final Project


September Special

Merry Snowflakes Bundle 
White 3/8″ Glittered Organdy Ribbon
September Special: Buy the Merry Snowflakes Bundle* (page 13 in the July-December Mini Catalog) and receive a roll of the White 3/8″ Glittered Organdy Ribbon FREE! (While Supplies Last)
*Orders must be placed via email and not through the online store.

When ordering use my name and the September 2021 host code for extra benefits
BrandyAnn Lozoya
A69ERDDQ
I hope you enjoyed today’s project. Make sure to subscribe to Let It Snow Stamping so you never miss another blog post. Every week I pick a stamp set and make one project every weekday. As an added bonus I also make videos for new techniques. The techniques can also be found under the Technique Corner tab.
Make sure you find LISS on:
Facebook (#LISStamping, @LetItSnowStamping),
Instagram (@LetItSnowStamping),
