Happy Thursday!!
I hope this week has been wonderful thus far! I am looking forward to the weekend. Mostly because I have Stamp Camp with my team this weekend and hope to come back with some wonderful ideas to share with you. I will share what I make on Sunday’s Drink Coffee, Make Stuff Live.
Today I have been wondering how to go about doing something, but I guess it is probably best to just say it. It has been a lot of work making the step-by-step tutorials for you and as much as I enjoy doing them, I will need to stop. There will be some PDF tutorials shared in my FaceBook Group from time to time, but I won’t be able to do it here any longer. The main reason is that I am running out of storage on my web-server for all of the pictures. At this time I am not in a position to pay for extra storage. There will still be blog posts with my projects each week day, just not the step-by-step picture instructions after today. I hope you all understand.
I will be doing more YouTube Lives though. I like those much better (not as much typing!!) LOL! Right now I have scheduled 2 per week, Sundays and Wednesdays at 10am CST. I hope you will join me!
In case you need the links:
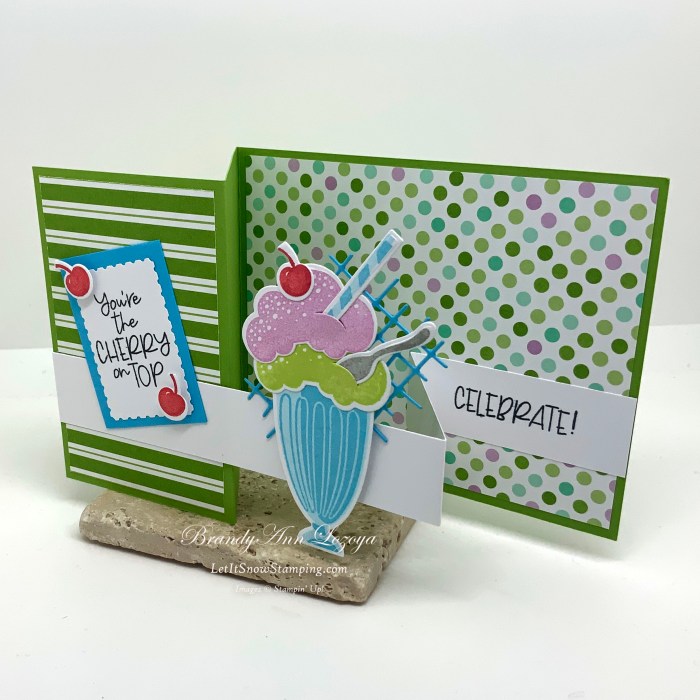
Share a milkshake – Project 4
This stamp set is available in the current Mini Catalog.
Supplies:
- Card Base – Granny Apple Green
- 4-1/4″ x 11″, scored at 5-1/2″ & 2-3/4″
- Card Front – Dandy Designs Designer Series Paper (DSP)
- DSP Front Panel – 4″ x 2-1/2″
- DSP Inside Panel – 5-1/4″ x 4″
- Cardstock
- Basic White Strip – 11″ x 1″, Scored at 5-1/2″ & 2-3/4″
- Basic White Back of Card Mat – 4″ x 5-1/4″
- Sentiment – at least 2″x 3″ scrap
- Sentiment Mat – 1-5/8″ x 2-1/4″
- Basic White Scrap to fit stamped images
- Stamp Pads/Markers
- Tahitian Tide
- Smoky Slate
- Parakeet Party
- Sweet Sorbet
- Fresh Freesia
- Tuxedo Black
- Wink of Stella Brush Pen (Item #141897)
- Tools
- Stampin’ Dimensionals (Item #104430)
- Bone Folder (Item #102300)
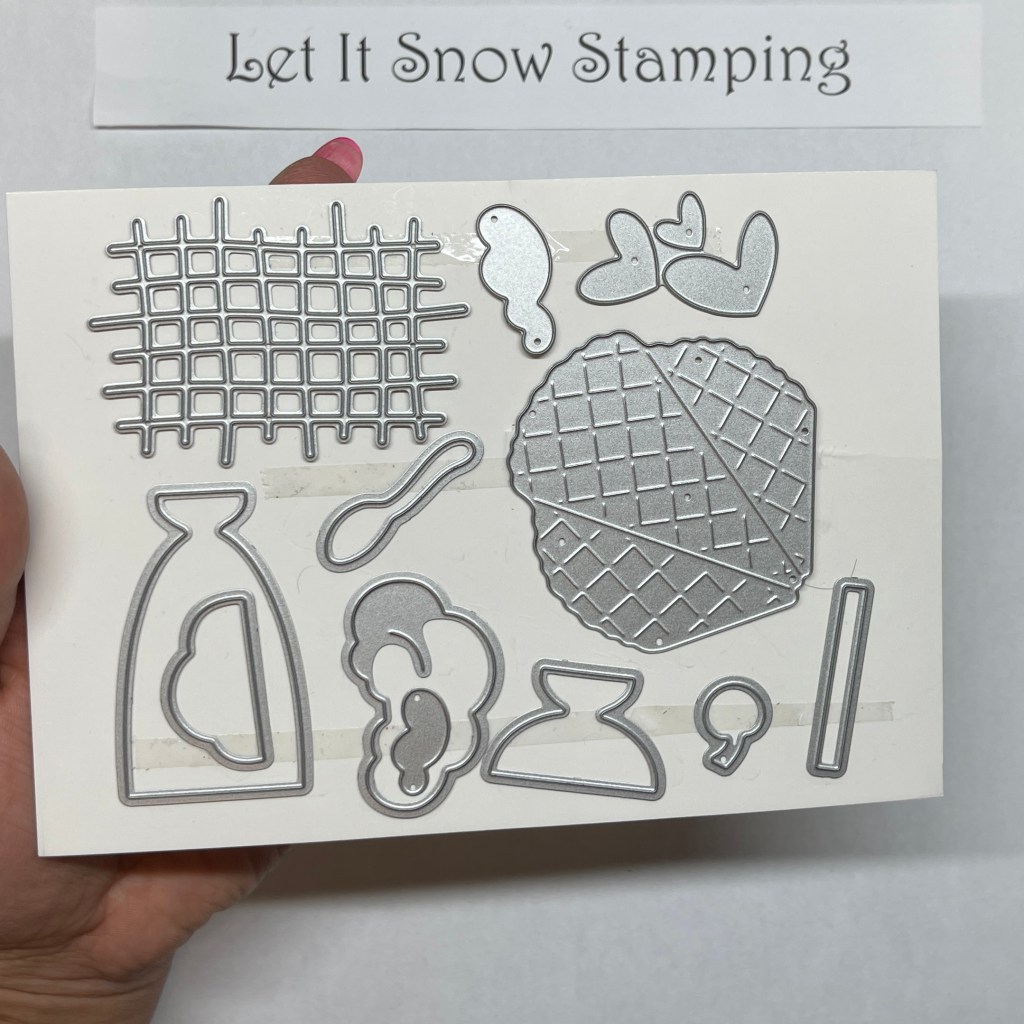
- Share A Milkshake Dies (Item #160395)
- Rectangular Postage Stamp Punch (Item #152709)
- Silicone Craft Sheet (Item #127853)
Let’s Make this!
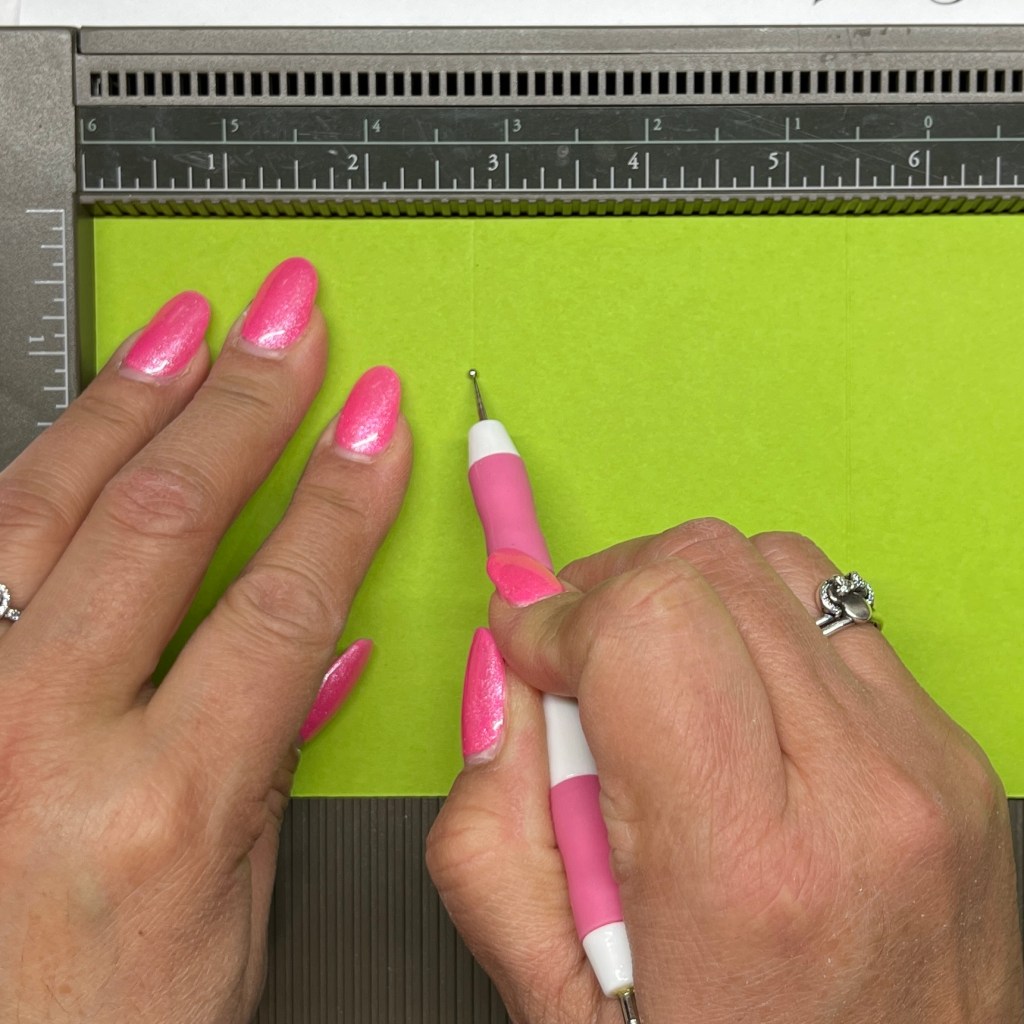
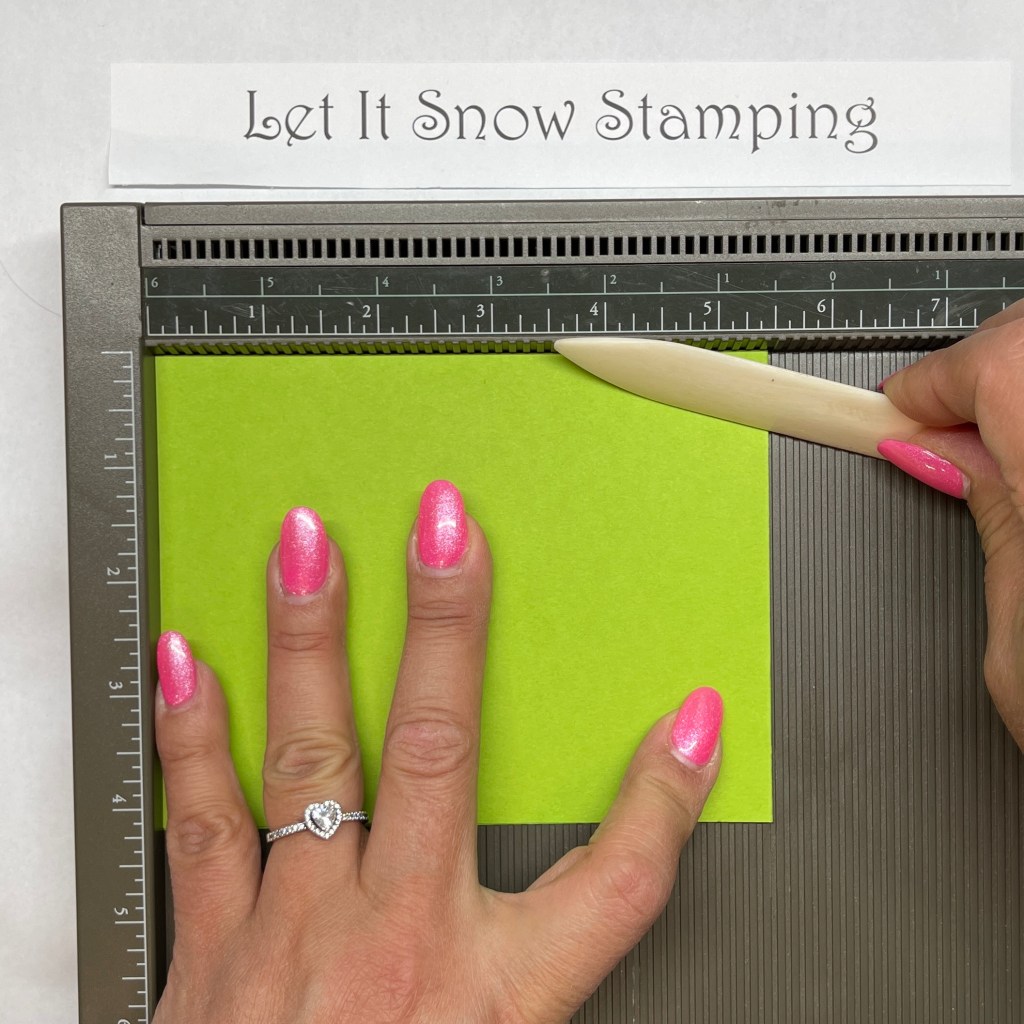
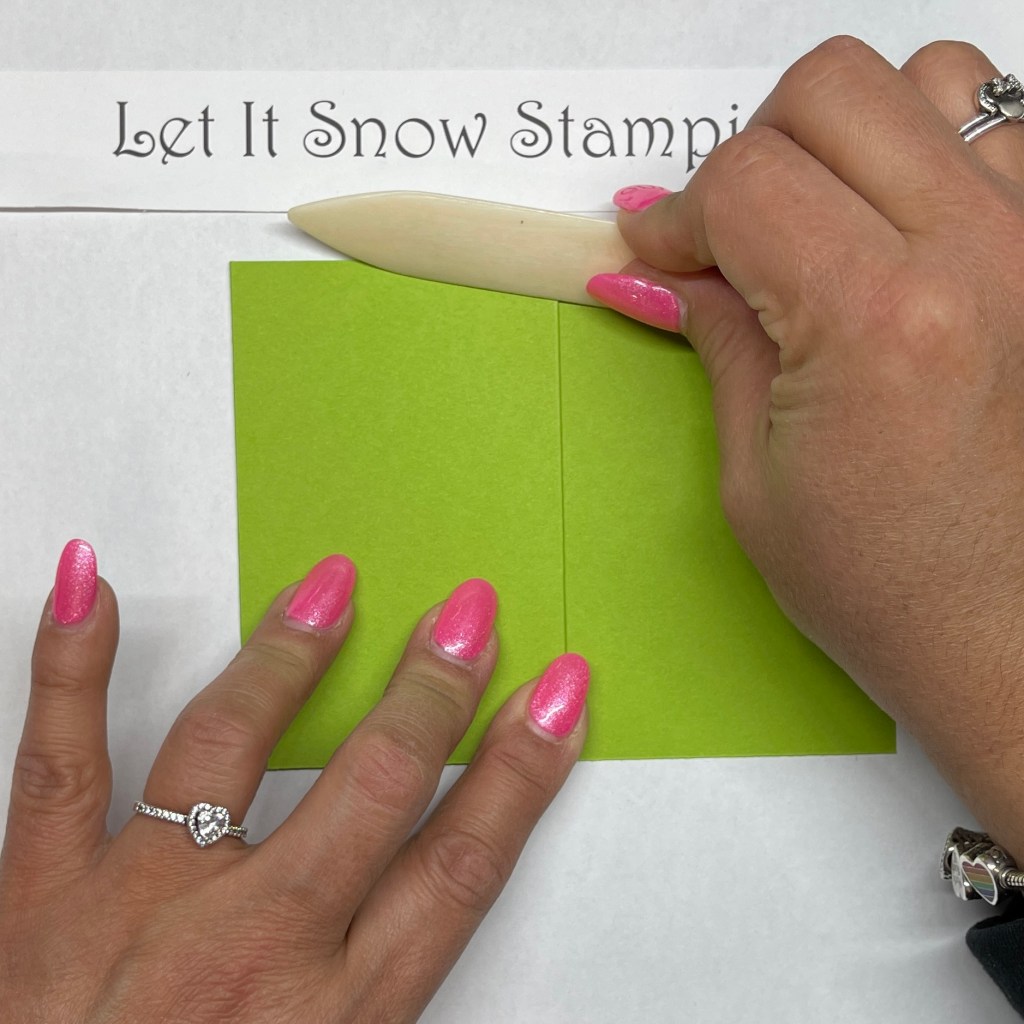
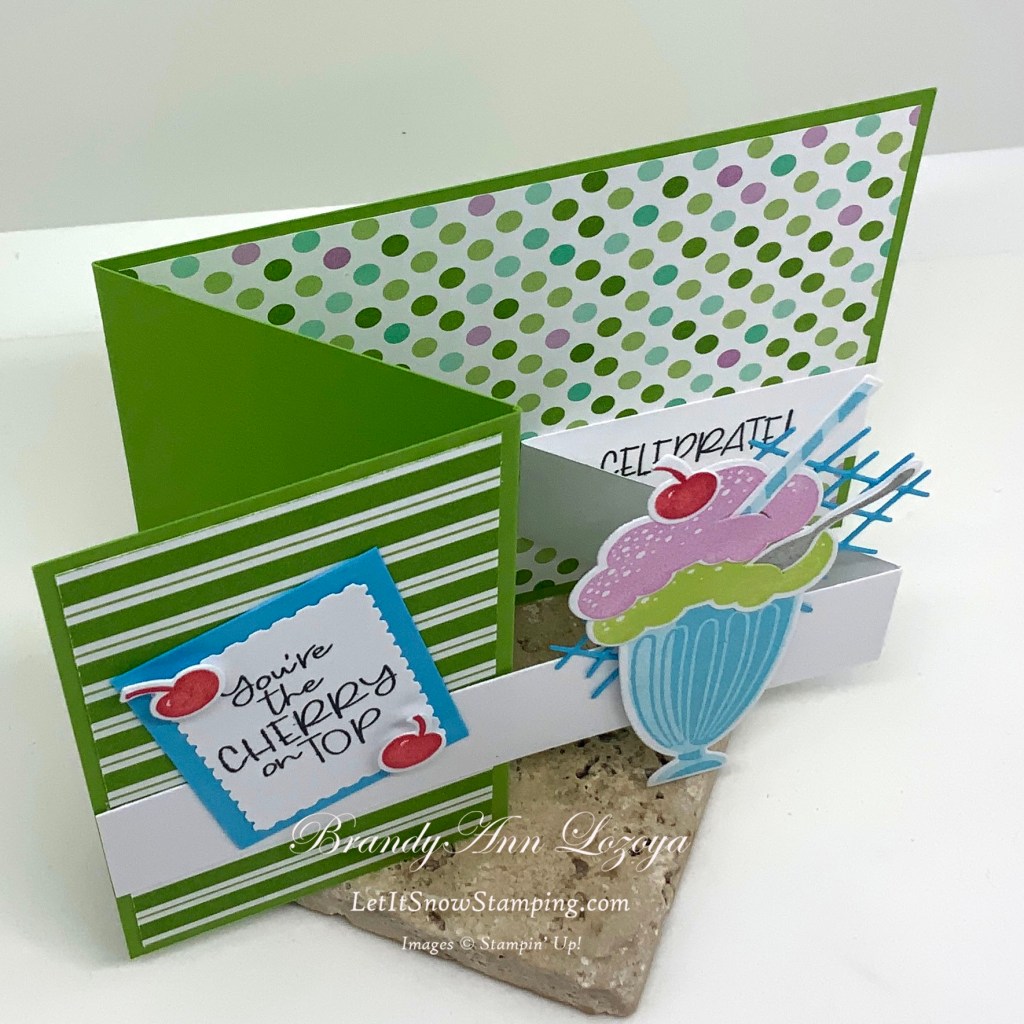
Score card base at 5-1/2″ and at 2-3/4″. Fold in half and burnish with bone folder.

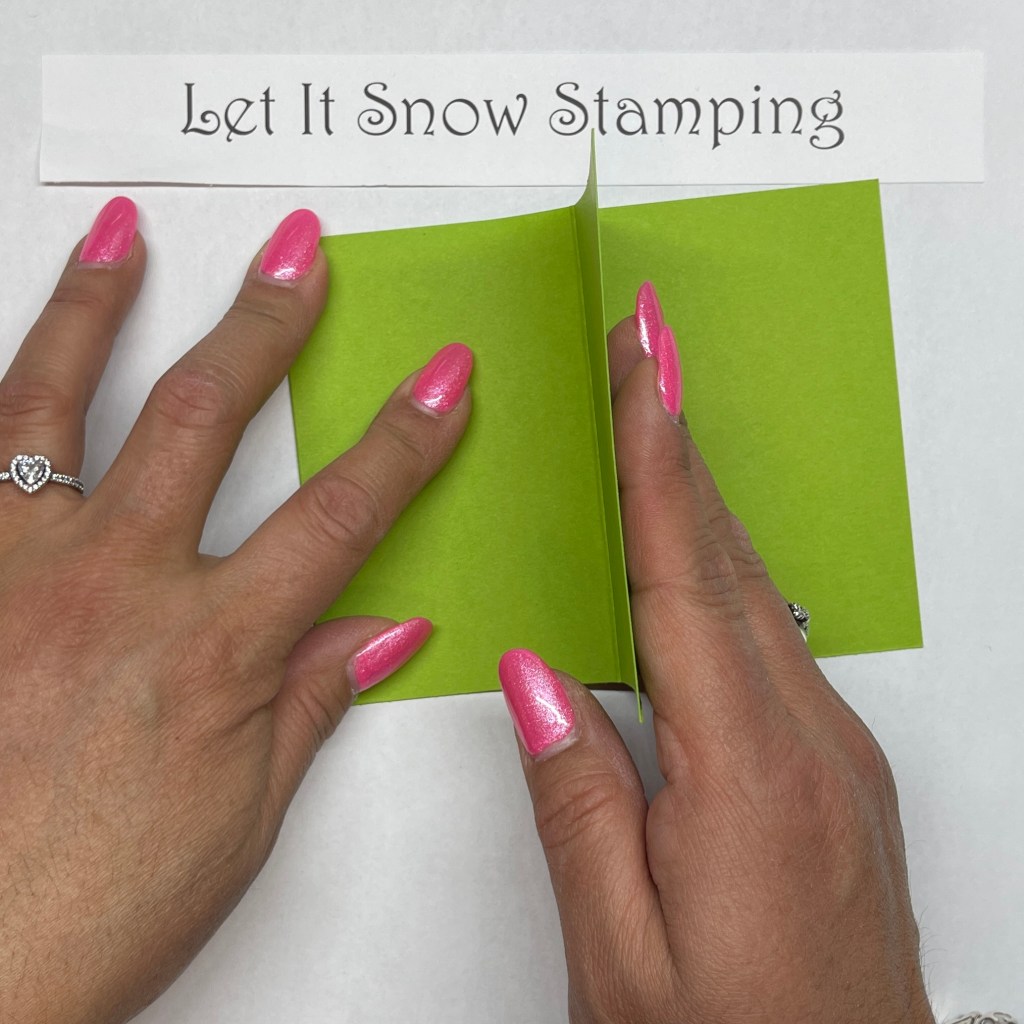
Now fold the front of the card in half, back towards the left edge and burnish.
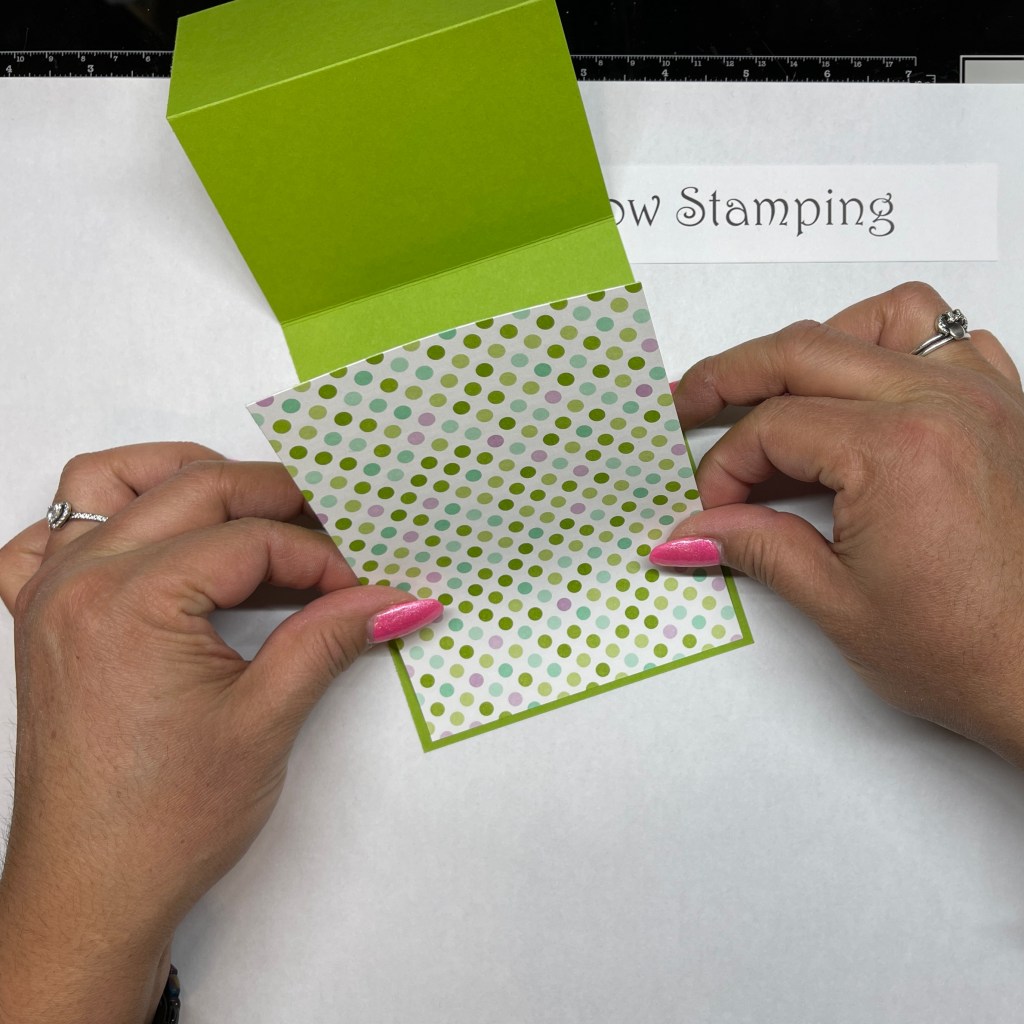
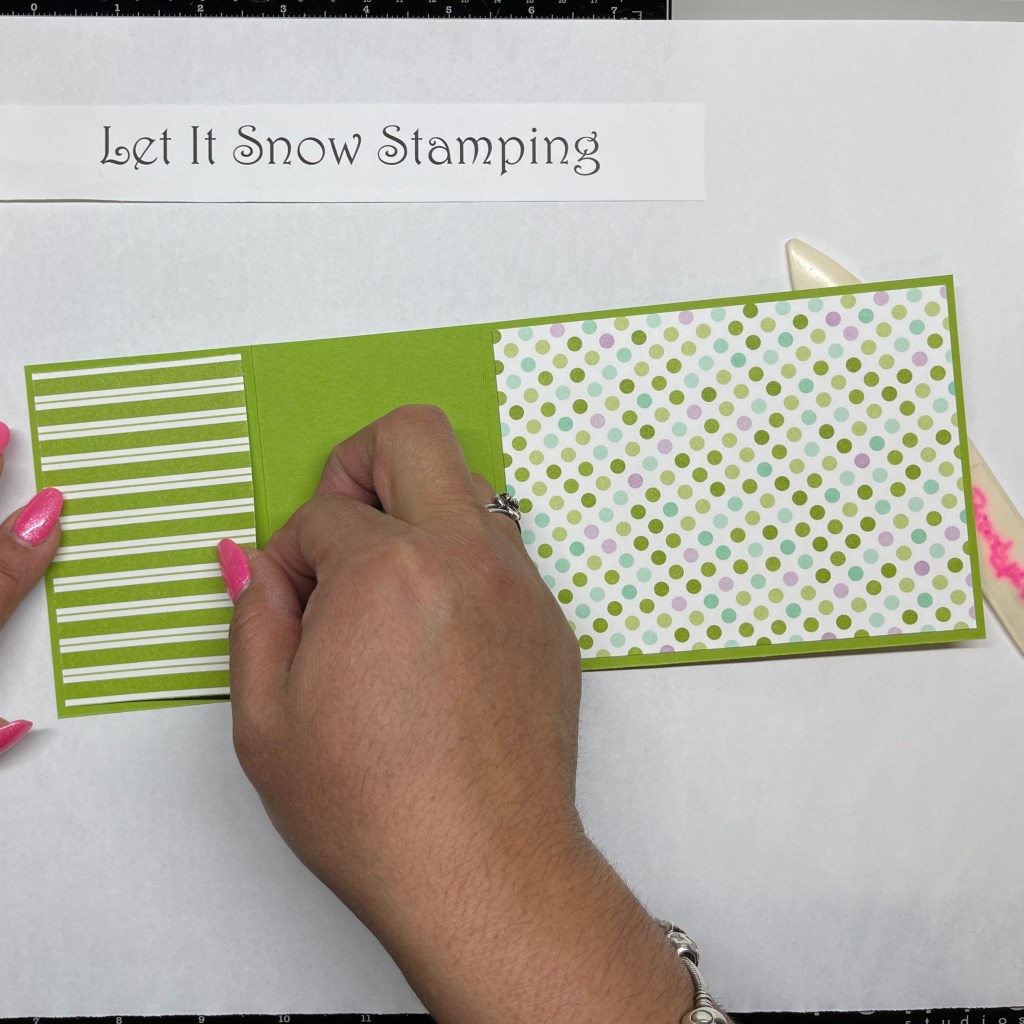
Adhere DSP panels as shown.
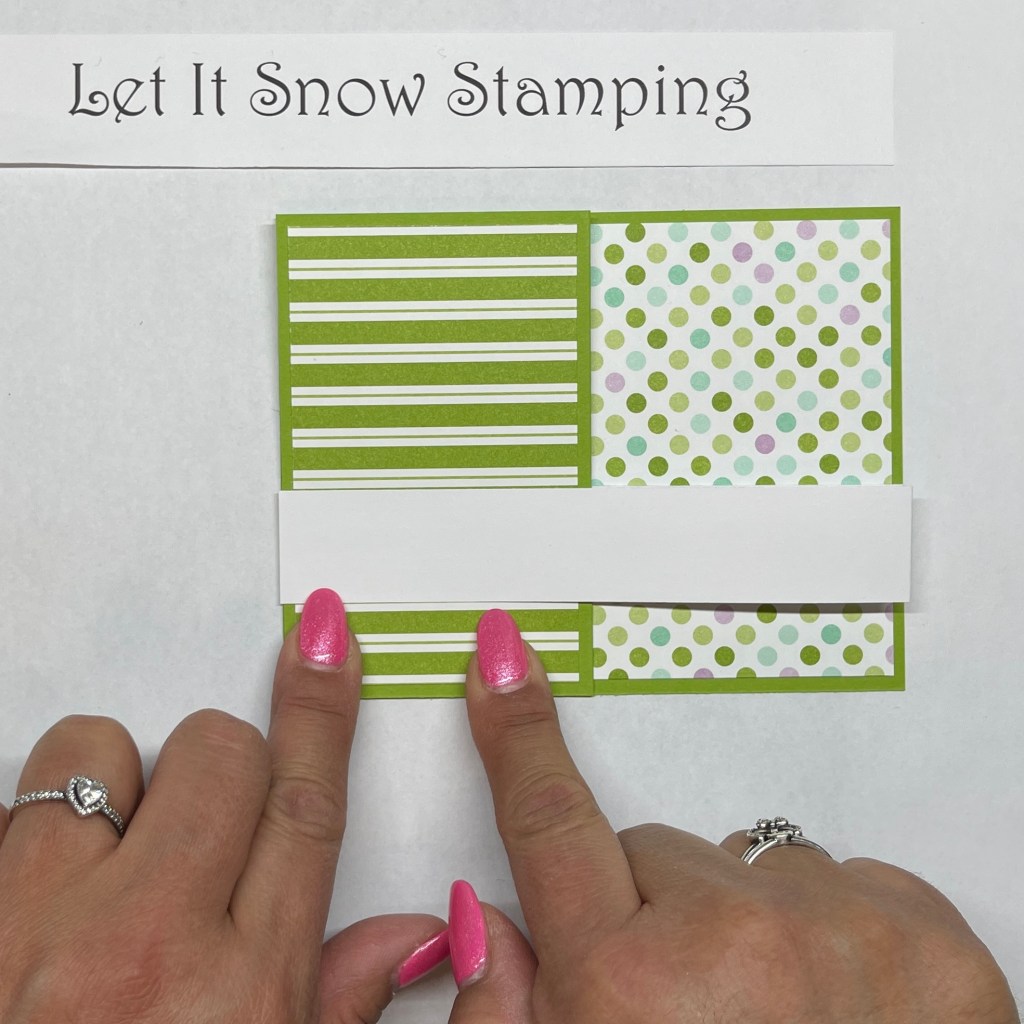
Score white strip at 5-1/2″ and at 2-3/4″. Glue the short side to the right side of the card and stamp sentiment. Then glue the long side to the left side of the card.


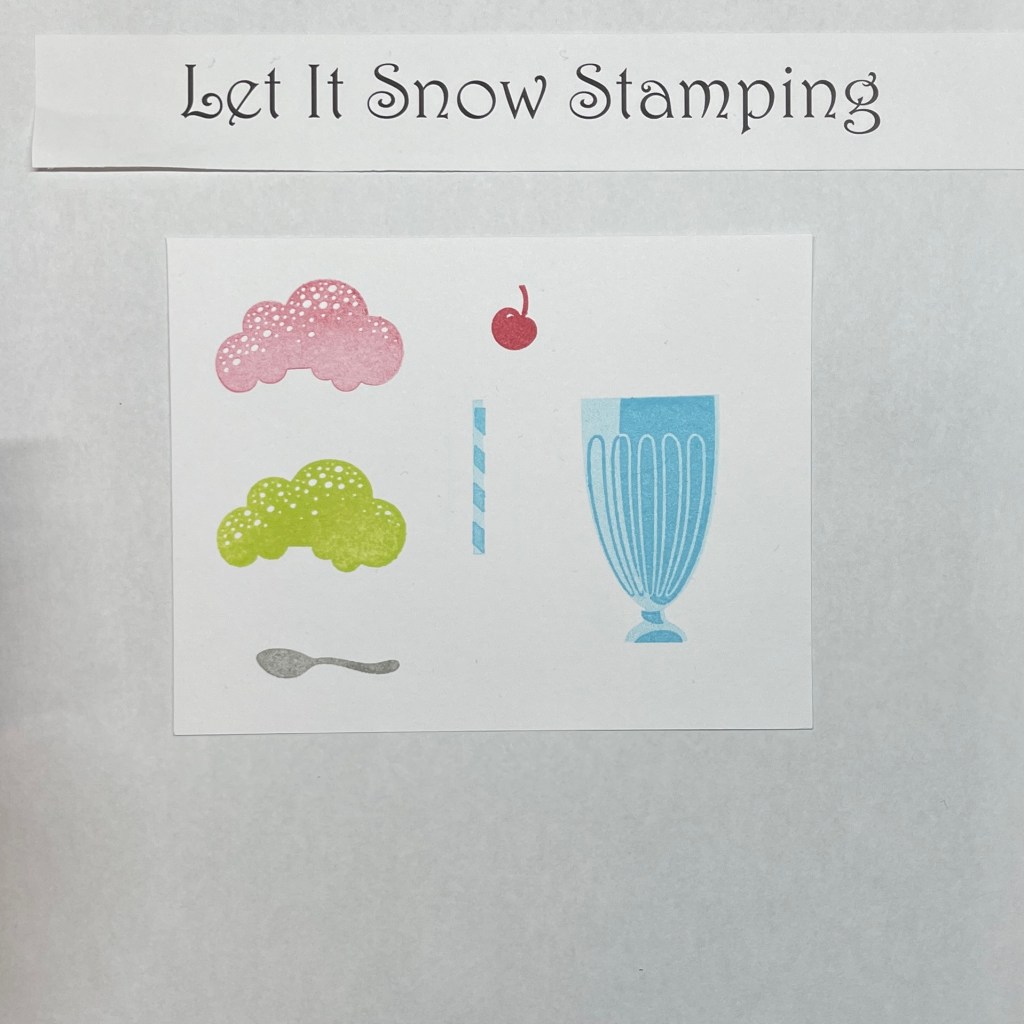
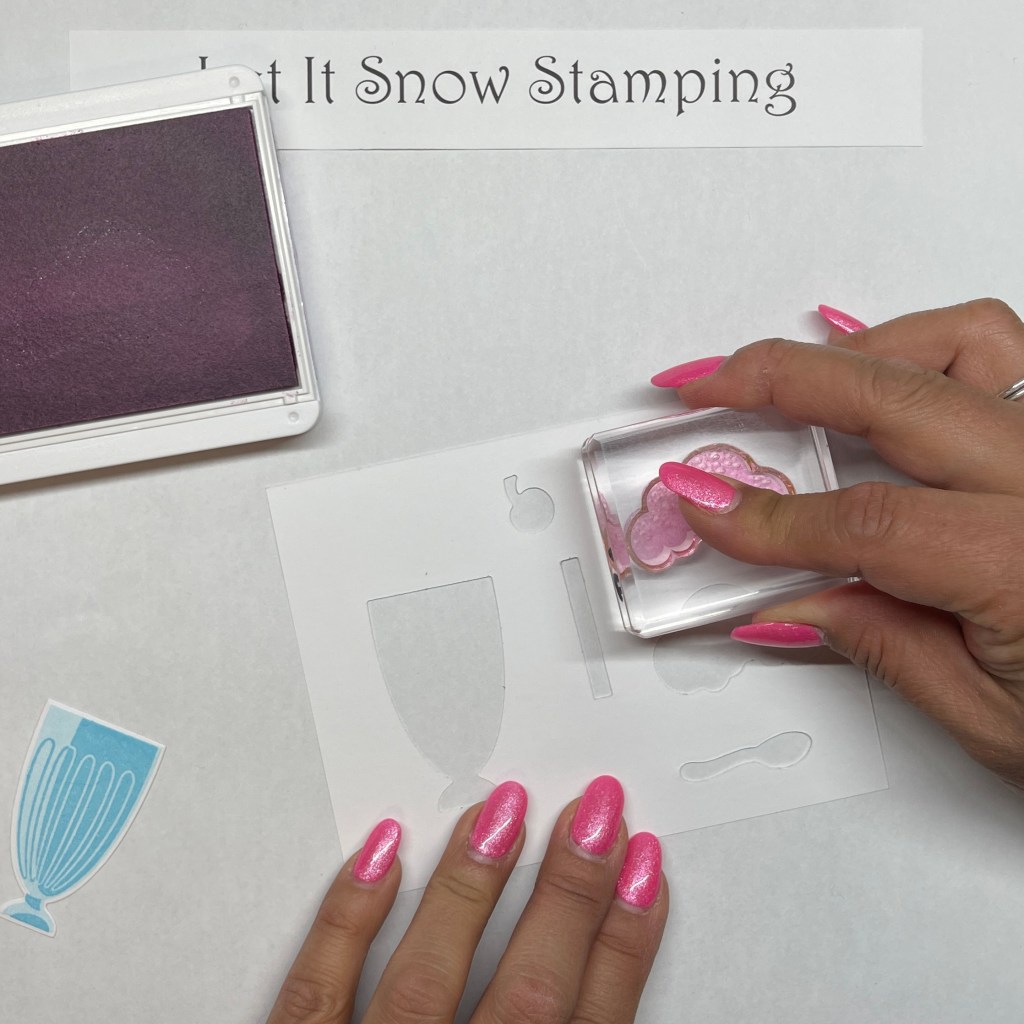
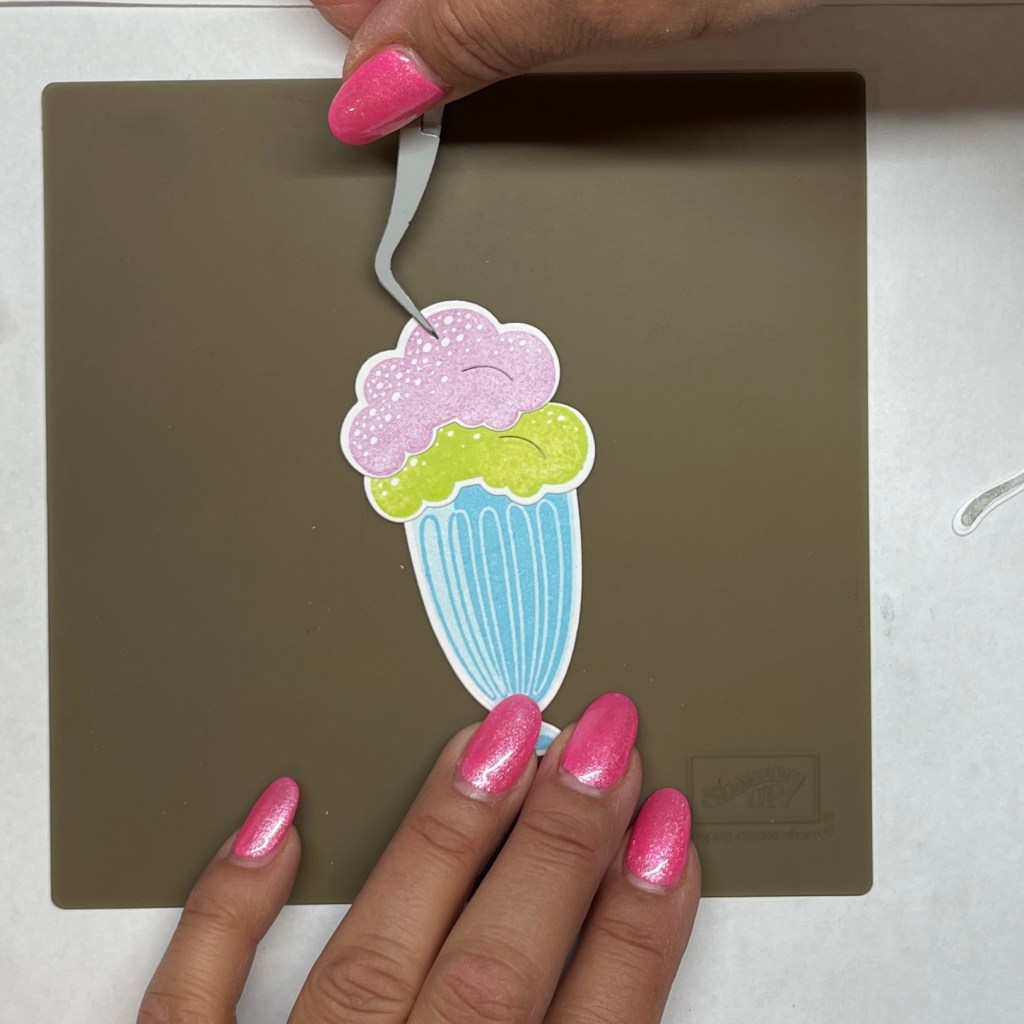
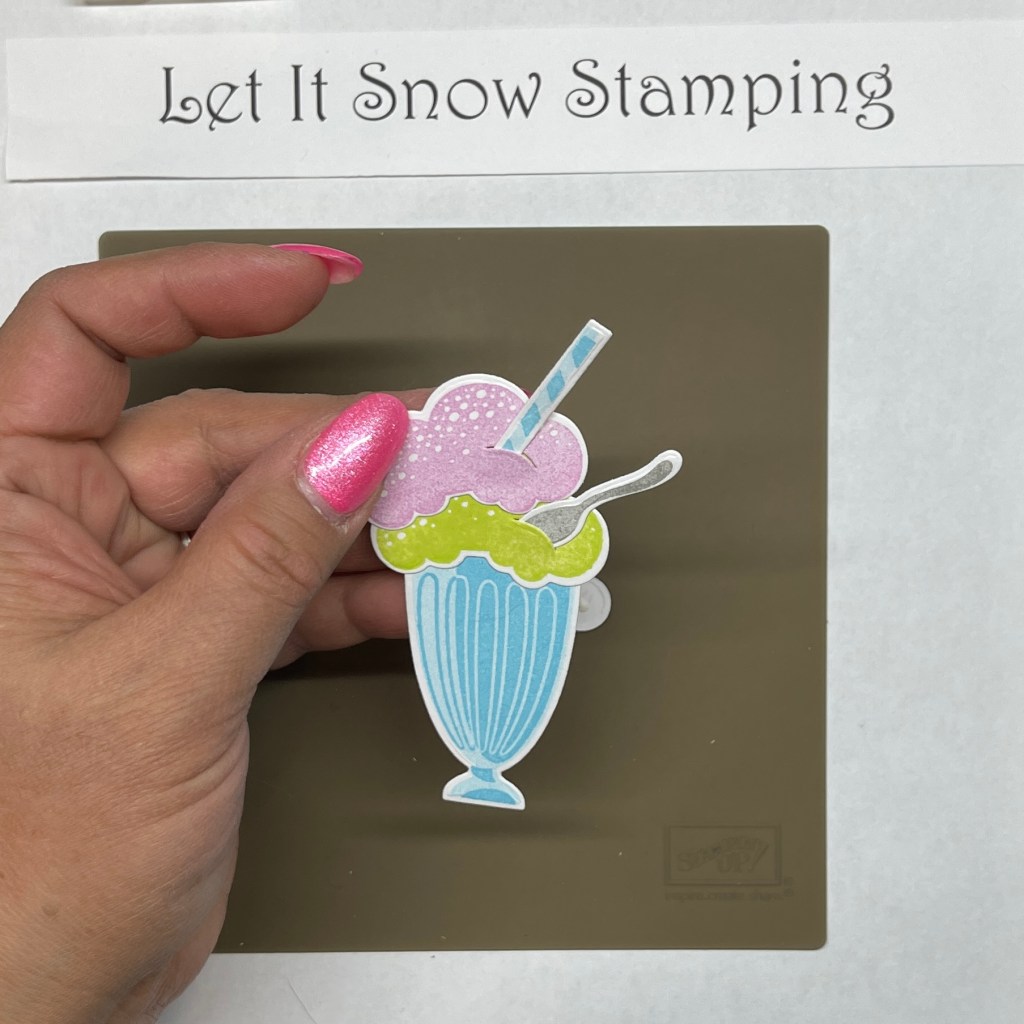
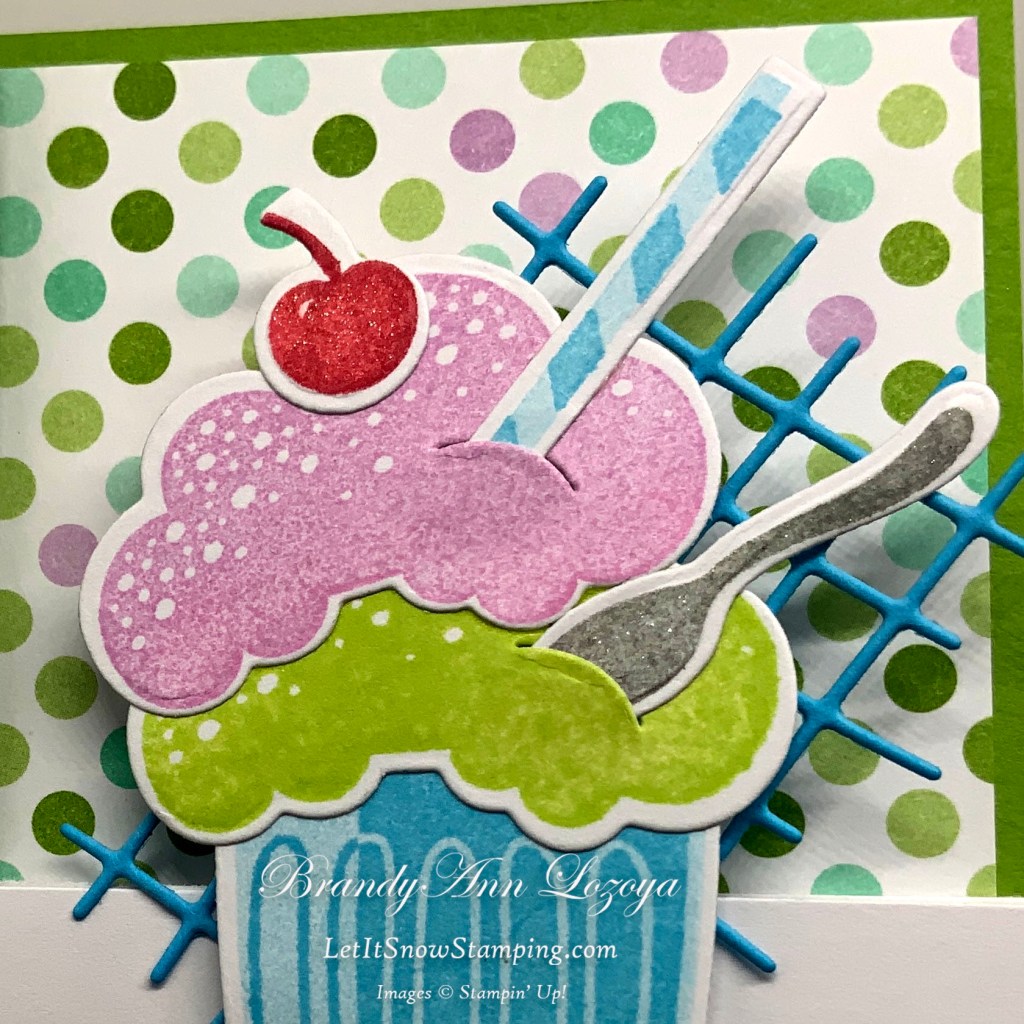
Stamp images. I am using the left over images from yesterday’s Live plus added a couple more cherries. I also stamped another large scoop of ice cream in Fresh Freesia. Cut out images with the coordinating dies.
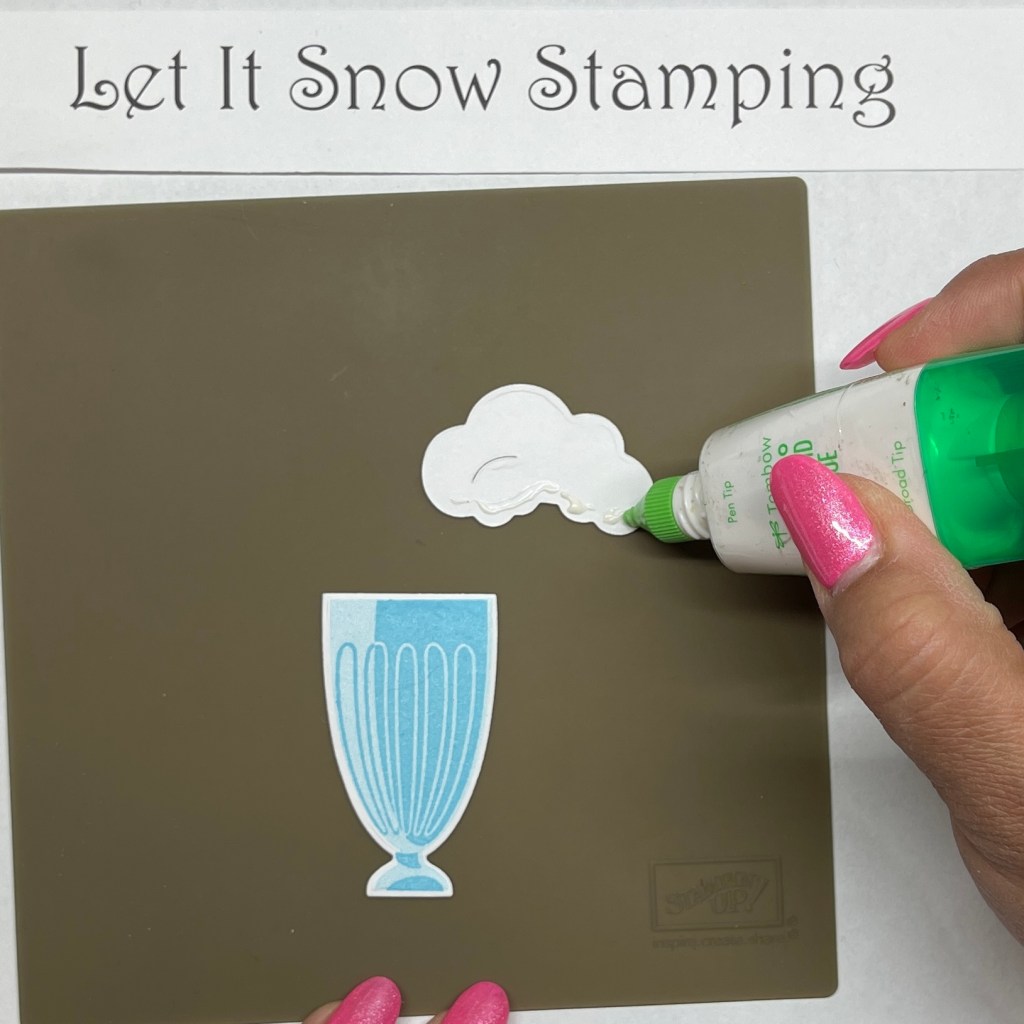
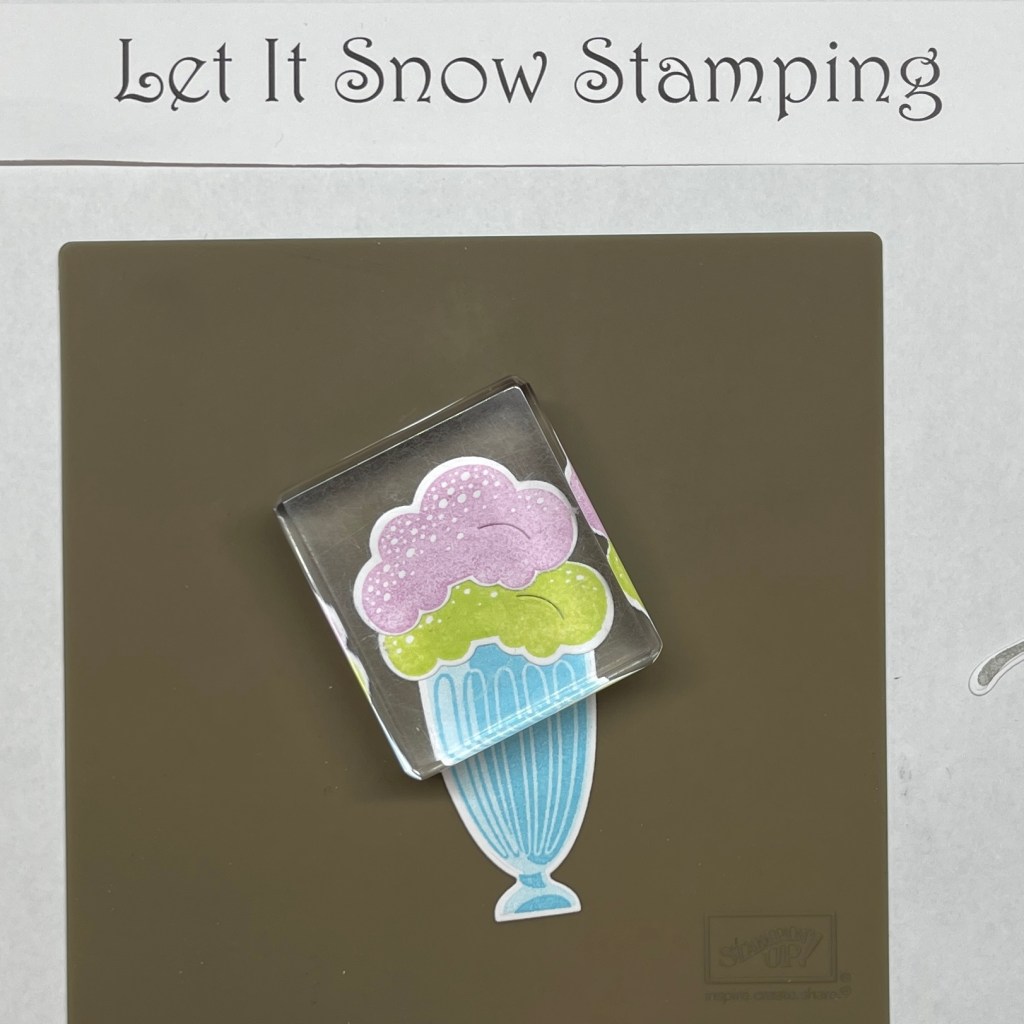
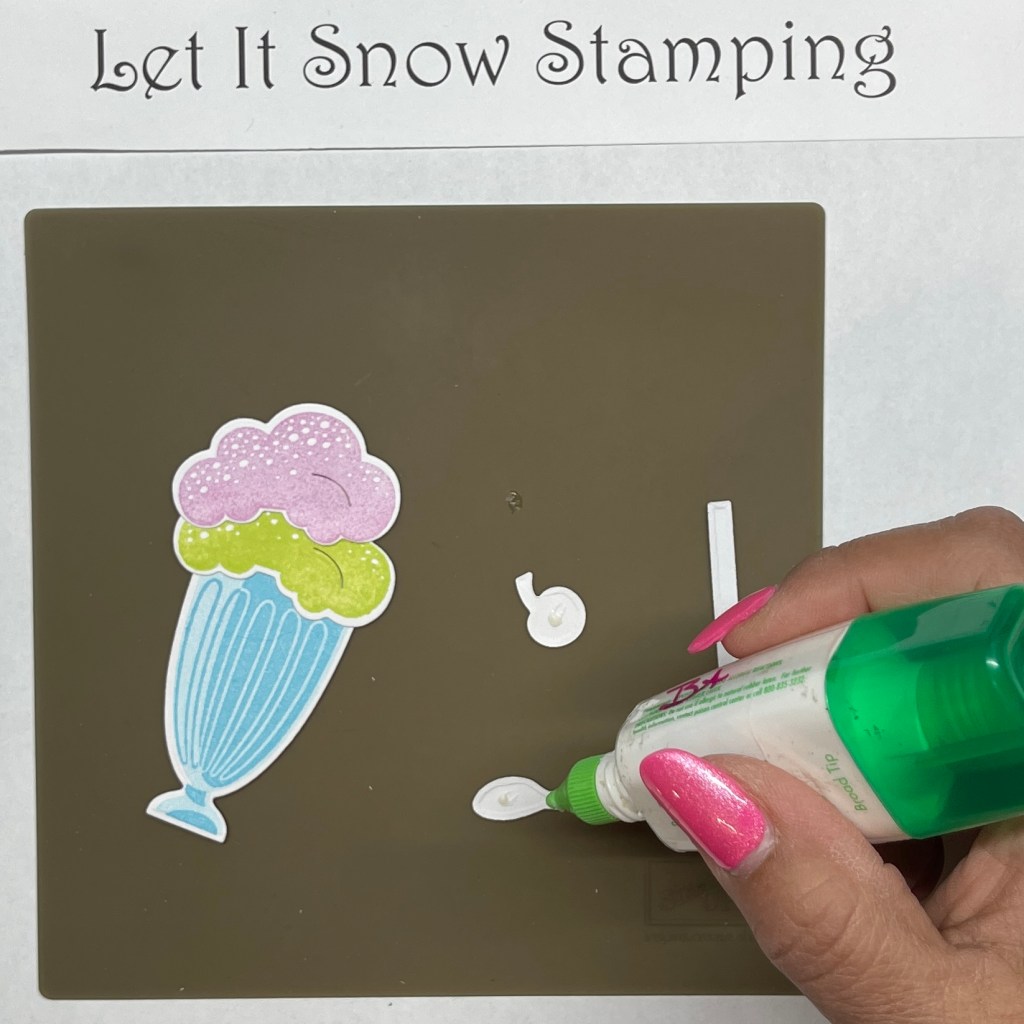
I used my Silicone Craft Sheet (Item #127853) to keep the glue from sticking to my crafting area and it works like a charm! Glue milkshake together as shown.

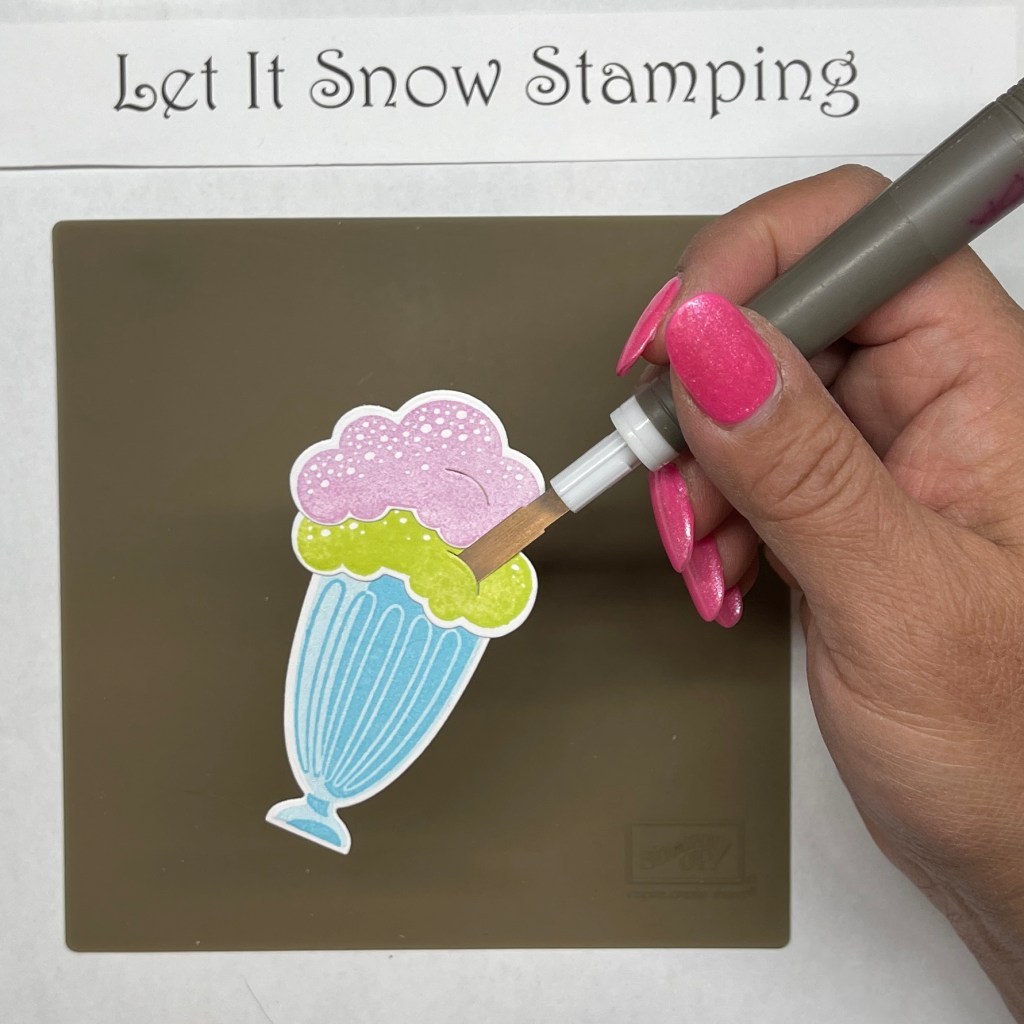

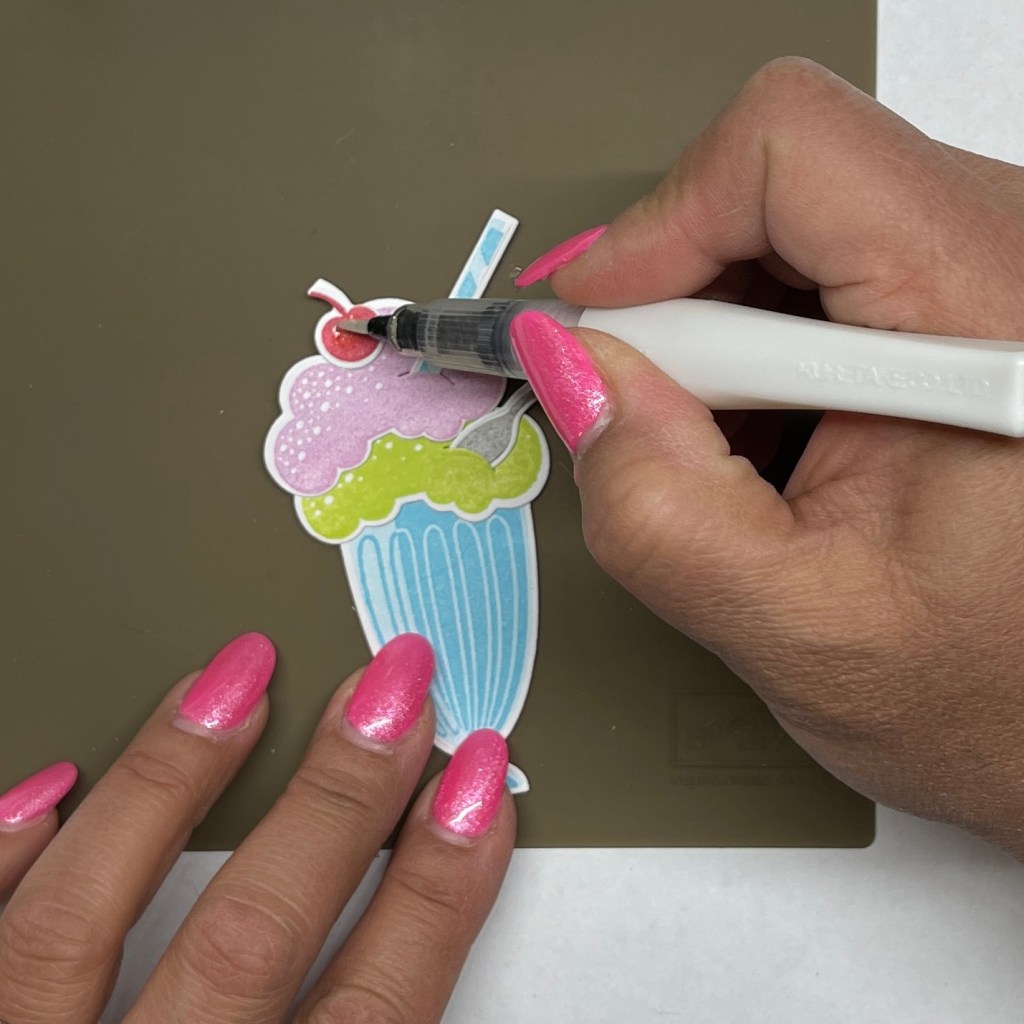
Now add the cherry. Next, add some sparkle to the cherry and spoon with Wink of Stella.

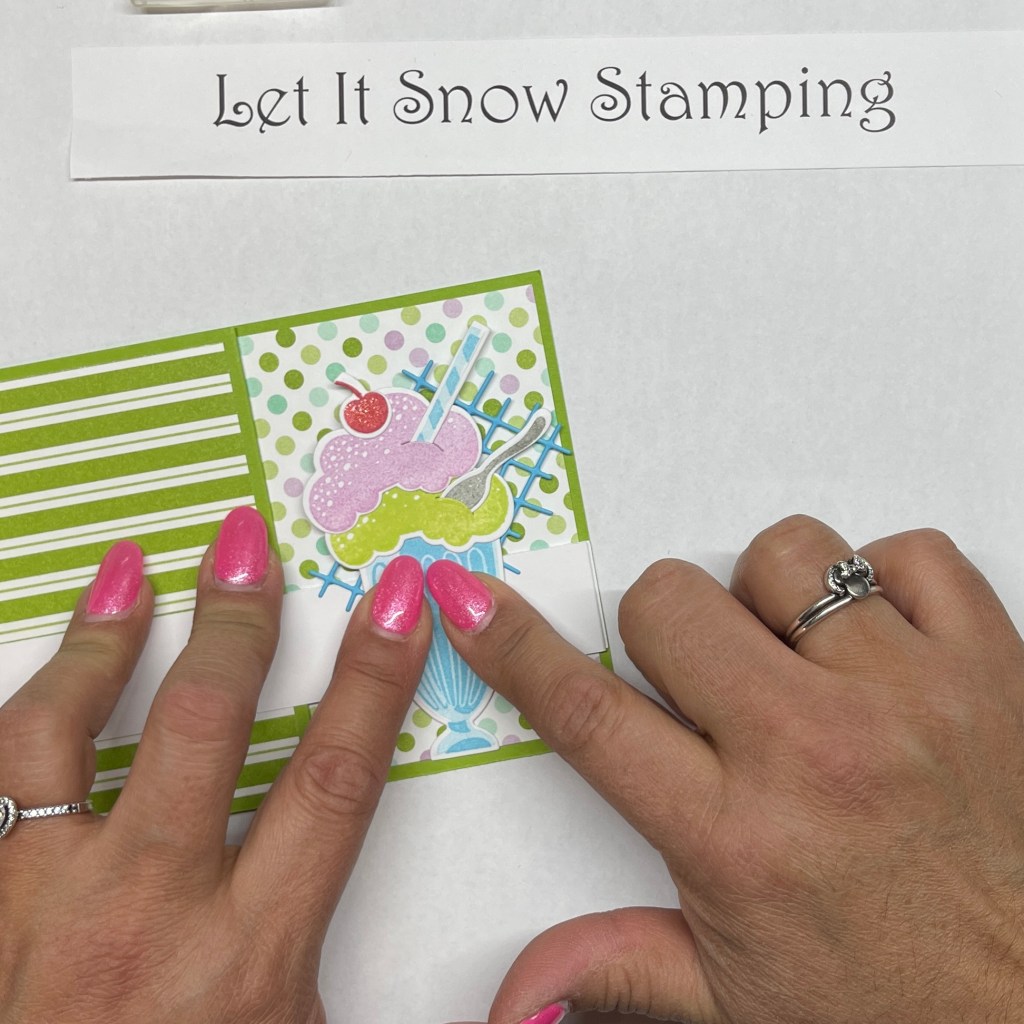
Add two Dimensionals to the milkshake, place the netting die cut on the Dimensionals and adhere to the white strip ONLY. The Dimensionals will hold the netting in place.
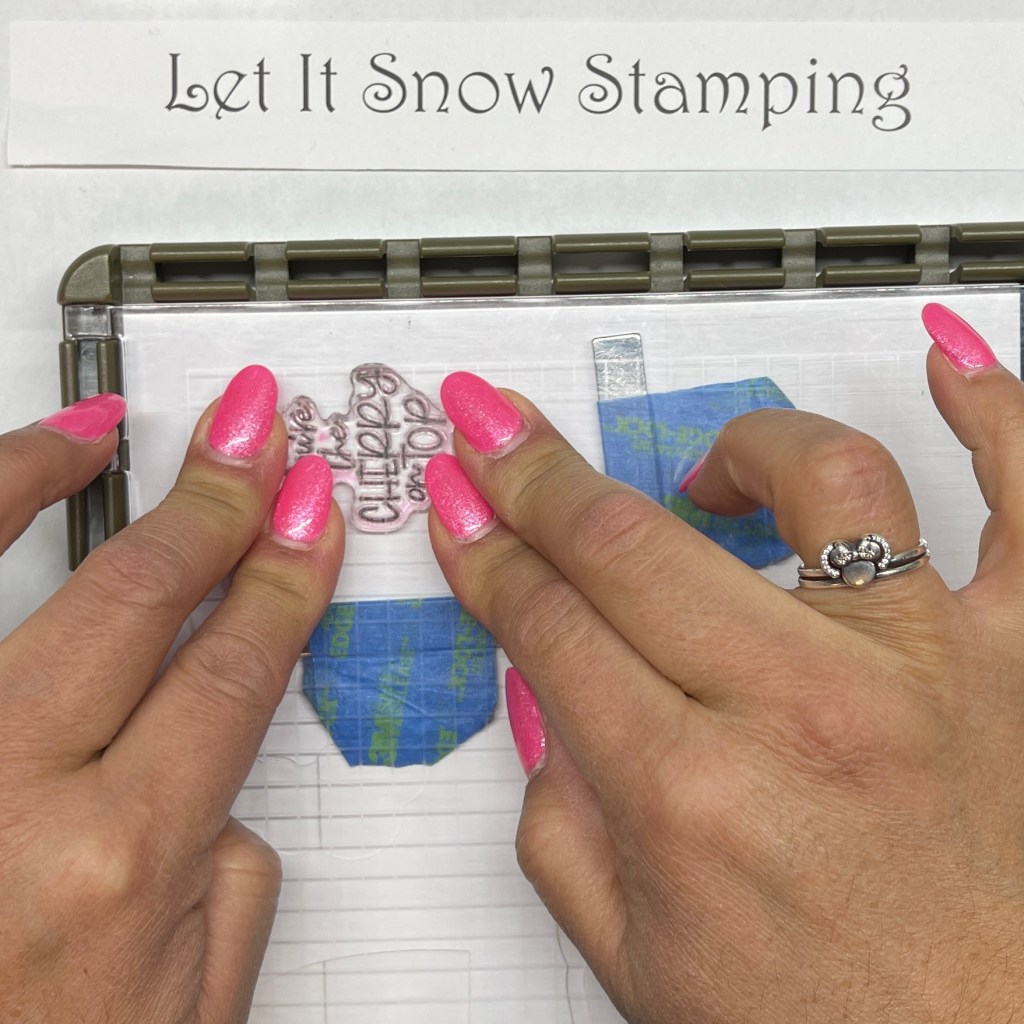
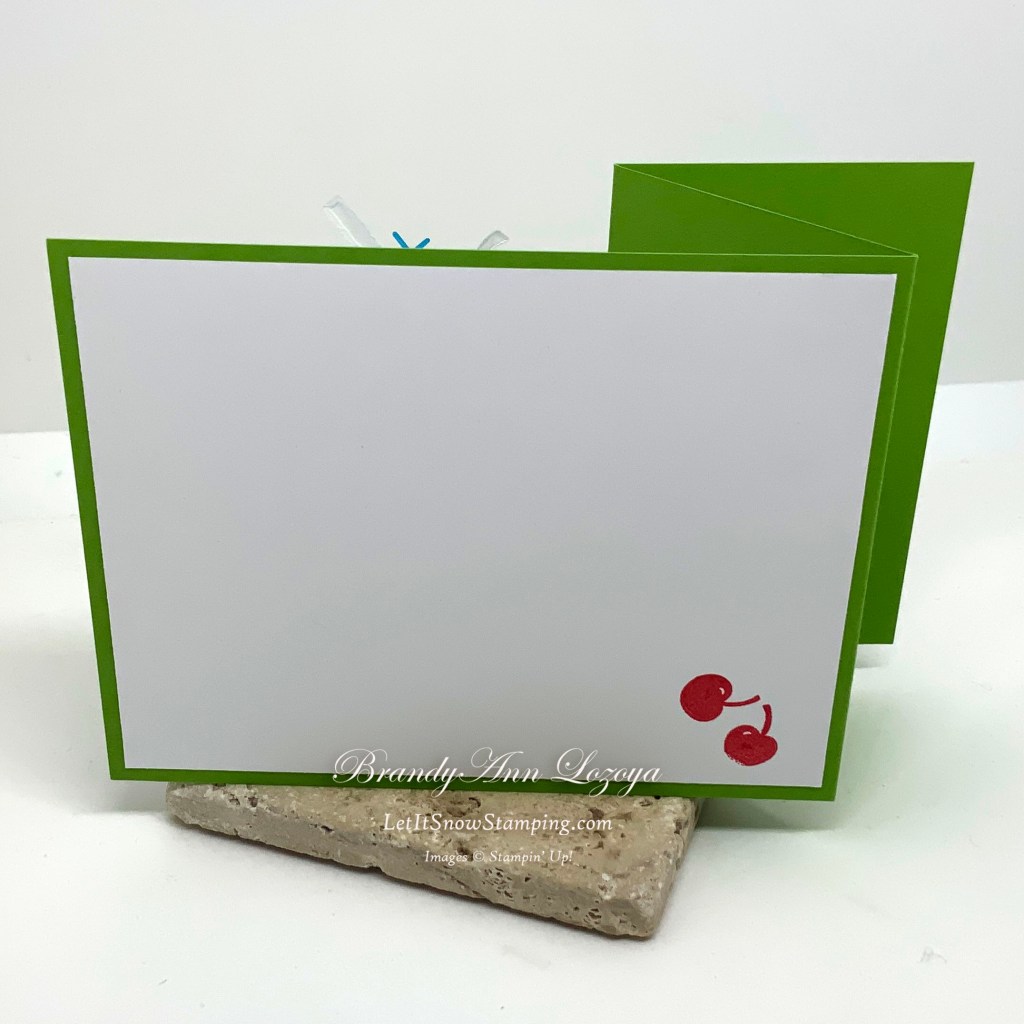
As you can see, I didn’t want to waste paper, so I stamped on the backside of the Basic White, LOL. You won’t see it on the card, so I wasn’t worried!

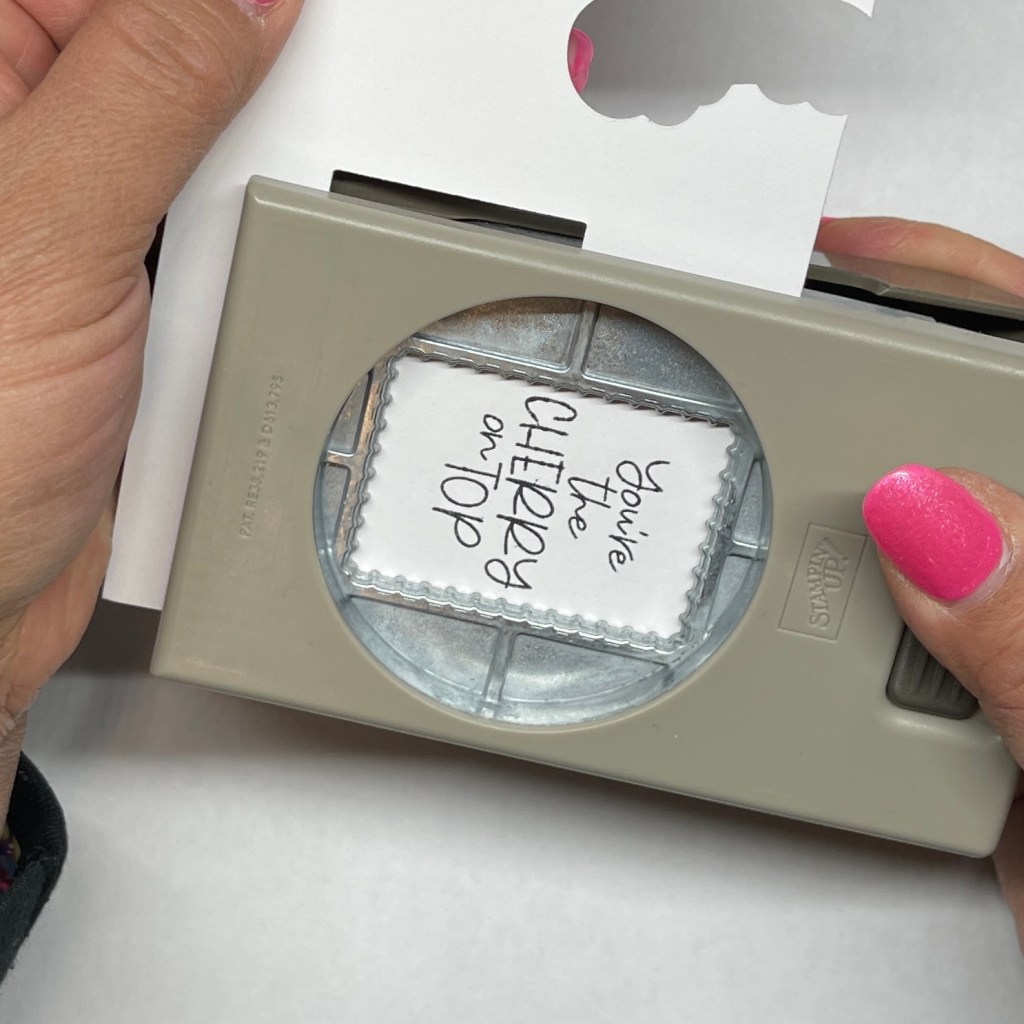
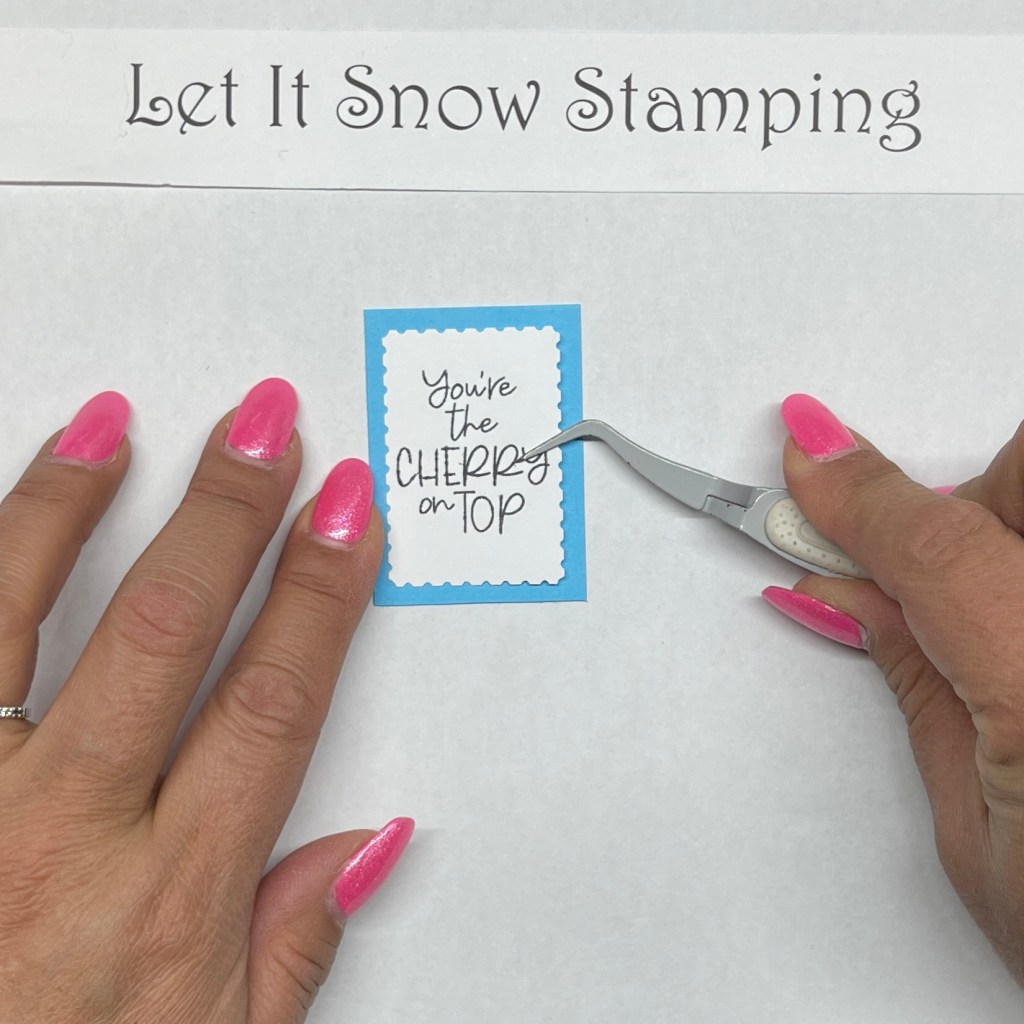
Stamp sentiment in black on a scrap of Basic White and punch it out with the Postage Stamp Punch. Adhere to Tahitian Tide mat.
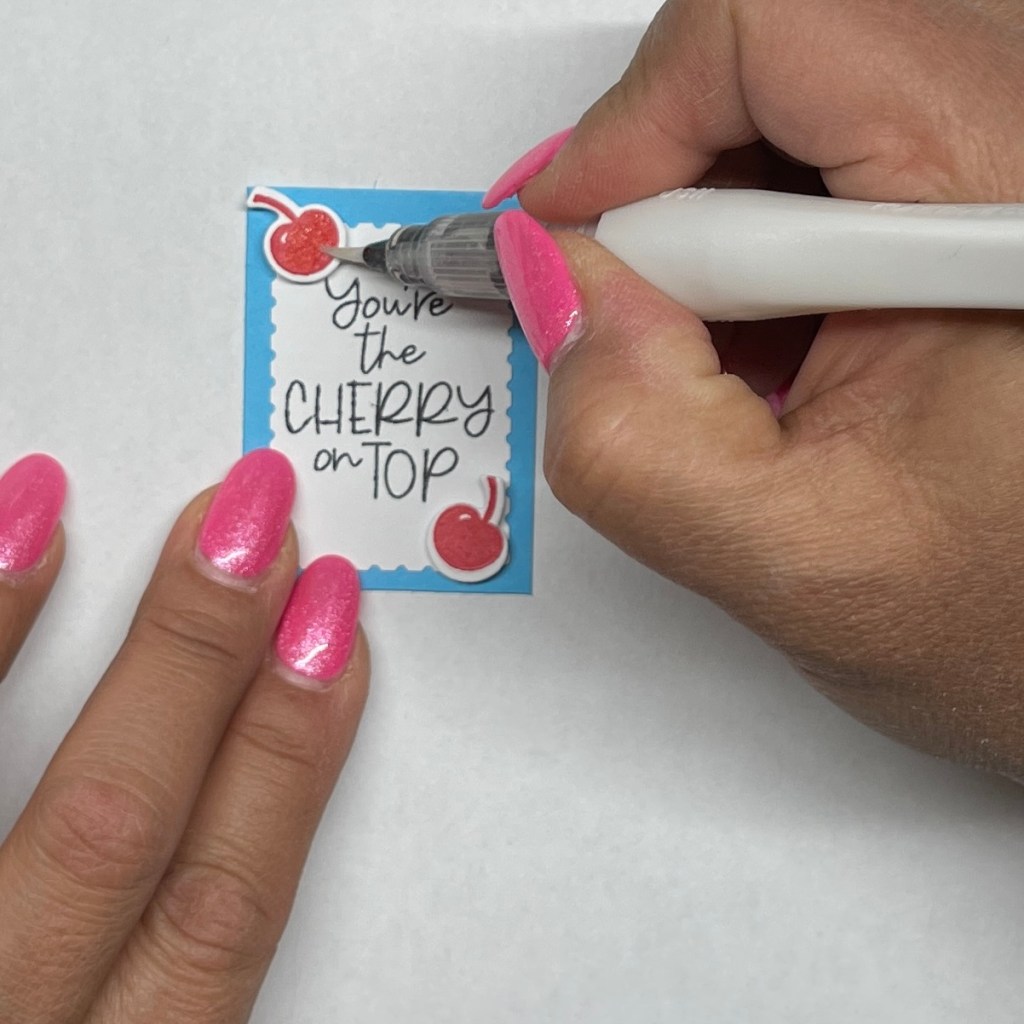
Add mini Dimensionals to the remaining two cherries and add to sentiment. Add Wink of Stella to the cherries and adhere to the left side of the card front.

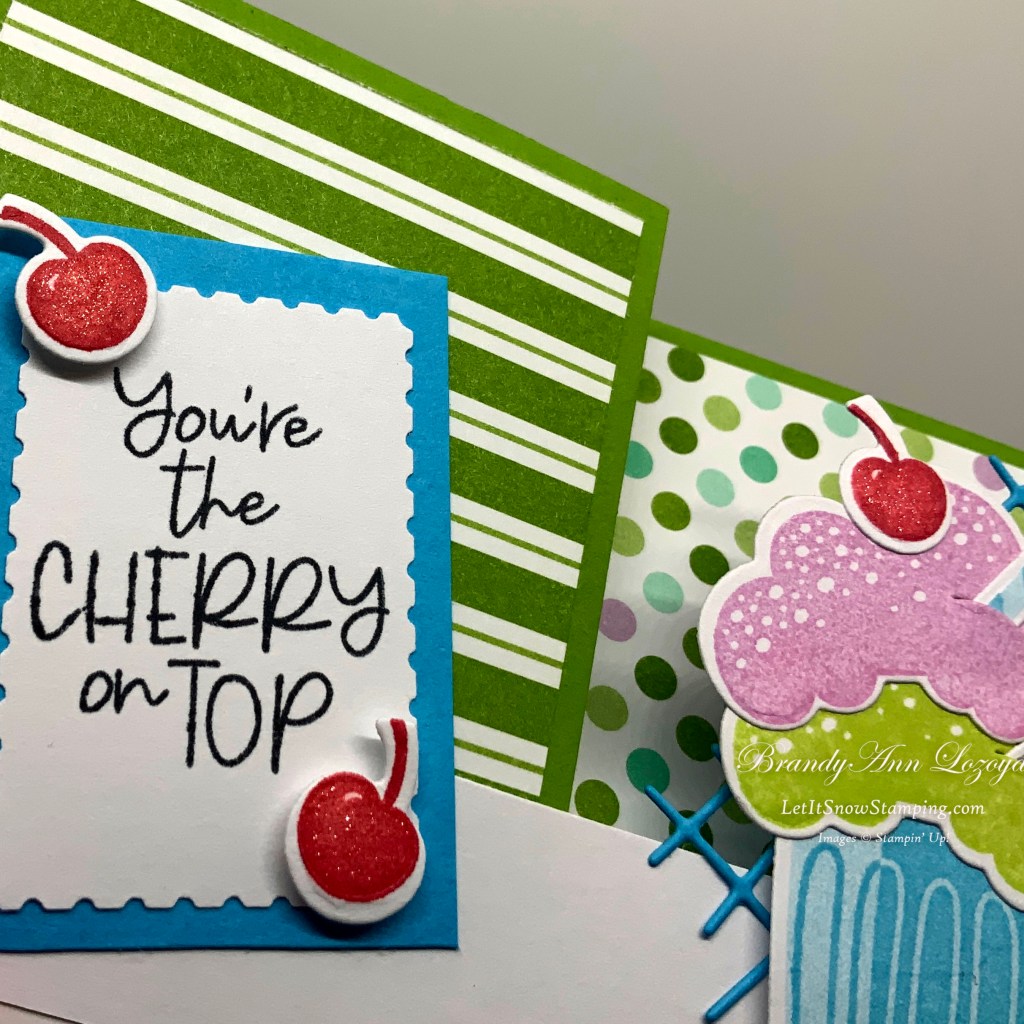
Up close & Personal

I look forward to seeing you on YouTube or on Facebook soon!
Have a Stamptastic Day!
~BrandyAnn
Subscribe to LISS today!
Make sure to subscribe to Let It Snow Stamping so you never miss another blog post. Every week I pick a stamp set and make one project every weekday. As an added bonus I also make videos for new techniques. The techniques can also be found under the Technique Corner tab. Enter Email Below to Subscribe!
When ordering use my name and the February 2023 host code for extra Benefits!
BrandyAnn Lozoya
UEQMGFH4
Make sure you find LISS on:
Facebook (#LISStamping, @LetItSnowStamping),
Instagram (@LetItSnowStamping),
YouTube (@LetItSnowStamping)
