It’s Friday! It’s Friday! And super cold for Valentine’s Day weekend, ugh! With hopes of an early Spring, I made today’s card! I was inspired by the card sample in the Sale-A-Brations catalog on page 13.

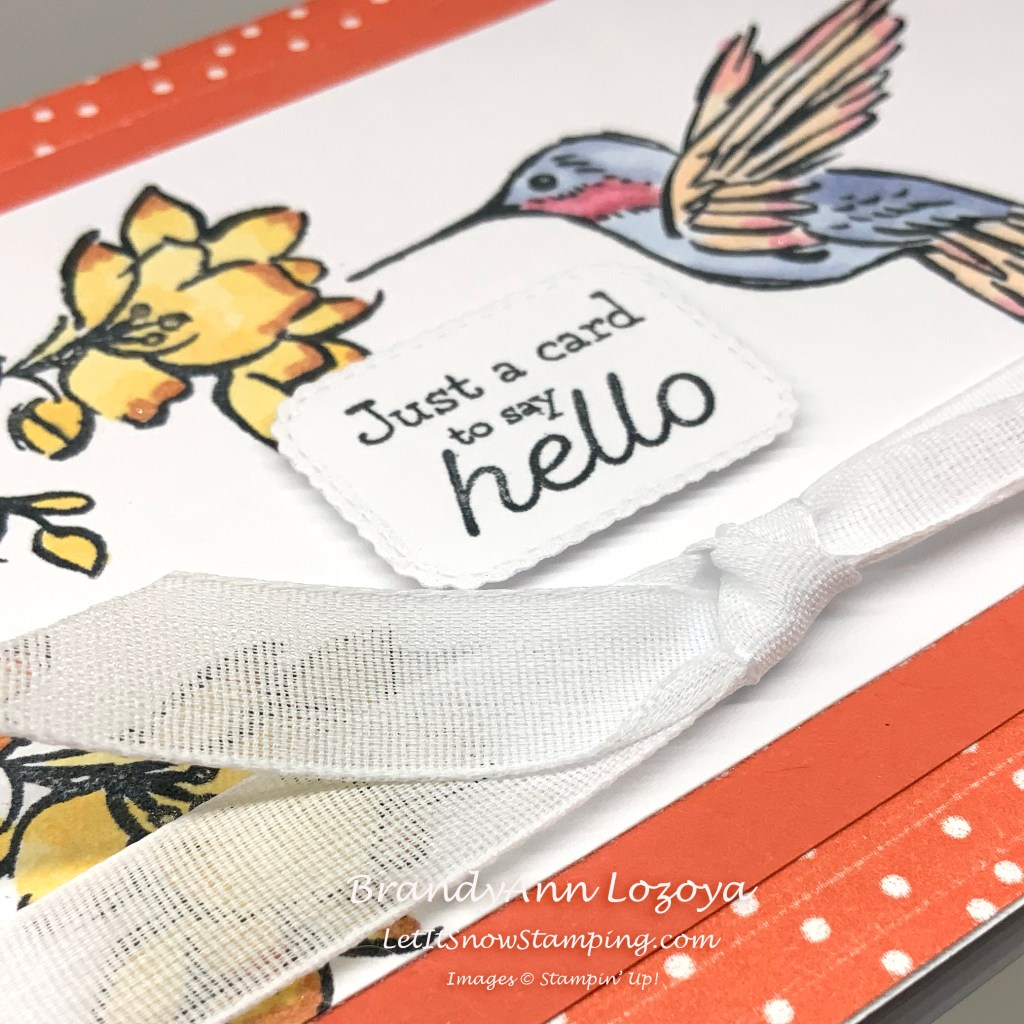
I started out with a white card base (8-1/2″x5-1/2″, scored at 4-1/4″) that I layered with a card front using the Playing with Patterns DSP (5-1/2″x4-1/4″). The stamped layer measures 5-1/2″x3″ and it’s Calypso Coral border measures 5-1/2″x3-1/2″ to allow for a quarter inch border.
The ribbon was super easy to do as well. I started out with a long piece about 6-1/2″ long and taped it to the card on the back. Then I took a shorter piece (about 4″) and tied a simple shoelace knot. Make sure you do this before you glue the layer down onto the card base so you can hide your taped edges.
I am not a confident coloring person. Coloring is supposed to be calming, but for me, it causes anxiety. It is entirely too stressful for me choose what color should go next to another. I once jokingly told a friend that I needed a color by number coloring book to do that activity with her. Amazingly enough, she found one and bought it for me. Then on top of that, she bought me a pack of colored pencils and lovingly labeled all of the pencils with the corresponding numbers in the book! I think that has been my all-time favorite gift! Something so simple, but done with love. I guess that is why I make cards.
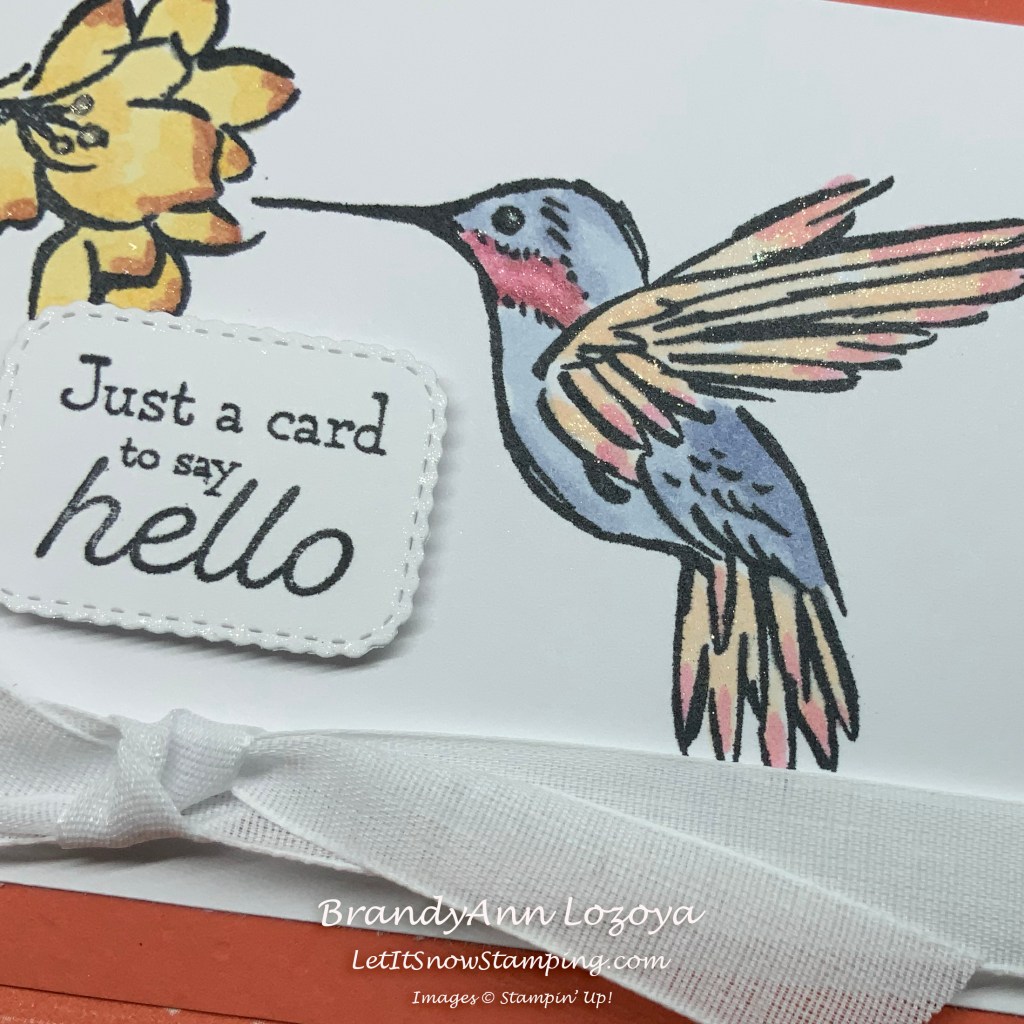
Anyway, I colored the images with our Stampin’ Blends markers and highlighted areas with my Wink of Stella pen for just a touch of bling.
The sentiment is made using Many Messages stamp and corresponding die, which cuts out all of the sentiments at the same time. What a time saver!! One night, when I was watching a movie, I sat and stamped white cardstock with the stamp (using the Stamparatus is best so you can make it darker if needed) in different colors. Then cut them all out and placed them in a jewelry bead sorting box. Now, I just pop open my box and look for the perfect sentiment! I even taped a sample of each to the inside of the lid so I could find the perfect sentiment quickly. I added the sentiment using Foam Adhesive Strips.
I hope you enjoyed today’s project. Make sure to subscribe to Let It Snow Stamping so you never miss another blog post. Every week I pick a stamp set and make one project (possibly two) every weekday. As an added bonus I also make videos for new techniques. The techniques can also be found under the Technique Corner tab.
Make sure you find LISS on:
Facebook (#LISStamping, @LetItSnowStamping),
Instagram (@LetItSnowStamping),
When ordering use the February 2021 host code for extra benefits
H3HQRD2H
Today, the shop is having technical difficulties, so I am unable to post pictures and links of the items I used for today’s project. However, here is a list of the items used:
- Basic White 8-1/2″x11″ Cardstock
- Calypso Coral 8-1/2″x11″ Cardstock
- Playing with Patterns 6″x6″ Designer Series Paper
- A Touch of Ink Sale-A-Bration Stamp Set
- Stampin’ Blends Markers – Light & Dark So Saffron, Light Pumpkin Pie, Light & Dark Rococo Rose, Light & Dark Seaside Spray, and Light Petal Pink
- Wink of Stella Pen
- Many Messages Stamp
- Messages Die
- Tuxedo Black Stamp Pad
- Flowers for Every Season Whisper White Ribbon
- Foam Adhesive Strips
