It’s Friday, It’s Friday! It has been a long week this week. Tomorrow is my son’s virtual birthday party and once that is done, I can rest. I think I like the party being before our birthdays so that I can relax on my birthday! Typically we travel the week of our birthdays and this is the first birthday party he has had in a very long time.
Today’s card was inspired by a card on page 10 of the January-June 2021 Mini Catalog. How could I not use the Floral Heart Dies on a stamp set like Embrace Each Moment. What’s funny is that I didn’t even use the images of the couple! I had not used this sentiment stamp from the set yet and decided the banner from the Floral Heart Dies set would be a good place to use it. Granted, it doesn’t curve like the banner, but I like it all the same.
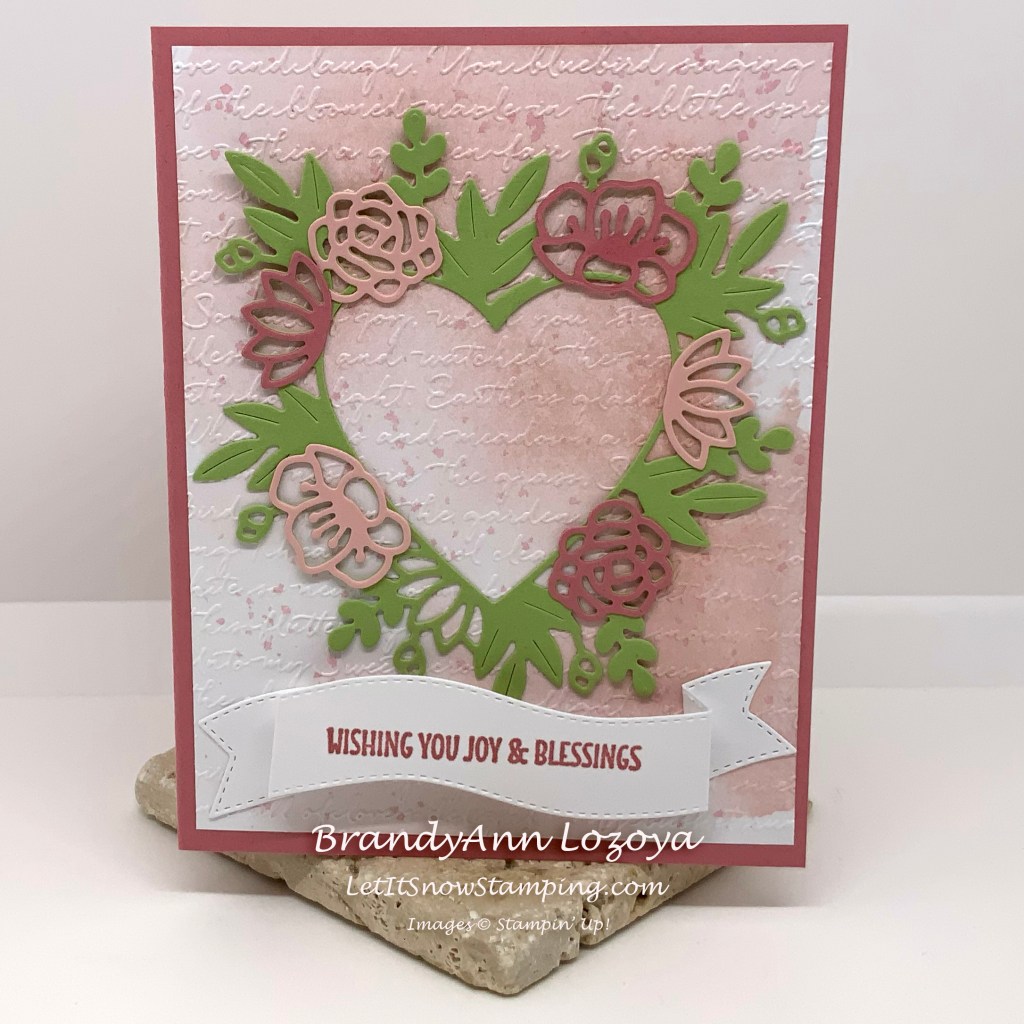
I started with a Rococo Rose card base that measures 8-1/2″x5-1/2″ and scored at 4-1/4″ for a nice crisp fold.
The Basic White card front measures 4″x5-1/4″. First I added color by using the Ink Smooching Method, (which you can find HERE) and Blushing Bride ink. Next, I embossed it using the Scripty 3D Embossing Folder. Then to add a bit more color I splattered watered down Rococo Rose. I prepped the ink the same way I did for Ink Smooching by pressing the stamp pad to my glass mat and spritzing it with water. Next, using a paint brush or one of our water brushes, I gathered up the ink and tapped the brush with my left hand to make the ink fly off of the brush onto the paper. You will find the tutorial for both Ink Smooching and Splattering at the above link.
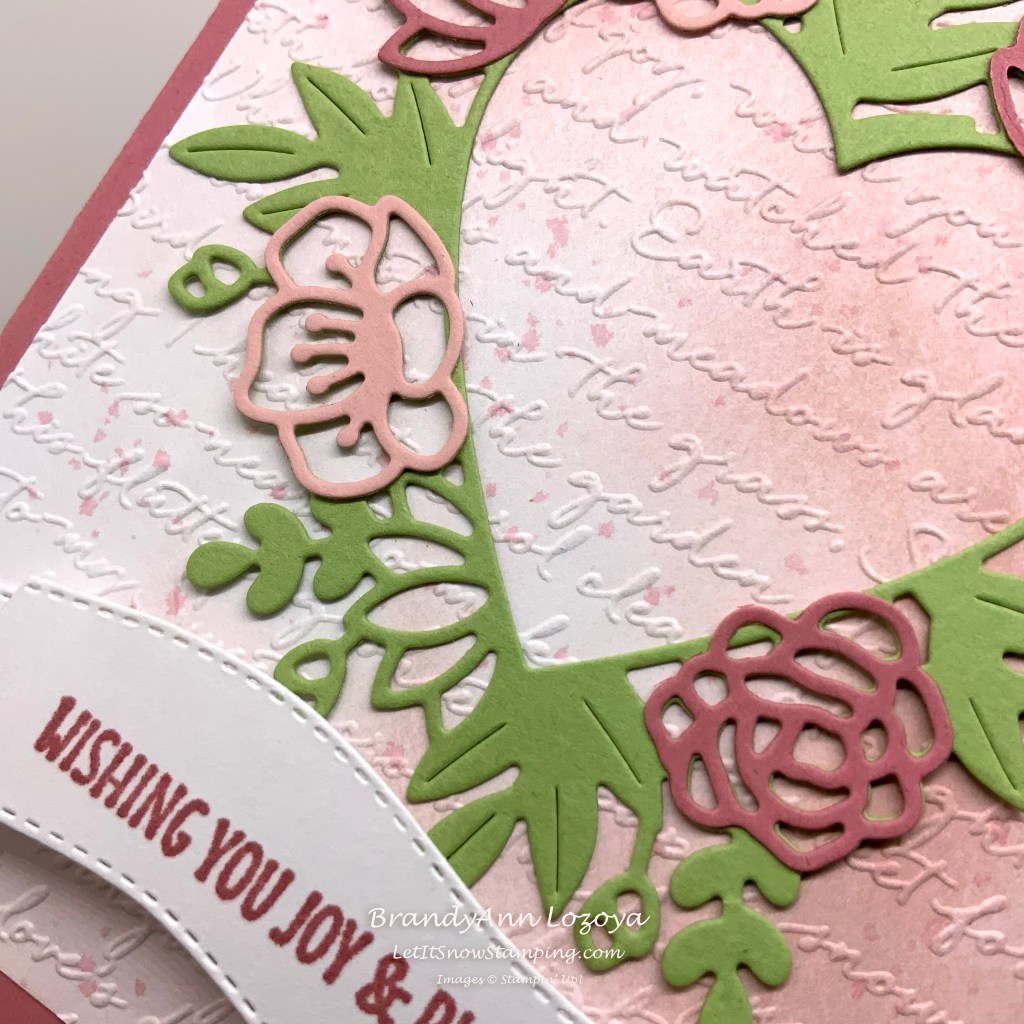
Next, I cut out the heart wreath using Pear Pizzazz cardstock. The colored flowers were cut from Rococo Rose and Blushing Bride and then glued on using the Fine-Tip Glue. Then I glued the wreath onto the card front.

Using a piece of scrap Basic White I stamped the sentiment in Rococo Rose and then cut it out with the banner from the Floral Heart Dies. This particular die has score marks to help you get the lift of the banner. Once folded you glue down the two edges to the card front.
Don’t forget to stamp on the inside of your card. I opted for a layered element this time.

I hope you enjoyed today’s project. Make sure to subscribe to Let It Snow Stamping so you never miss another blog post. Every week I pick a stamp set and make one project (possibly two) every weekday. As an added bonus I also make videos for new techniques. The techniques can also be found under the Technique Corner tab.
Make sure you find LISS on:
Facebook (#LISStamping, @LetItSnowStamping),
Instagram (@LetItSnowStamping),
Did you know?
Butterfly Bouquet is Here!


For more information contact me at LetItSnowStamping@gmail.com today!
When ordering use the March 2021 host code for extra benefits
K6M4TYCT

EMBRACE EACH MOMENT CLING STAMP SET
$22.00
ROCOCO ROSE 8-1/2″ X 11″ CARDSTOCK
$8.75

BASIC WHITE 8-1/2″ X 11″ CARDSTOCK
$9.75
PEAR PIZZAZZ 8-1/2″ X 11″ CARDSTOCK
$8.75
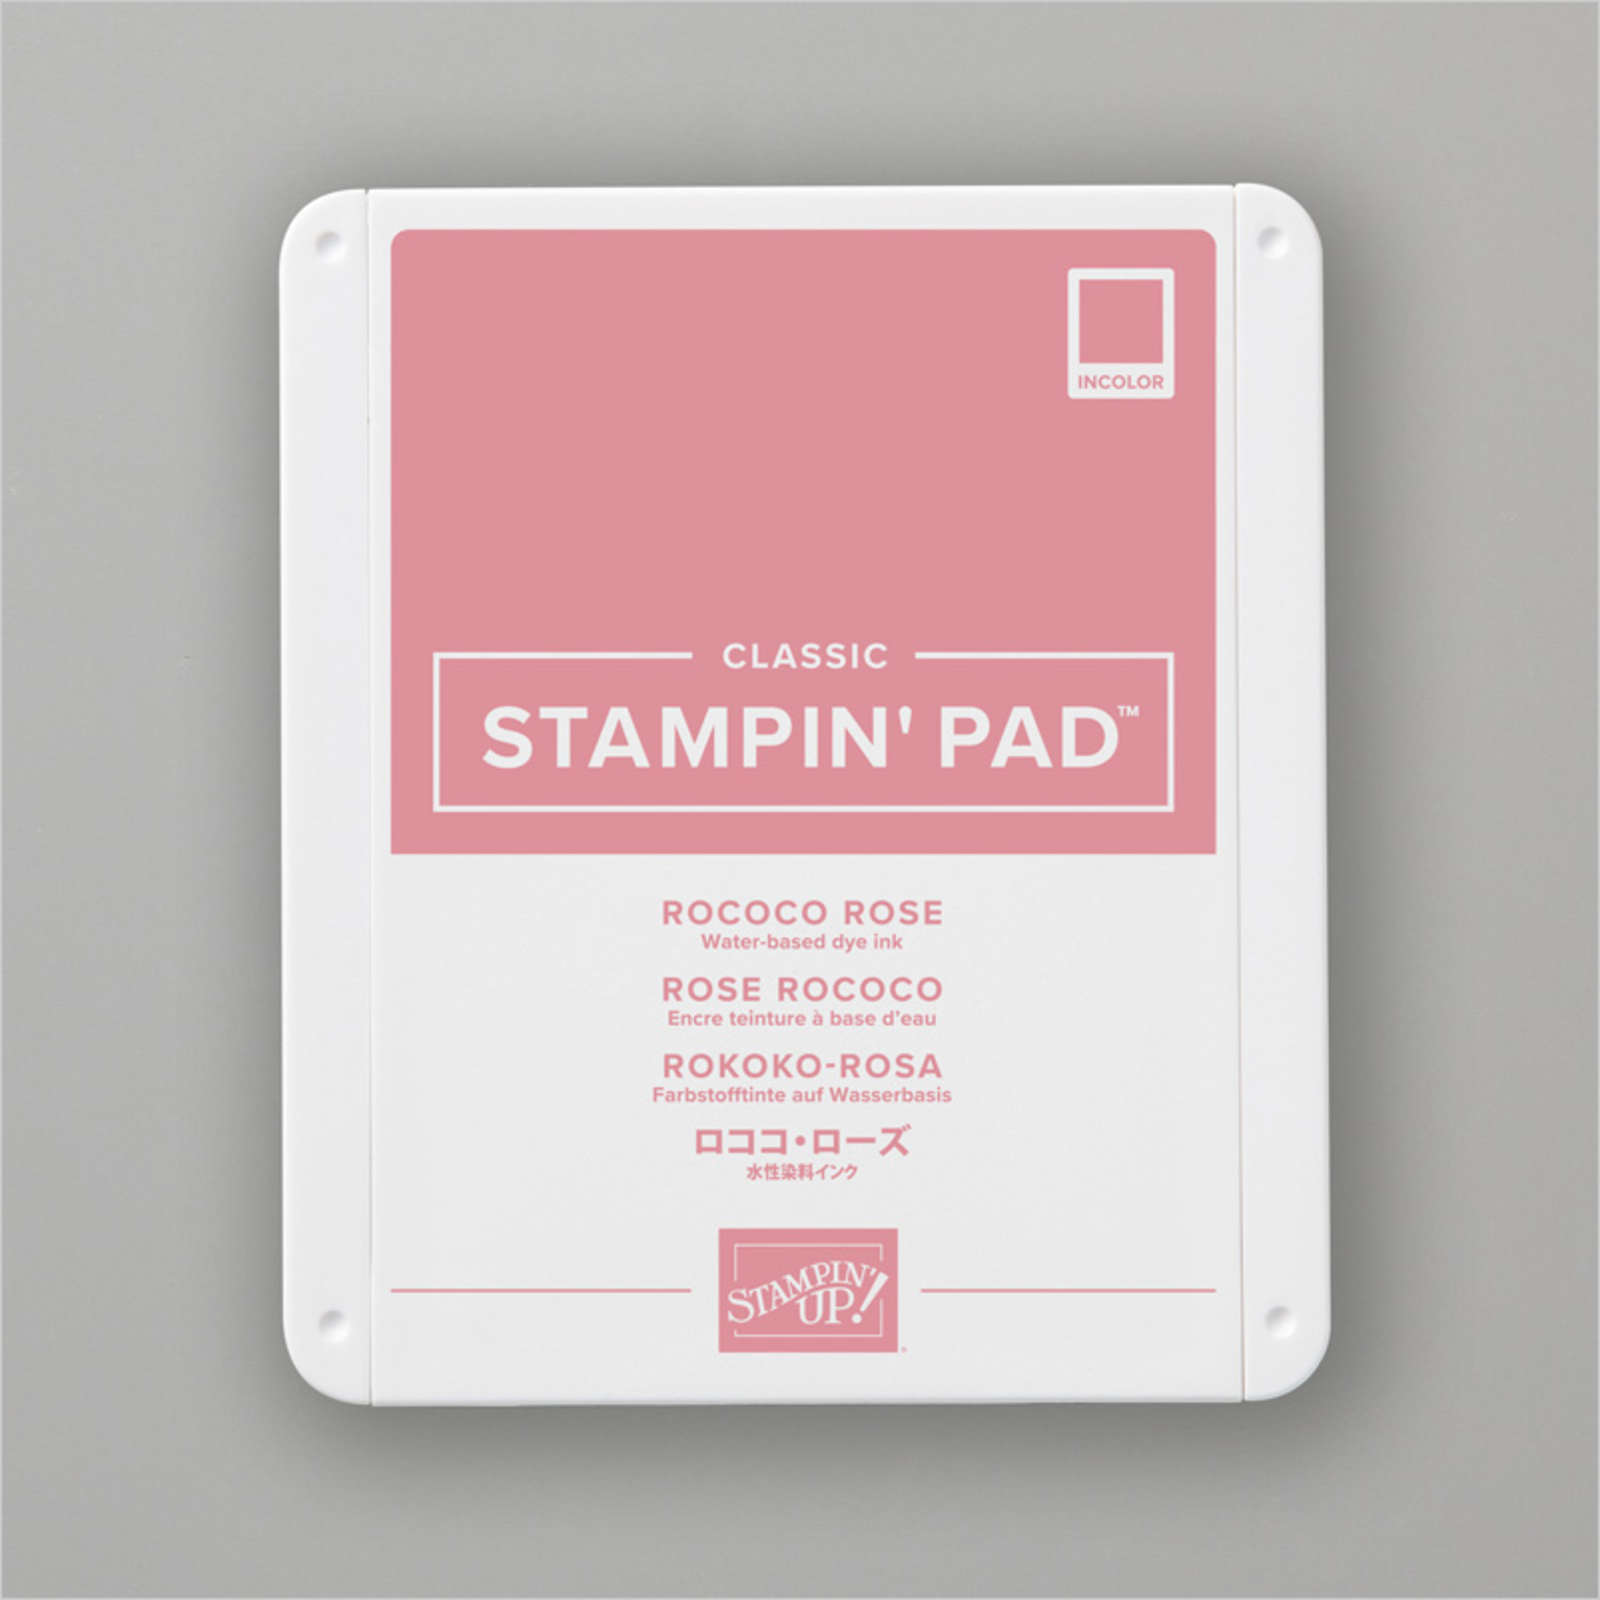
ROCOCO ROSE CLASSIC STAMPIN’ PAD
$7.50

BLUSHING BRIDE CLASSIC STAMPIN’ PAD
$7.50

SCRIPTY 3D EMBOSSING FOLDER
$10.00
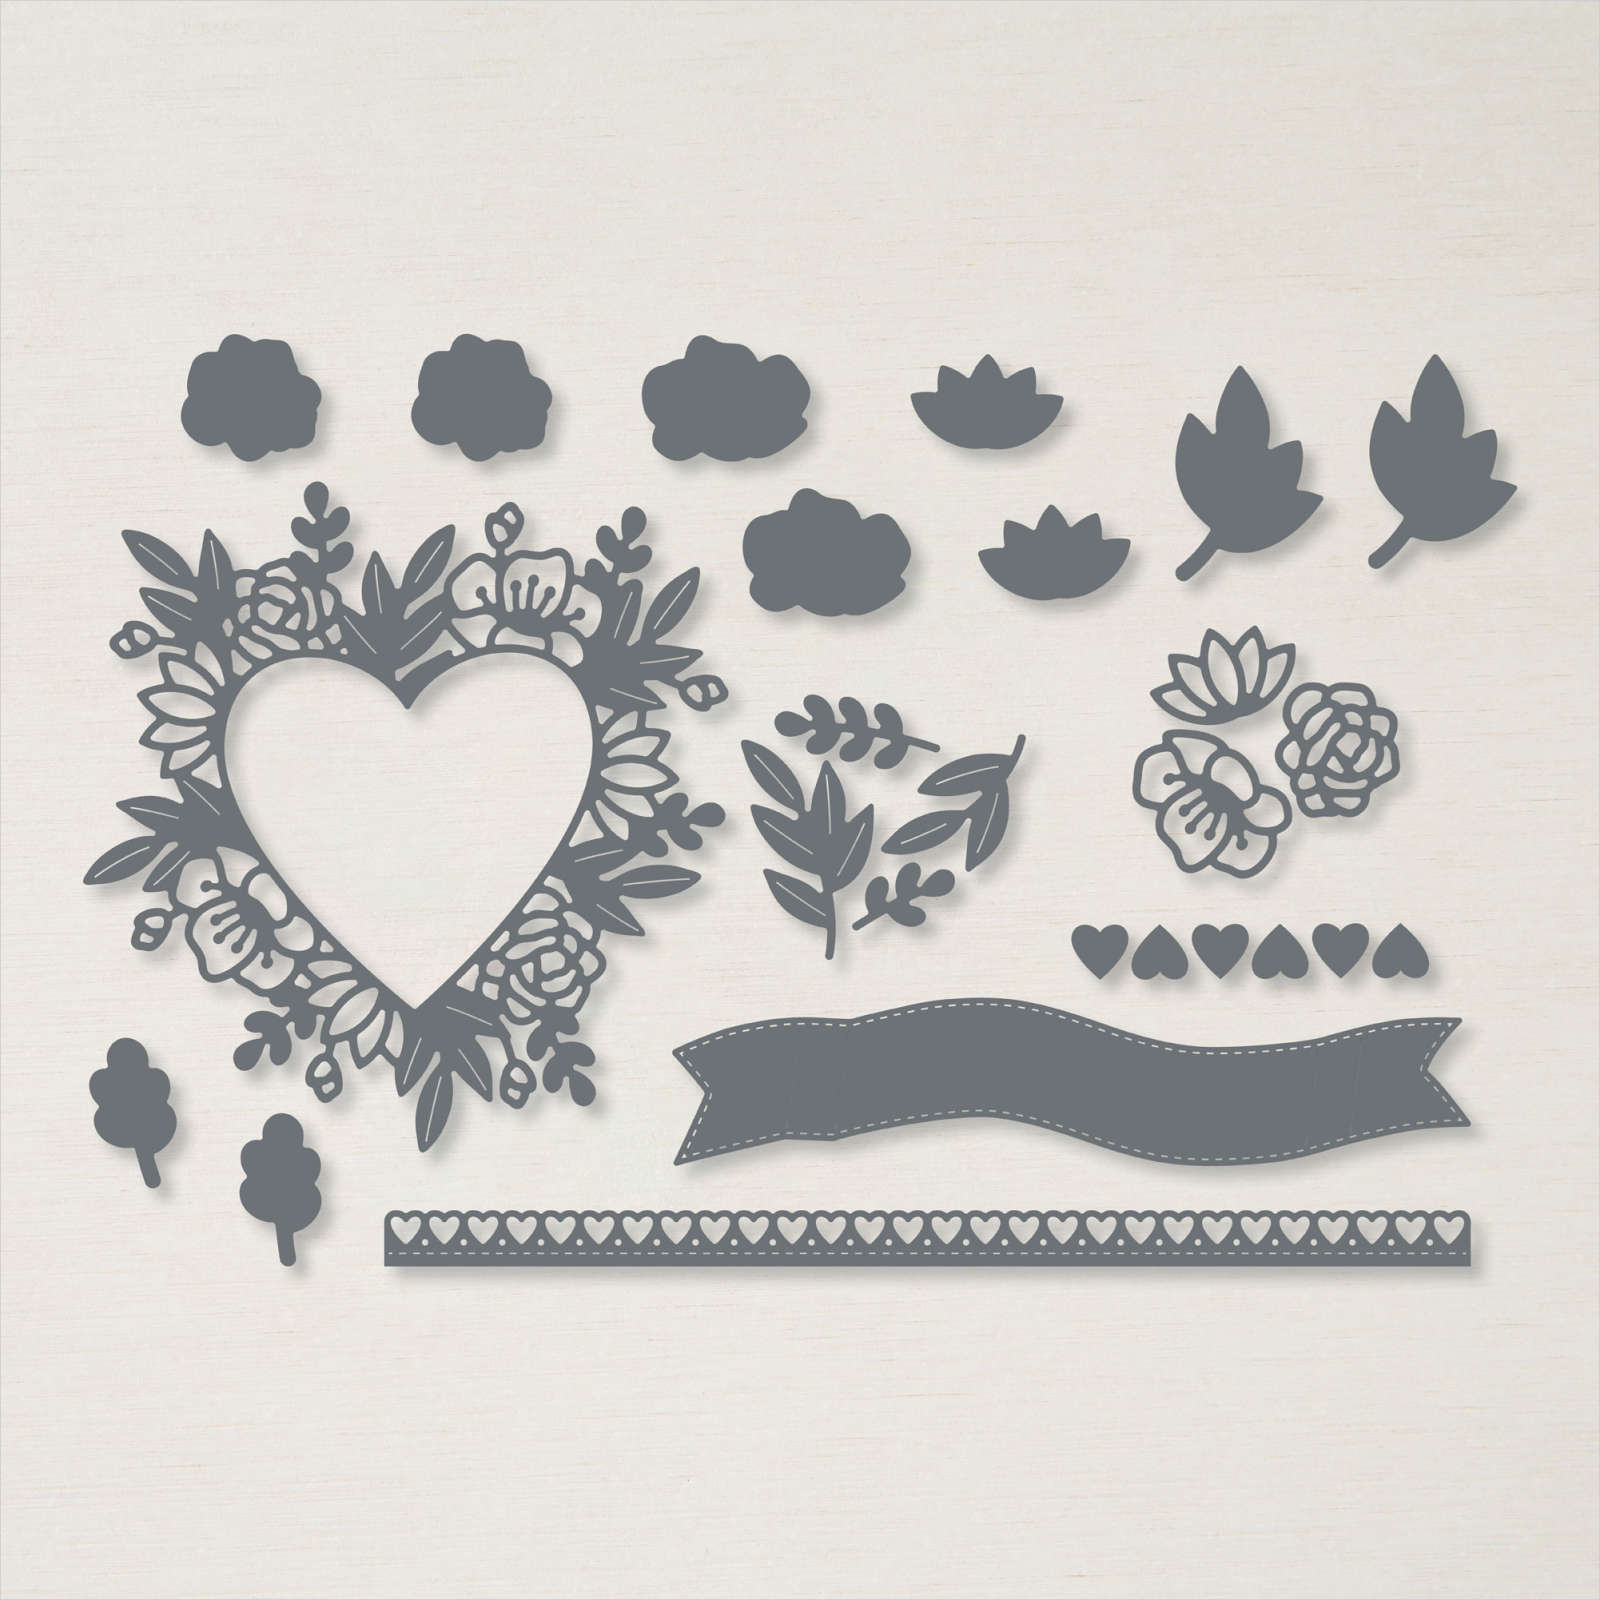
FLORAL HEART DIES
$38.00
BLUSHING BRIDE 8-1/2″ X 11″ CARDSTOCK
$8.75

WATER PAINTERS
$12.00
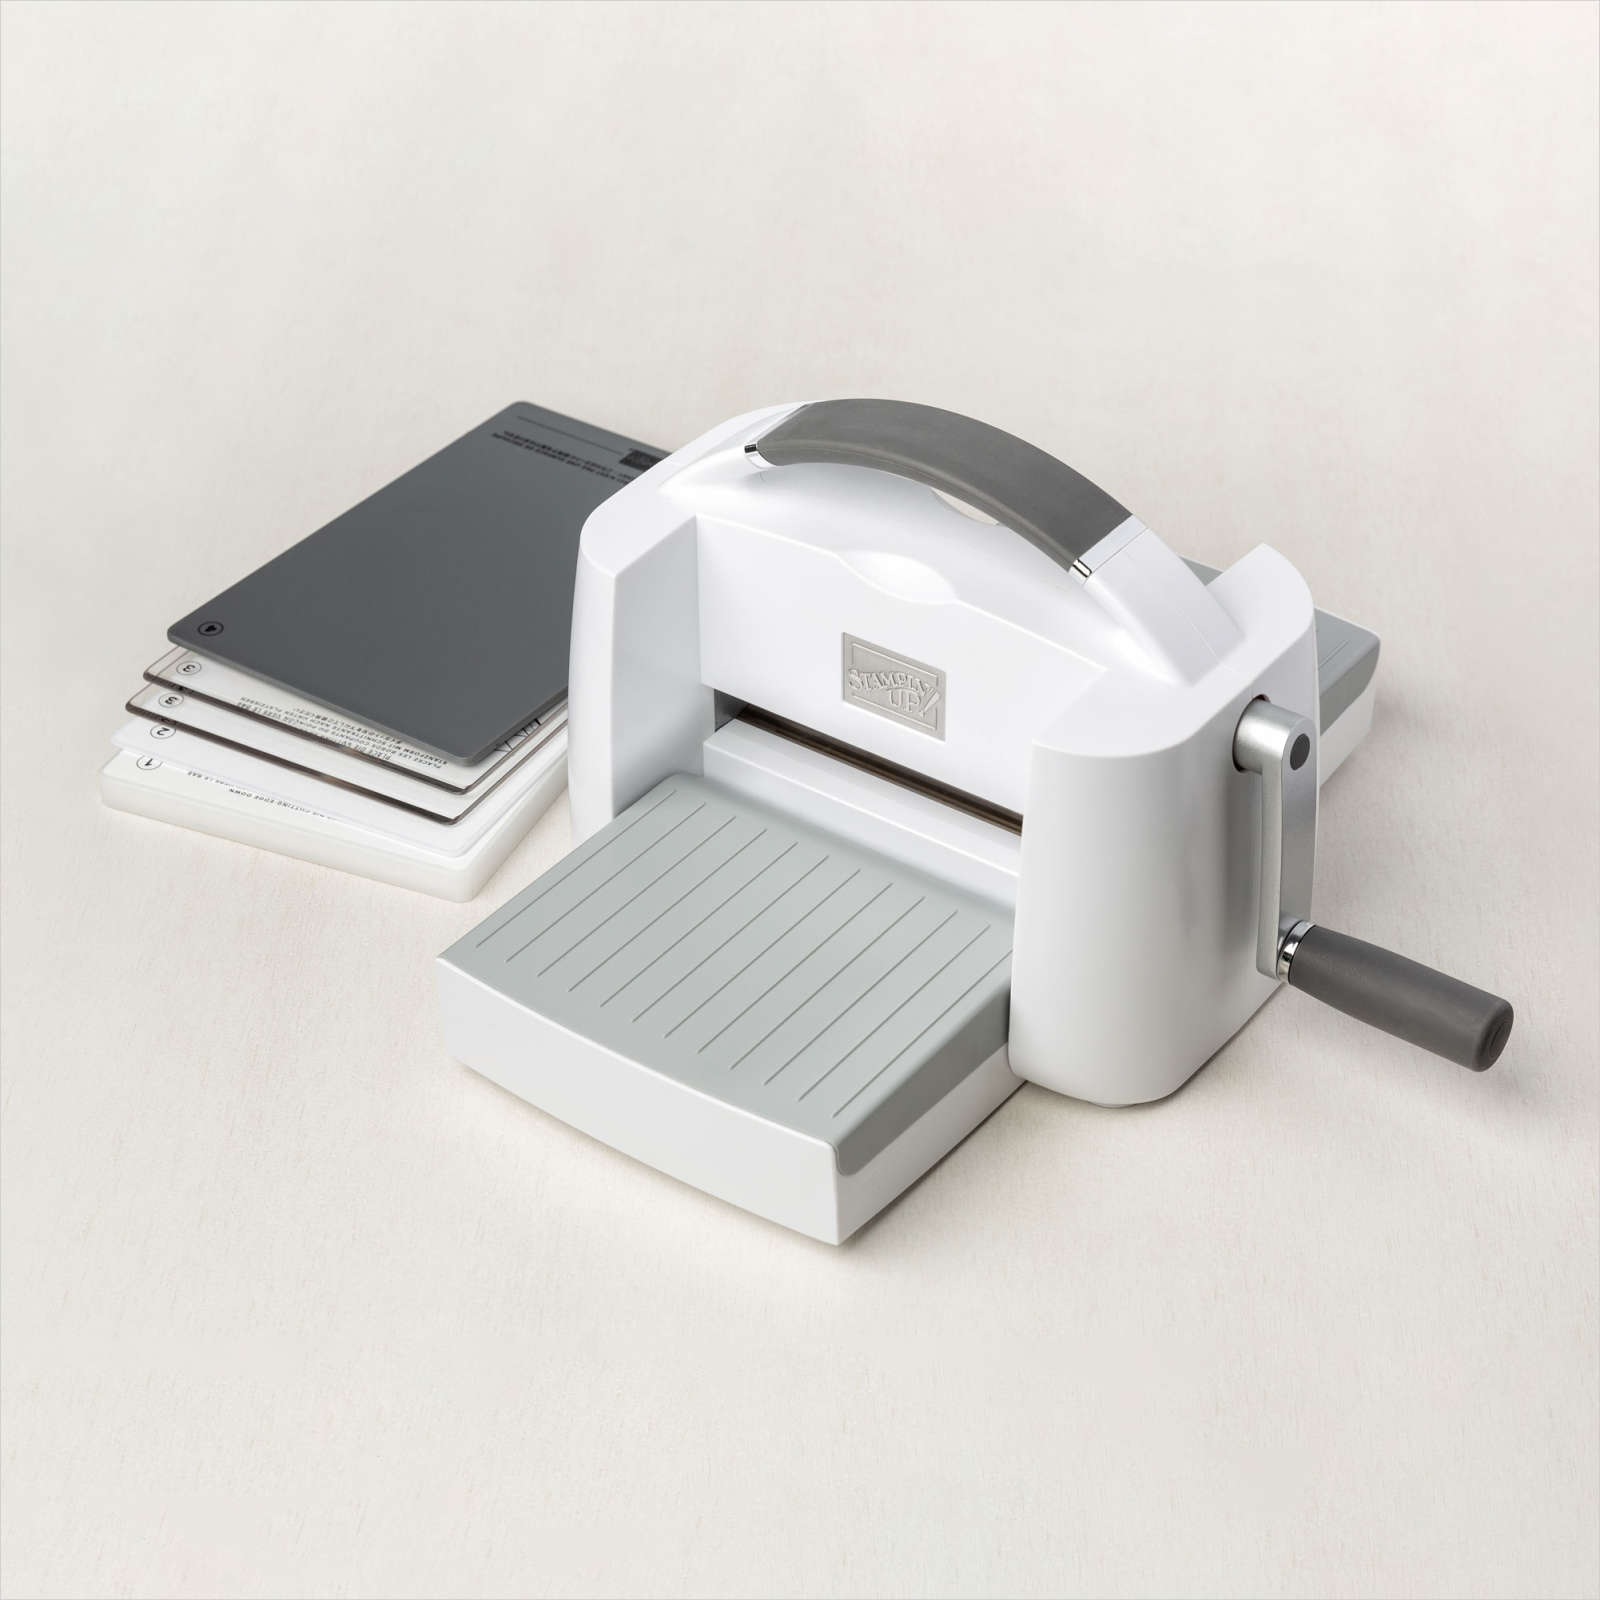
STAMPIN’ CUT & EMBOSS MACHINE
$120.00

PAPER TRIMMER
$25.00
FINE-TIP GLUE PEN
$7.00

SIMPLY SCORED SCORING TOOL
$30.00

CLEAR BLOCK BUNDLE
Bundled Savings
$71.50

Beautiful card