Wow! What a Thursday! Getting the final touches prepped for my little guy’s virtual birthday party this weekend has been nuts! We have all of the party packs finally ready! The kids will be playing Pictionary, Trivia, and Bingo with the birthday boy via Zoom.

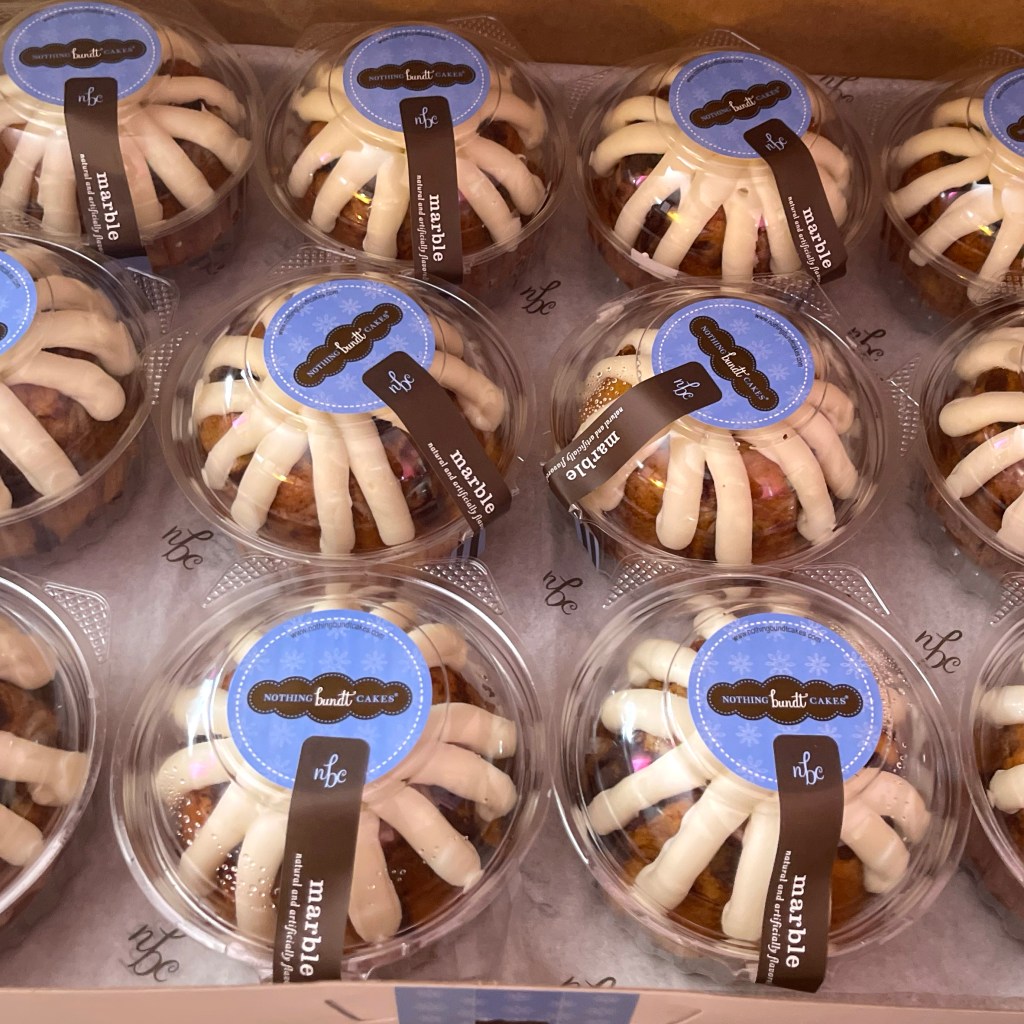
Each of the party attendees also got a mini Bundt cake from our favorite bakery so they can eat cake with the birthday boy after singing Happy Birthday. They even got a candle in case they want to blow out the candles with him, LOL!
Oh! I forgot to mention that we have also been working hard to put the final touches on his Pinewood Derby car for this weekend’s race! Thank goodness I was only in charge of putting on the wheels! I try not to stay up until midnight each night because I have to get up in the morning in case he needs me during remote school that starts at 7:30am! And that my dear friends is why all of the posts this week have been arriving so late in the evening.
The Card….
Today’s card got me to pull out my Silver Foil Sheets. They are so pretty that I just want to keep them tucked safely away! Well, today was the day to get them out to make this awesome card. Not only did I cut it up for my card front, I also ran it through the machine to emboss it using the Old World Paper 3D Embossing Folder. I flattened it out a bit, because the ridges were too defined. To flatten it, I turned it over and ran my bone folder’s long edge over it. It is mounted on my Basic Black card base which measures 8-1/2″x5-1/2″ and is scored at 4-1/4″ for crisp folding.
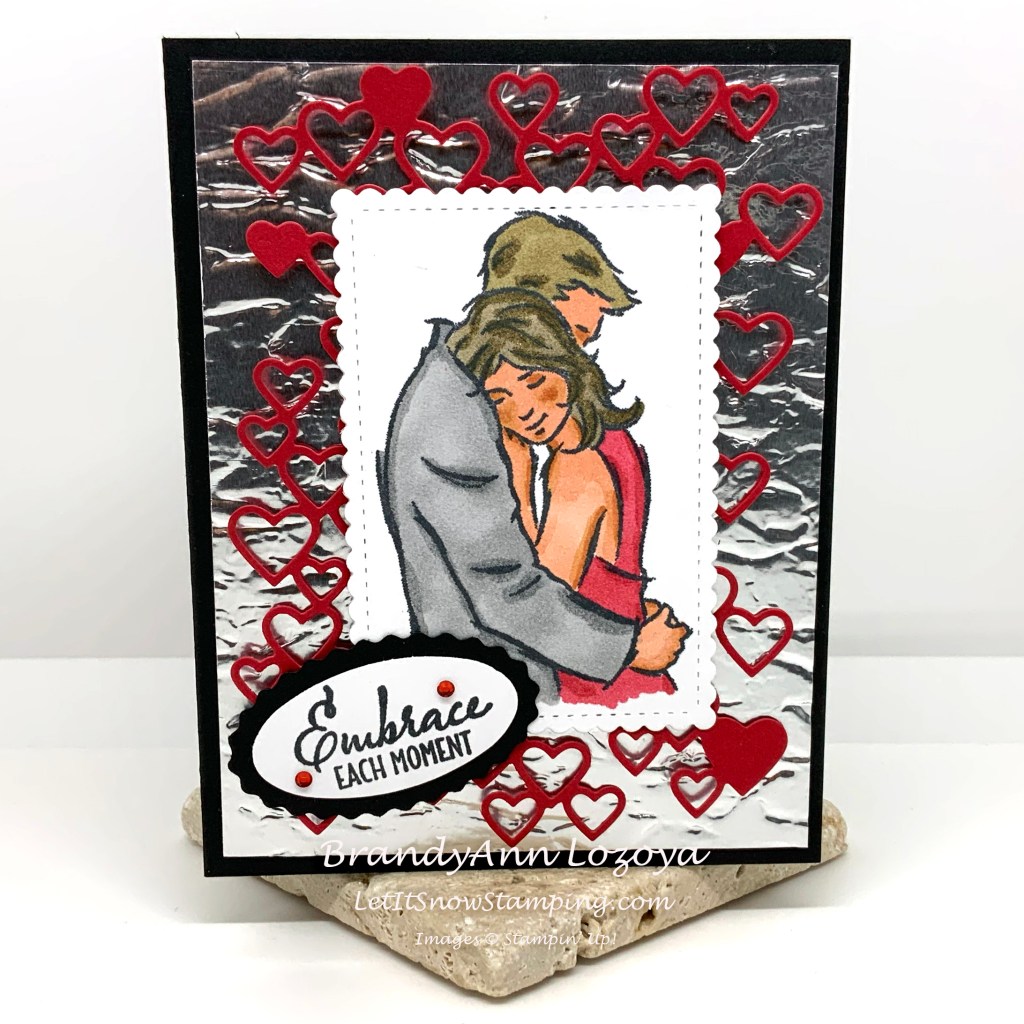
Then I stamped my image on a scrap of Basic White cardstock using the Momento Tuxedo Black ink pad and colored it in using my Stampin’ Blends Markers. I will admit, that I used another company’s skin tone alcohol markers to help make the people look more realistic. I need to add to my Stampin’ Blends collection because I don’t think the guy would want his skin to be the same color as his hair! By the way, I am terrible at coloring, so ignore her cheeks, LOL! To add a bit of shine to the hair, I used my Wink of Stella pen. Finally, I cut the couple out using my Stitched So Sweetly rectangle die.
Next, I added a die cut from the Detailed Hearts die, cut from Real Red cardstock. I mounted that to the back of the couple using dimensionals.

Last but not least, I stamped my sentiment using the Tuxedo Black on Basic White, then embellished it with Red Rhinestone Basic Jewels. I attached it to the rectangle only so as not to press down on the hearts die cut.

I like the fact that the hearts look like they are floating in the background.

I hope you enjoyed today’s project. Make sure to subscribe to Let It Snow Stamping so you never miss another blog post. Every week I pick a stamp set and make one project (possibly two) every weekday. As an added bonus I also make videos for new techniques. The techniques can also be found under the Technique Corner tab.
Make sure you find LISS on:
Facebook (#LISStamping, @LetItSnowStamping),
Instagram (@LetItSnowStamping),
Did you know?
Butterfly Bouquet is Here!


For more information contact me at LetItSnowStamping@gmail.com today!
When ordering use the March 2021 host code for extra benefits
K6M4TYCT
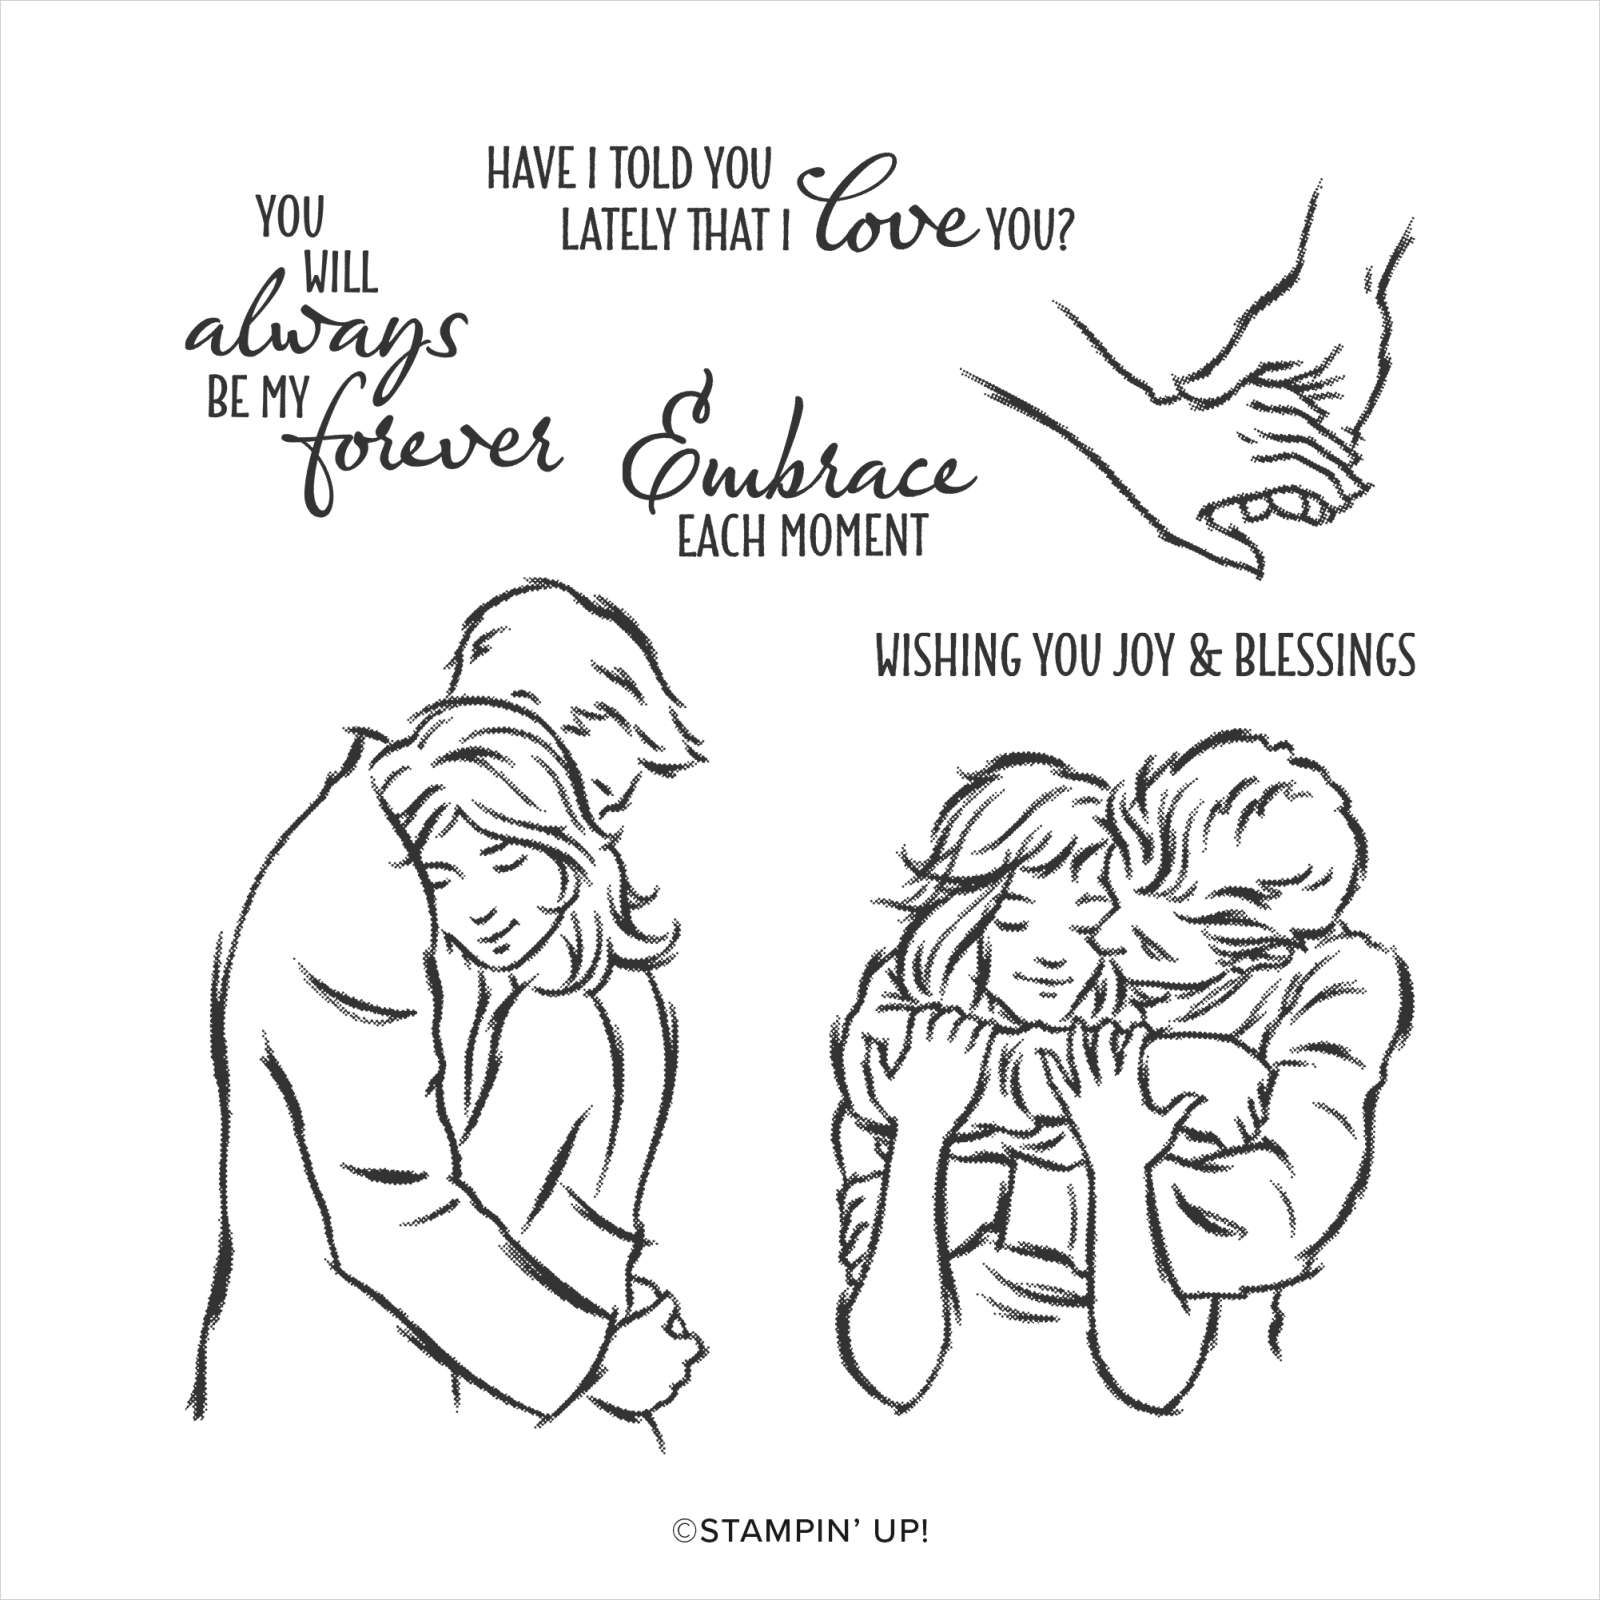
EMBRACE EACH MOMENT CLING STAMP SET
$22.00

BASIC BLACK 8-1/2″ X 11″ CARDSTOCK
$8.75

BASIC WHITE 8-1/2″ X 11″ CARDSTOCK
$9.75

REAL RED 8-1/2″ X 11″ CARDSTOCK
$8.75
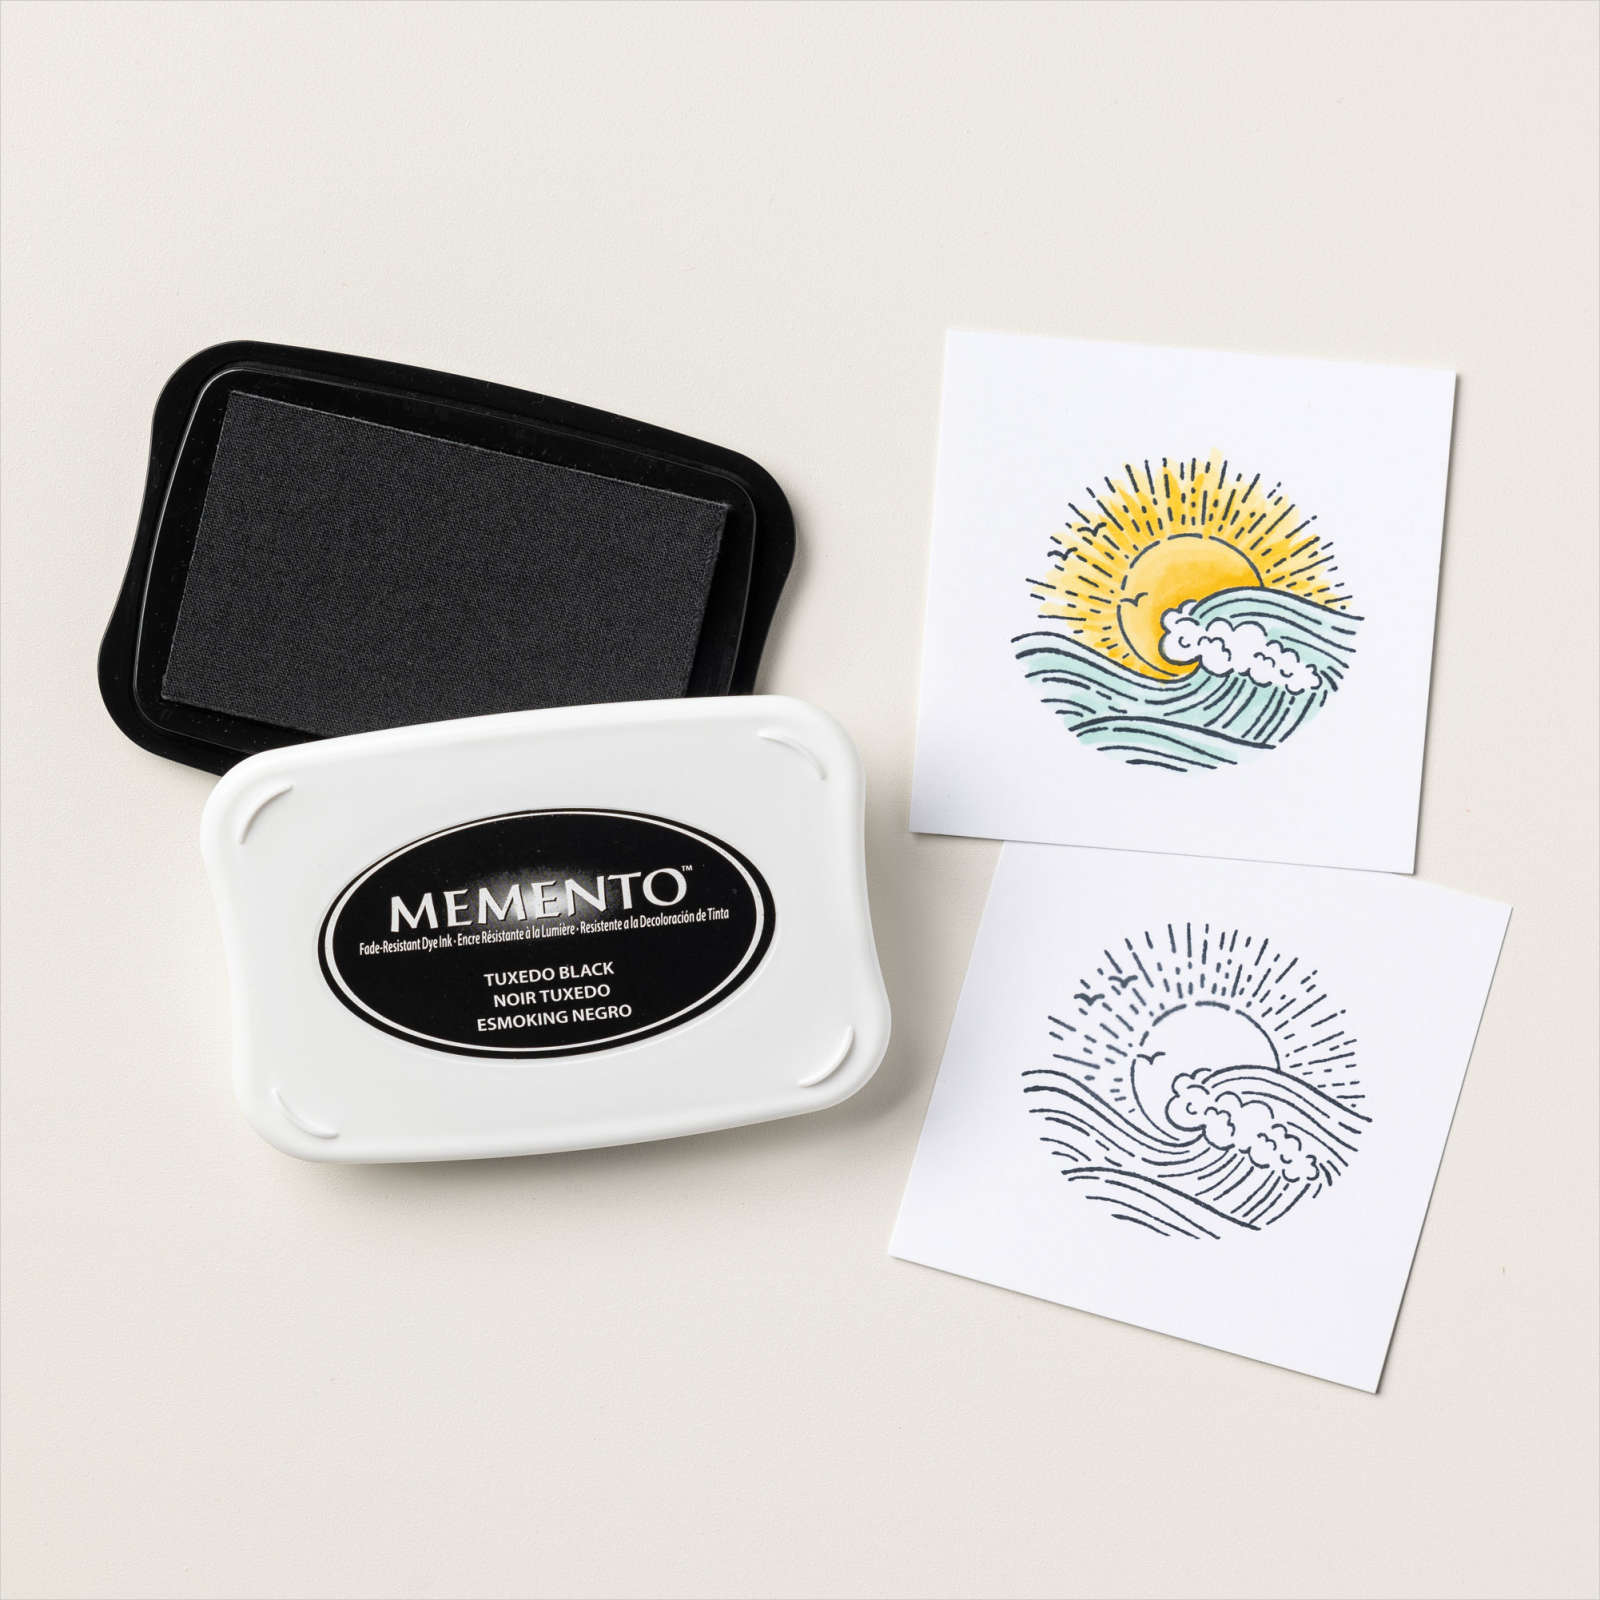
TUXEDO BLACK MEMENTO INK PAD
$6.00

SILVER FOIL SHEETS
$5.00

OLD WORLD PAPER 3D EMBOSSING FOLDER
$10.00
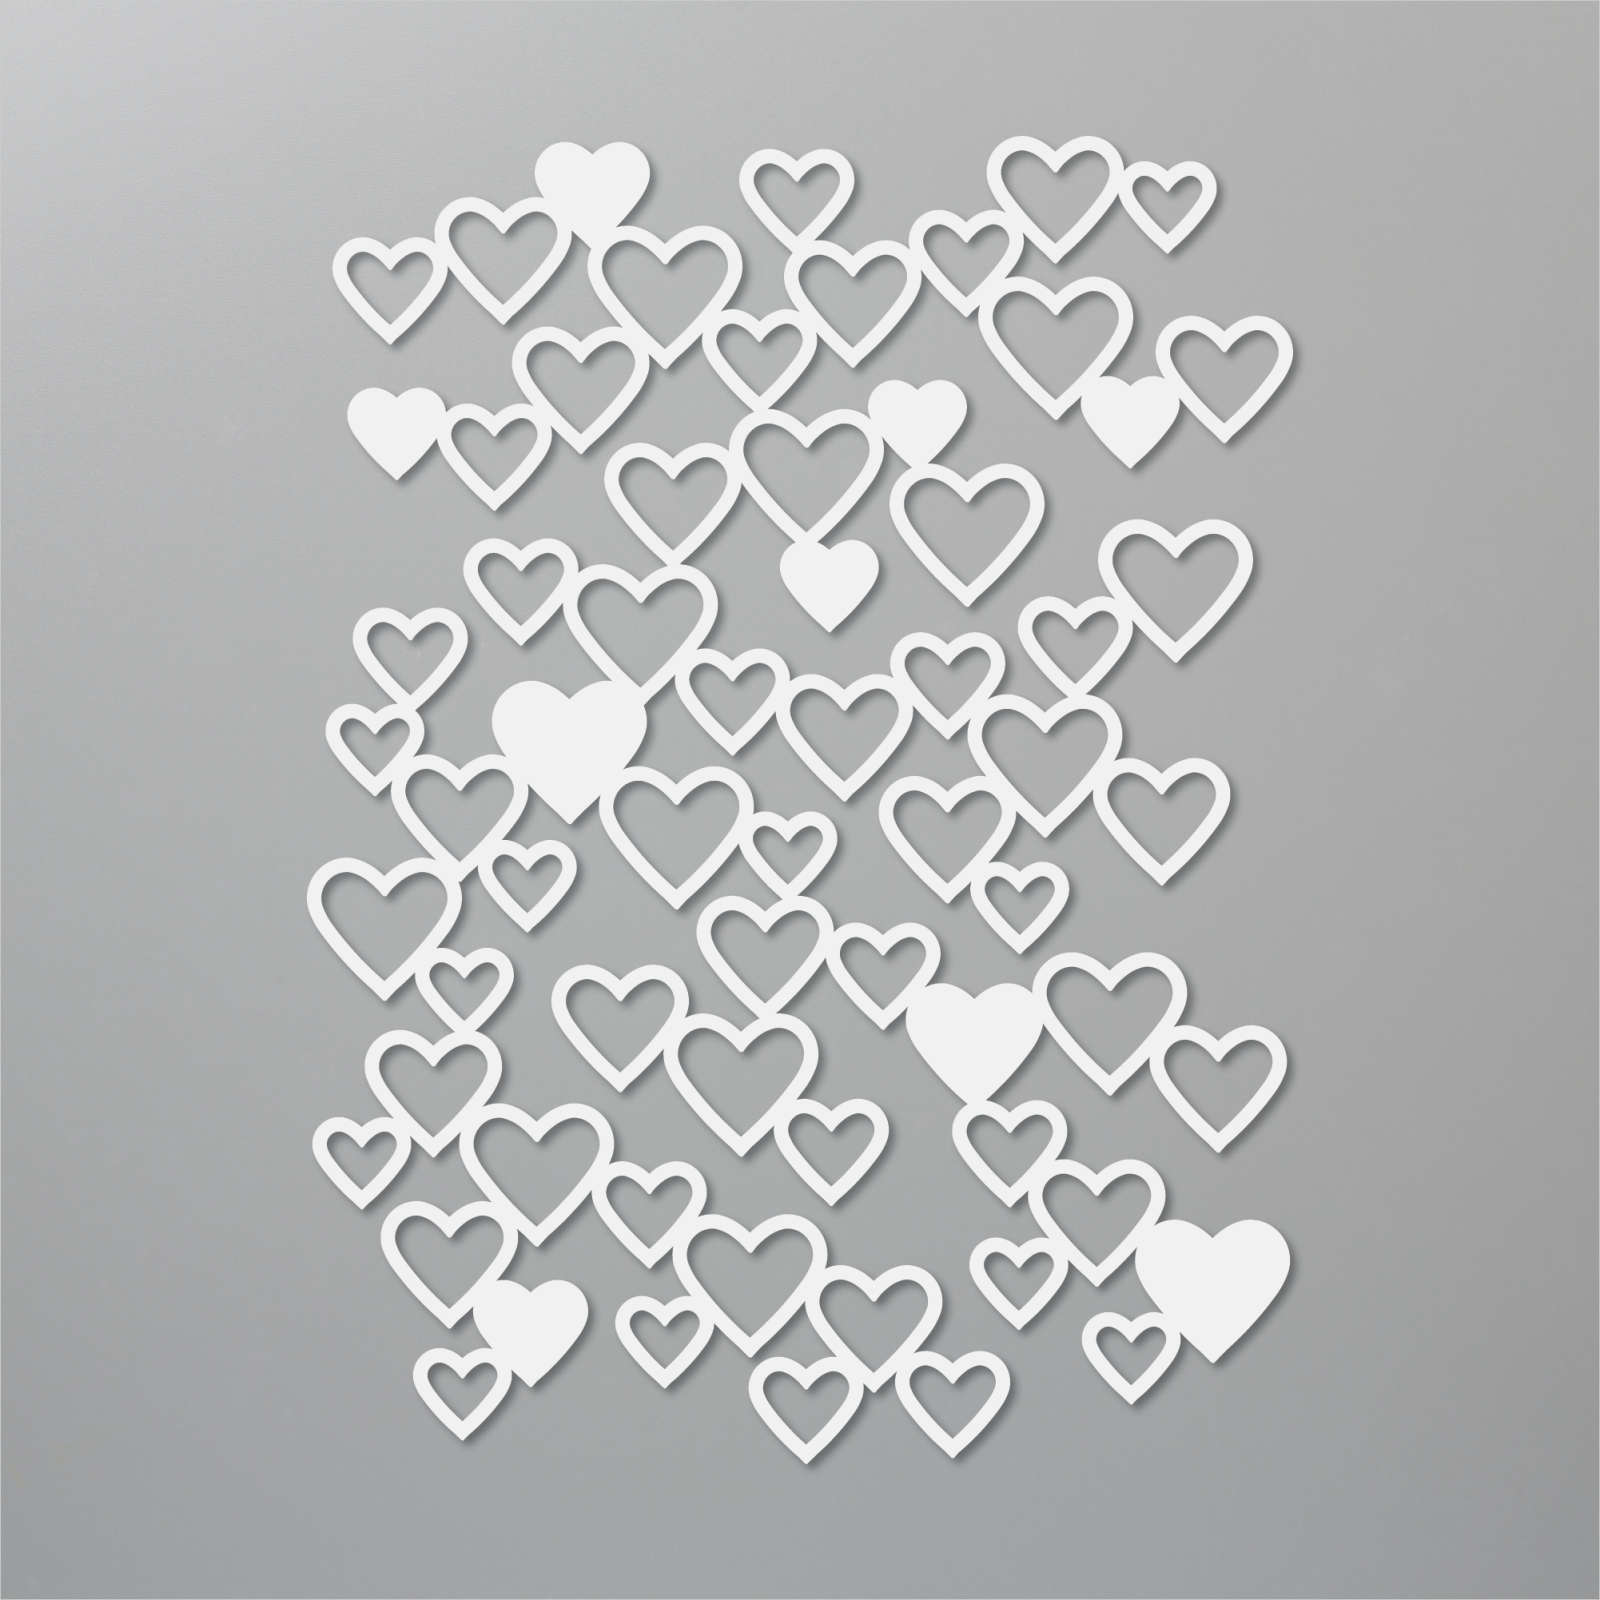
DETAILED HEARTS DIES
$29.00
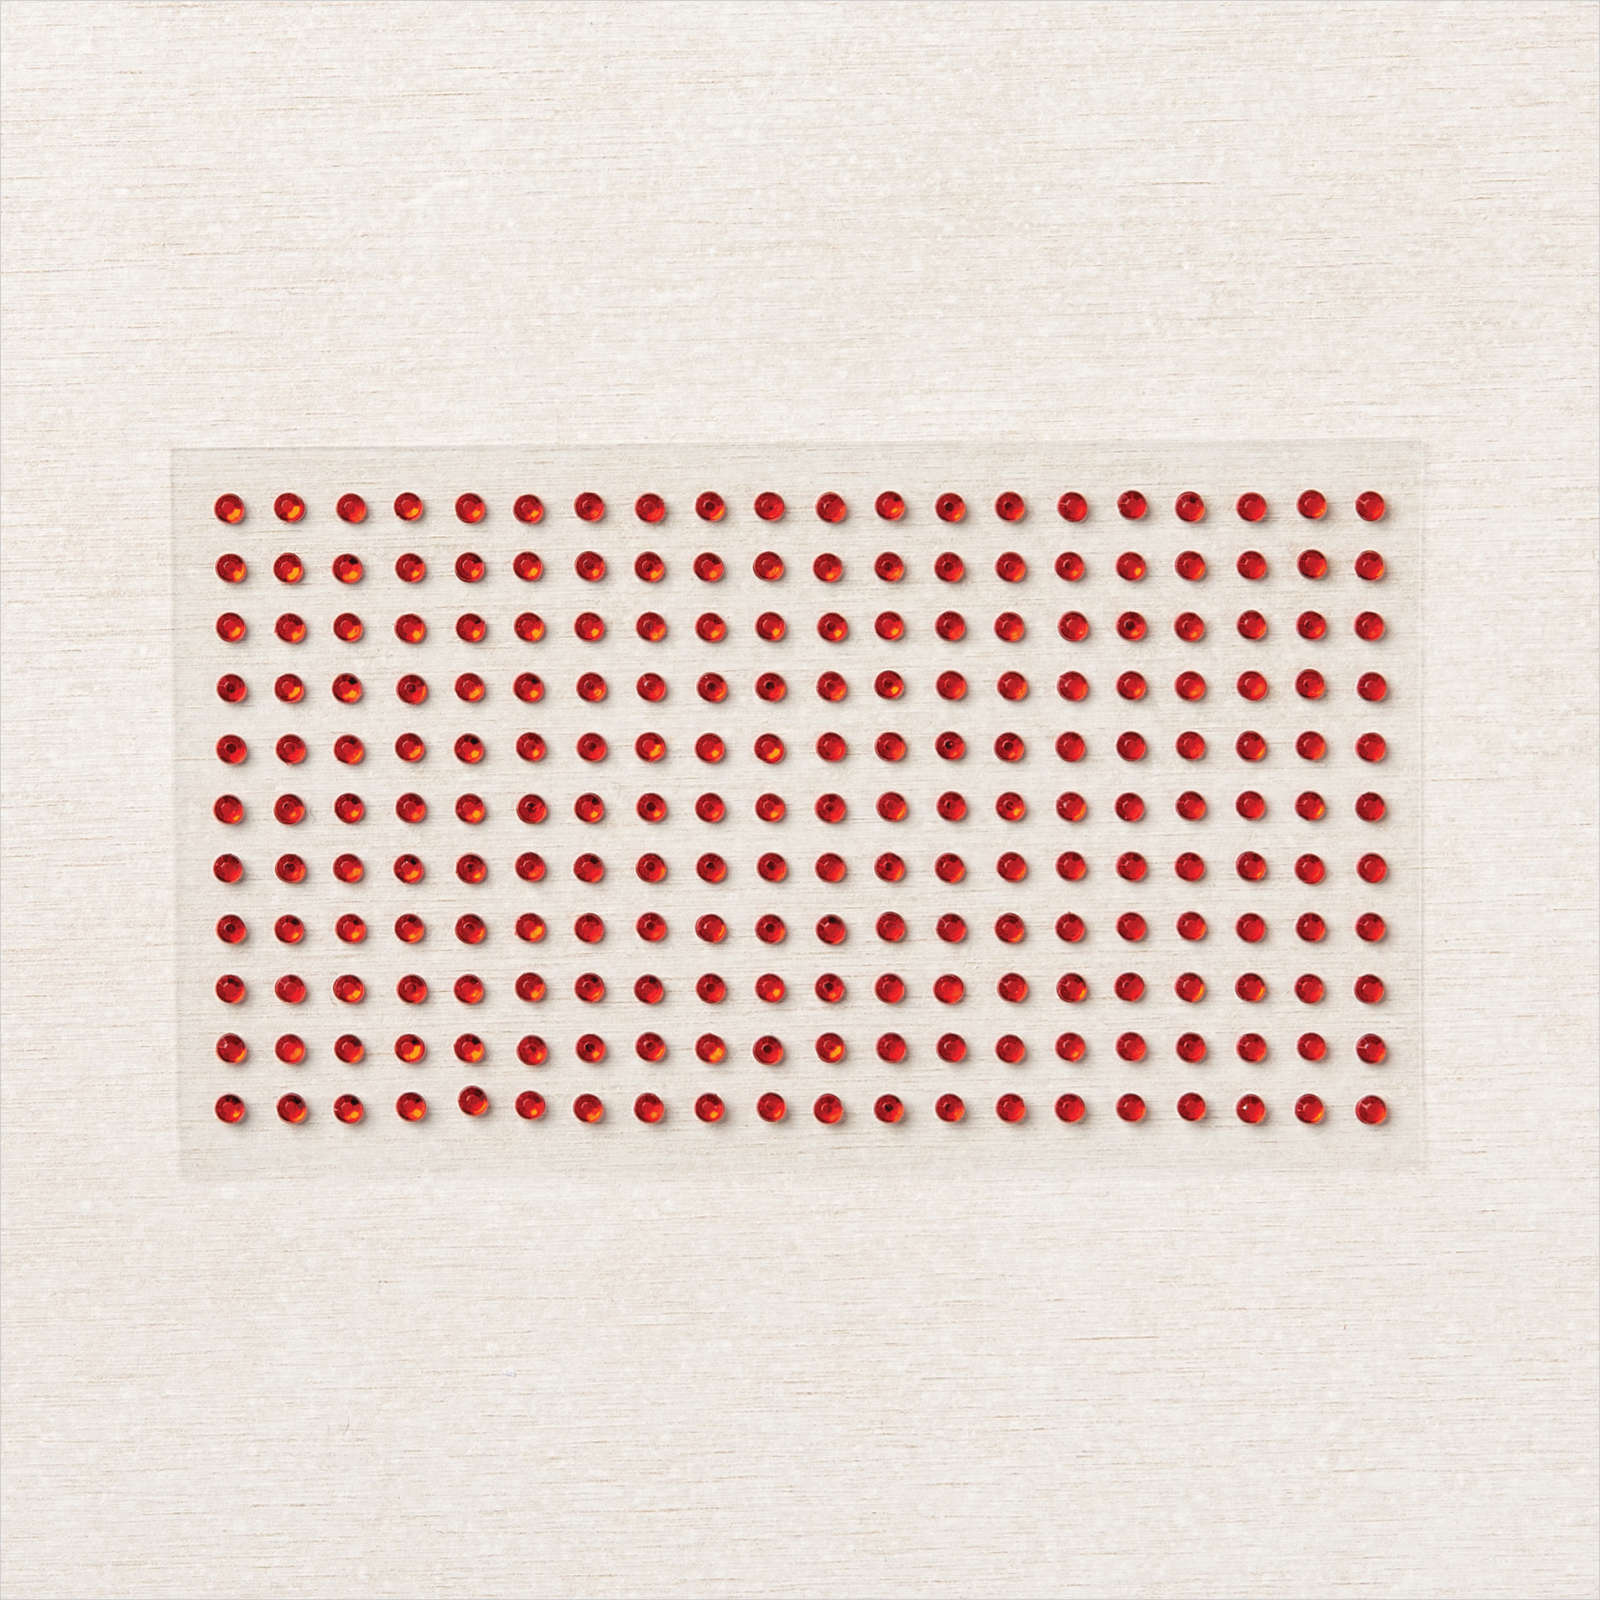
RED RHINESTONE BASIC JEWELS
$7.00

STITCHED SO SWEETLY DIES
$32.00
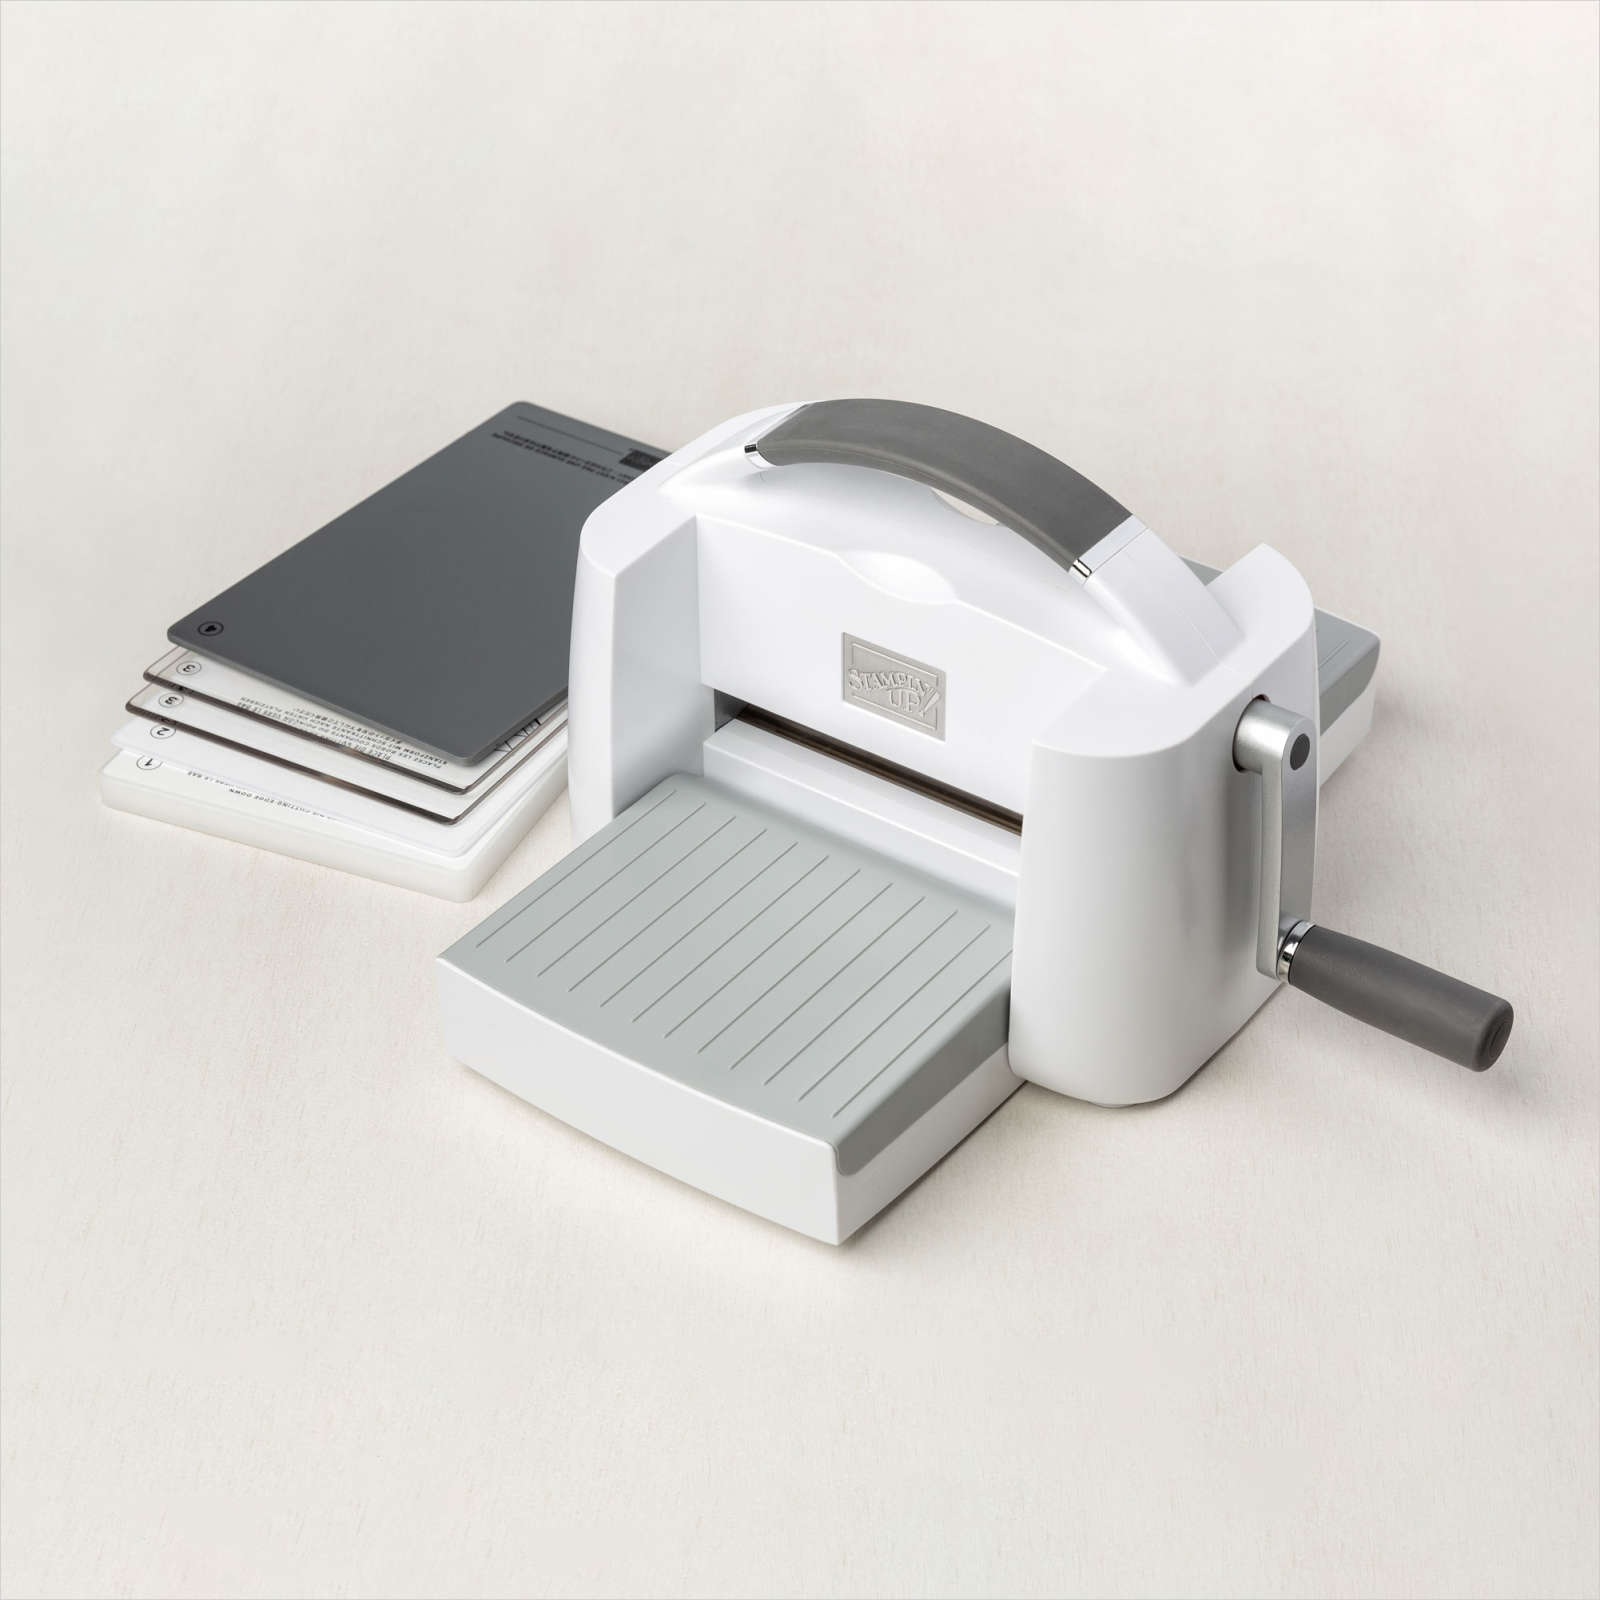
STAMPIN’ CUT & EMBOSS MACHINE
$120.00

PAPER TRIMMER
$25.00

STAMPIN’ DIMENSIONALS
$4.00

SIMPLY SCORED SCORING TOOL
$30.00

CLEAR BLOCK BUNDLE
Bundled Savings
$71.50

DOUBLE OVAL PUNCH
$18.00
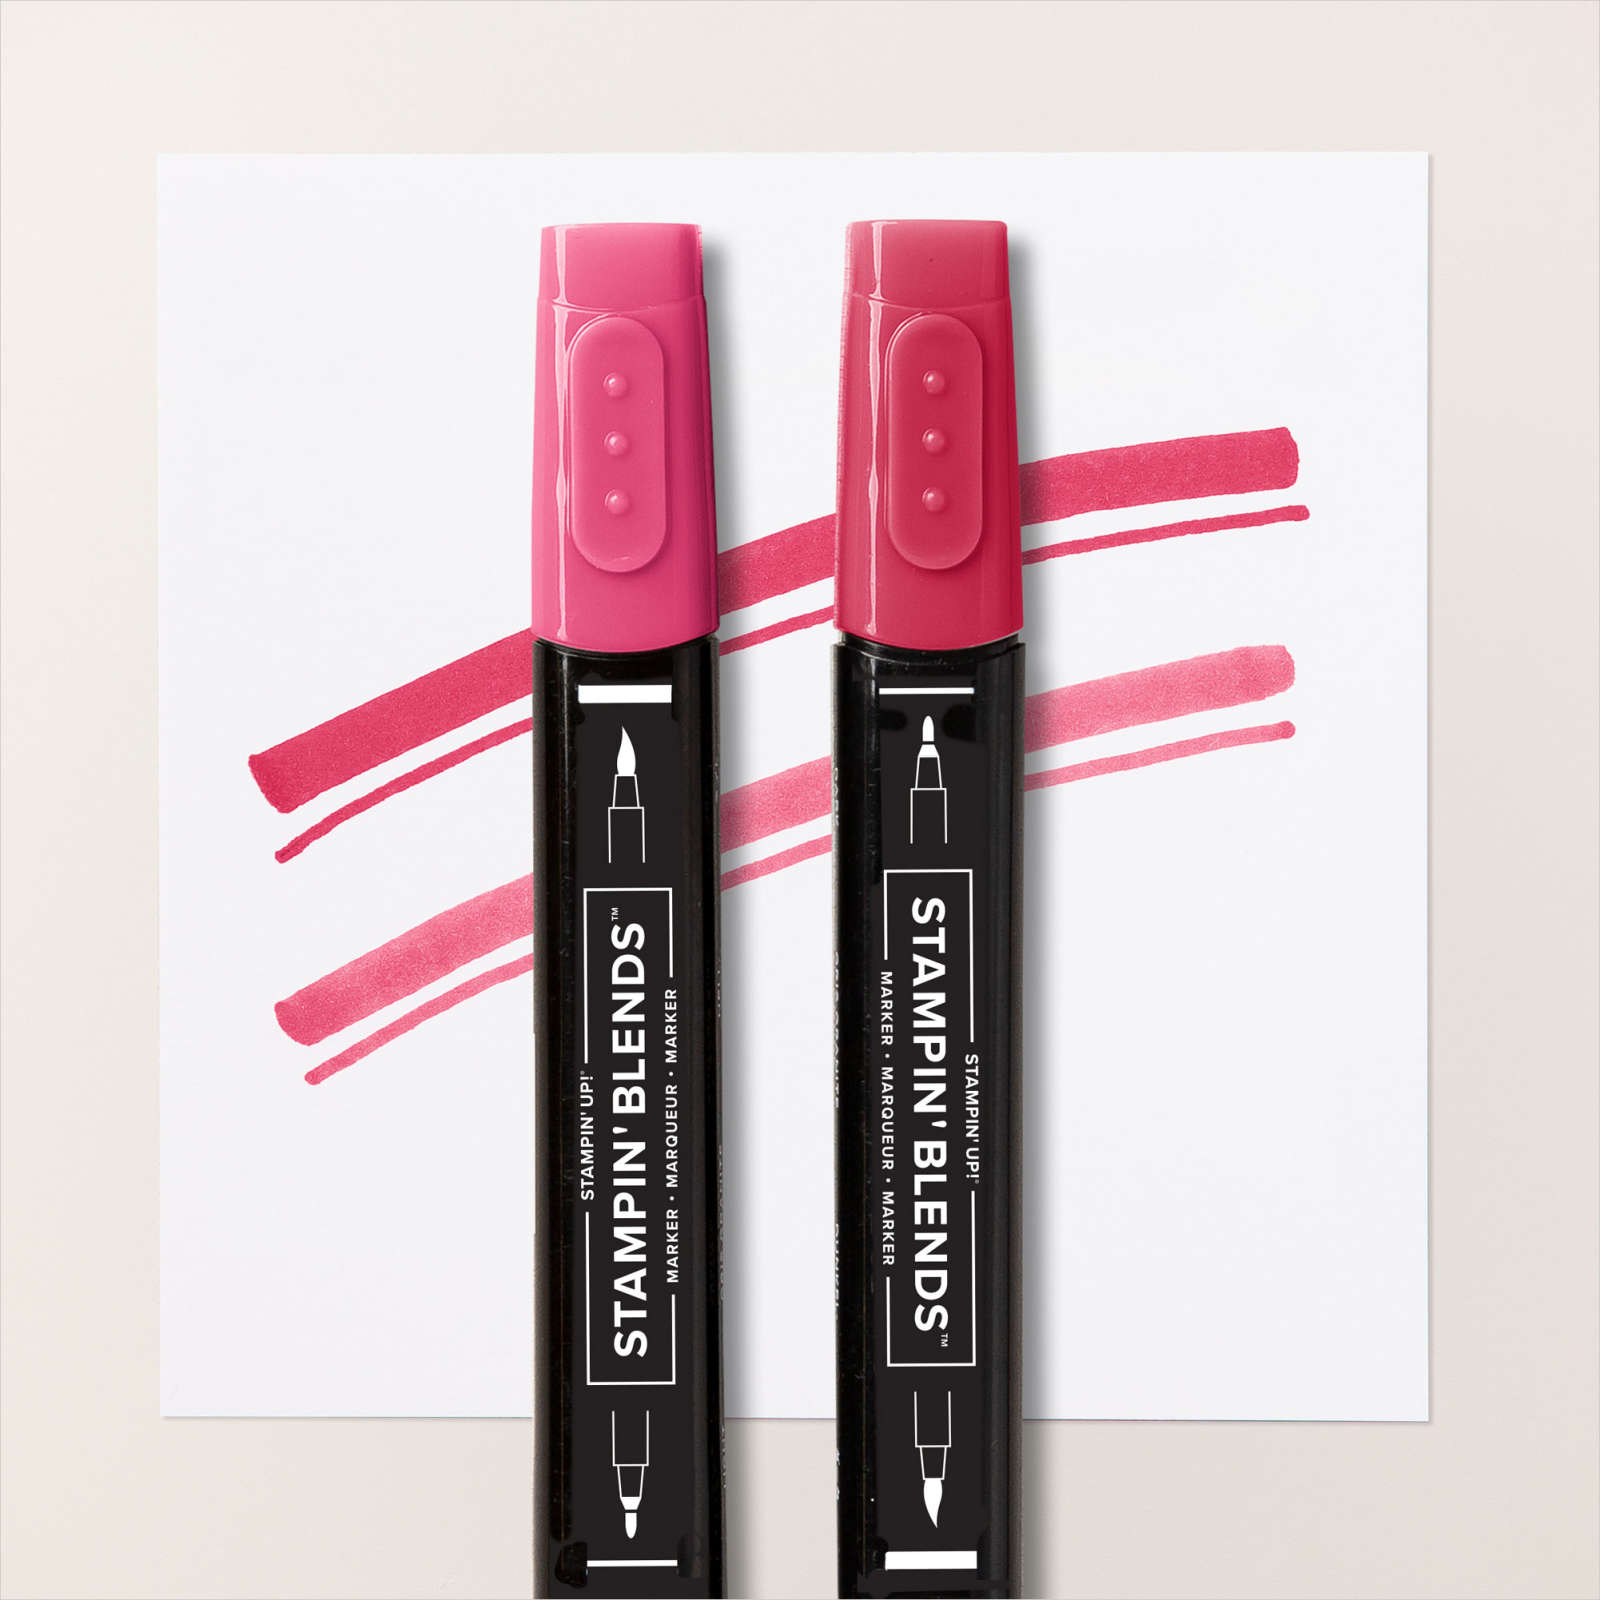
REAL RED STAMPIN’ BLENDS COMBO PACK
$9.00
