Happy Thursday!
It is weird for me to have project #2 on a Thursday, but it was birthday week, so I took a couple of days off to celebrate both mine and my youngest child’s birthdays. Since I love rainbows, I decided to add a lot of color to today’s card! The sentiment was also the theme for the celebrations this week, LOL! I was home by 9pm and out like a light by 10!

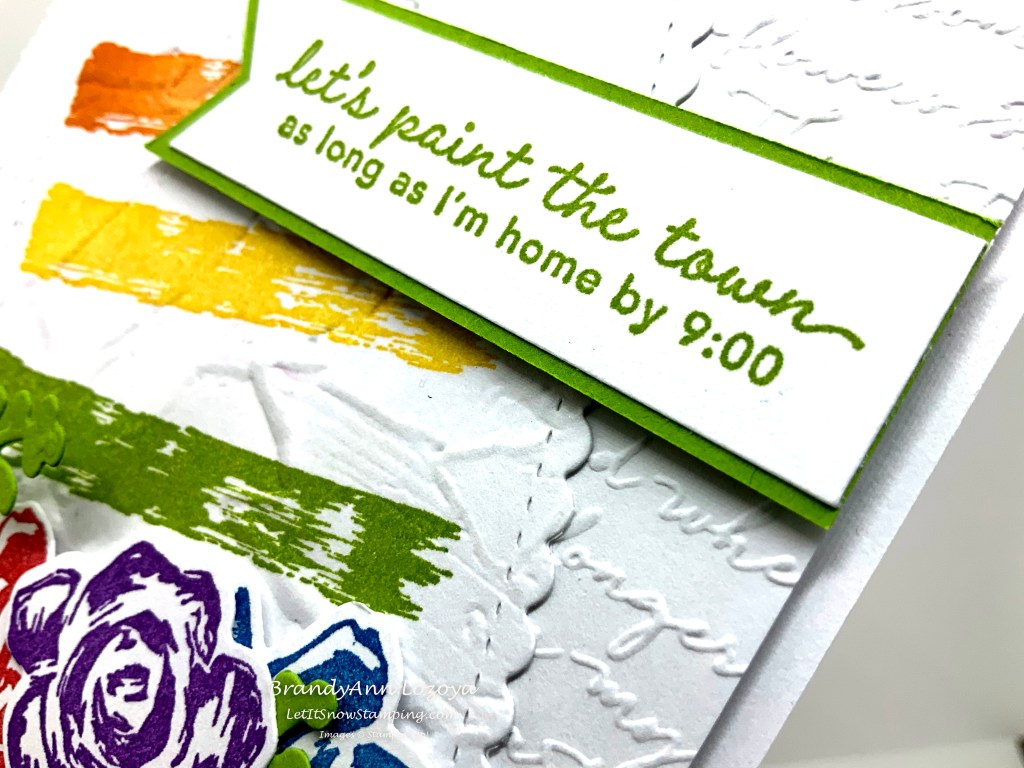
I started out with a Basic White card base that measures 8-1/2″x5-1/2″ and is scored at 4-1/4″. Then the Basic White card front measures 4″x5-1/4″. This layer I ran through the embossing machine with the Scripty 3D Embossing Folder.
Next, I stamped my rainbow colors onto a scrap of Basic White and cut it out using the largest rectangle of the Stitched So Sweetly Die set. I thought it looked a little bland, so I then ran it through the embossing machine using the Painted Texture 3D Embossing Folder to add a bit of texture to make it pop a bit more.
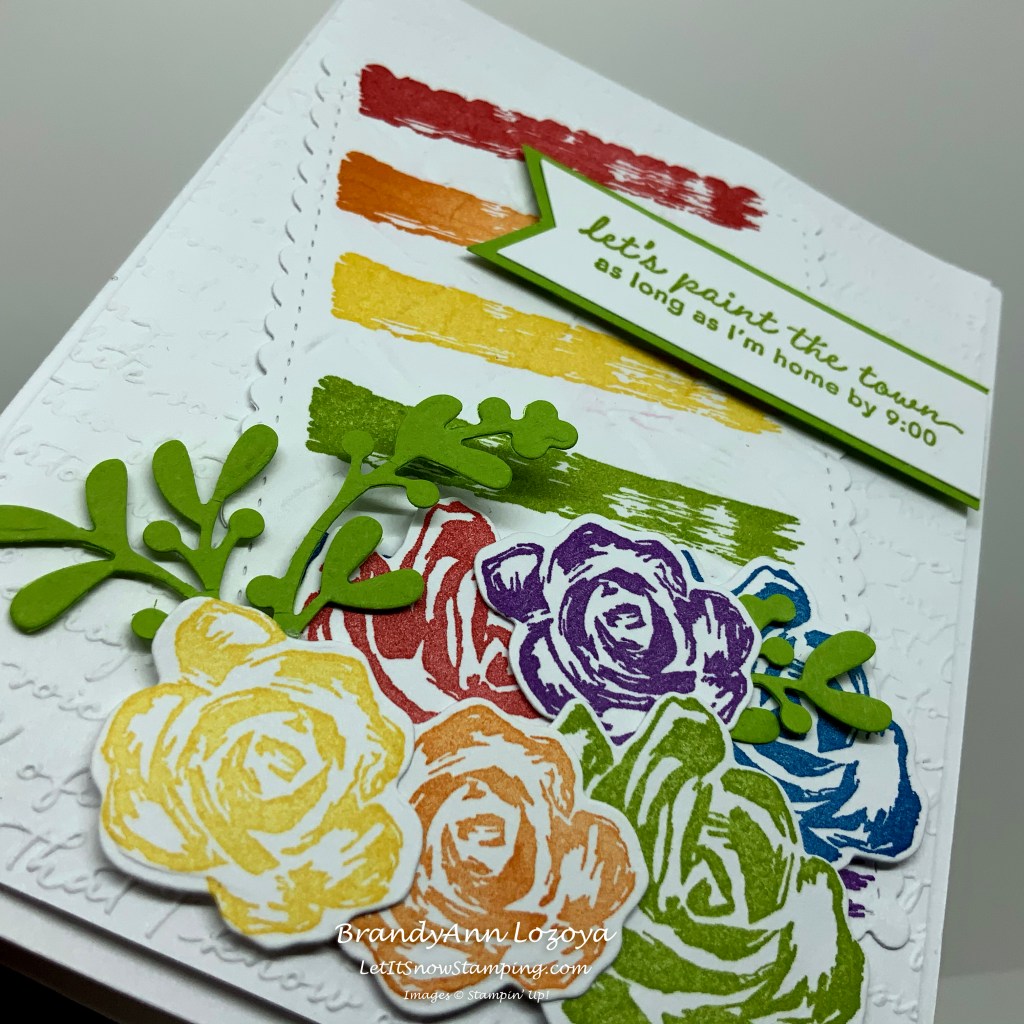
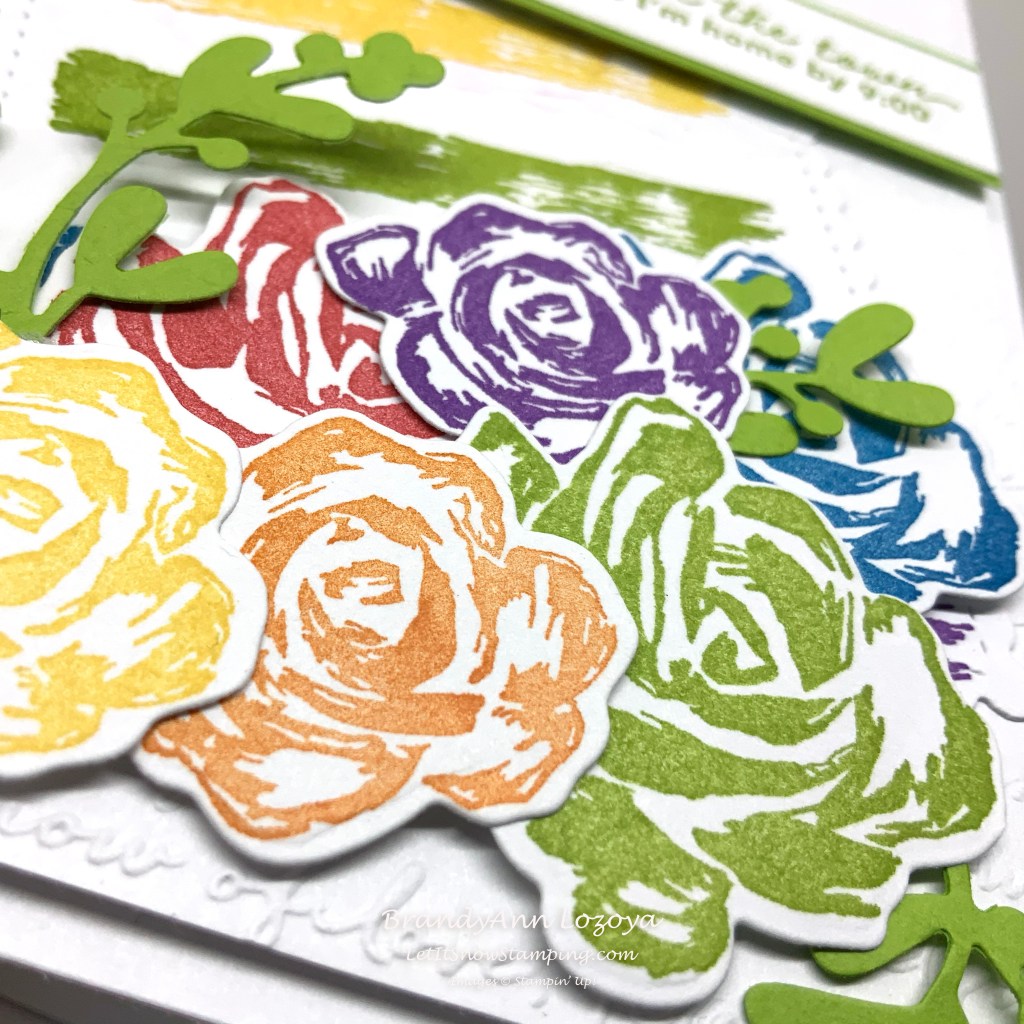
I then stamped several flowers in the two different sizes and cut them out using the matching die set, Beautiful Brushstrokes. I taped them all together along with the two branches that I cut using the Christmas Layers dies to get the layout I wanted. I glued them to the card front using dimensionals.
If you notice on all of my blog posts, I use a lot of scraps. For my sentiment I used a scrap of Basic White and stamped the sentiment using Granny Apple Green. I made a banner edge on one side. (Check out the Technique Corner on how to make perfect banner edges every time!) Then used a scrap of Granny Apple Green to mat it and used dimensionals to attach it to the card front.
Tips: Scrap Storage
I have had a lot of people ask how I store my scraps. In order to find them quickly for projects I keep them in hanging file folders with the full sheets of cardstock. Here are a few pictures….
Here is a picture of my file drawer for Stampin’ Up! cardstock. Each color has its own hanging file folder. The main 40 colors are in front, then I have the major neutrals like Basic White, Very Vanilla, and Basic Black, followed by the In-Colors. I have both current year sets since each set of In-Colors last for 2 years.
As you will notice, each color is assigned a number. The year I did this, I numbered the colors as they were listed in the catalog. That particular year, the Neutrals were listed first, then Brights, Subtles, and Regals. That is what you see next to the numbers (NC Neutral Colors, BC Brights Colors, etc.). Then I added the color name and under than they order number for quick reference.

My stamp pads are ordered in the same fashion. That way I have a quick reference of the number when I am looking for a specific color in the file drawer. It is nice to be able to scan my stamp pads when trying to decide what colors I want to use and know where to find the matching cardstock. If you notice, instead of having my reinkers in the holes, I have my daubers and they are labeled with the number of stamp pad they belong to.

Inside each hanging file folder, this is what you will see. You will see the package of full sheets of cardstock. I keep them in the plastic as long as possible. I just slit the side open when I open them. In front of the full sheets I store all of my scraps for that color. Night of Navy has my most scraps since I use it a lot! If I can punch a shape out of the scrap, I keep it!
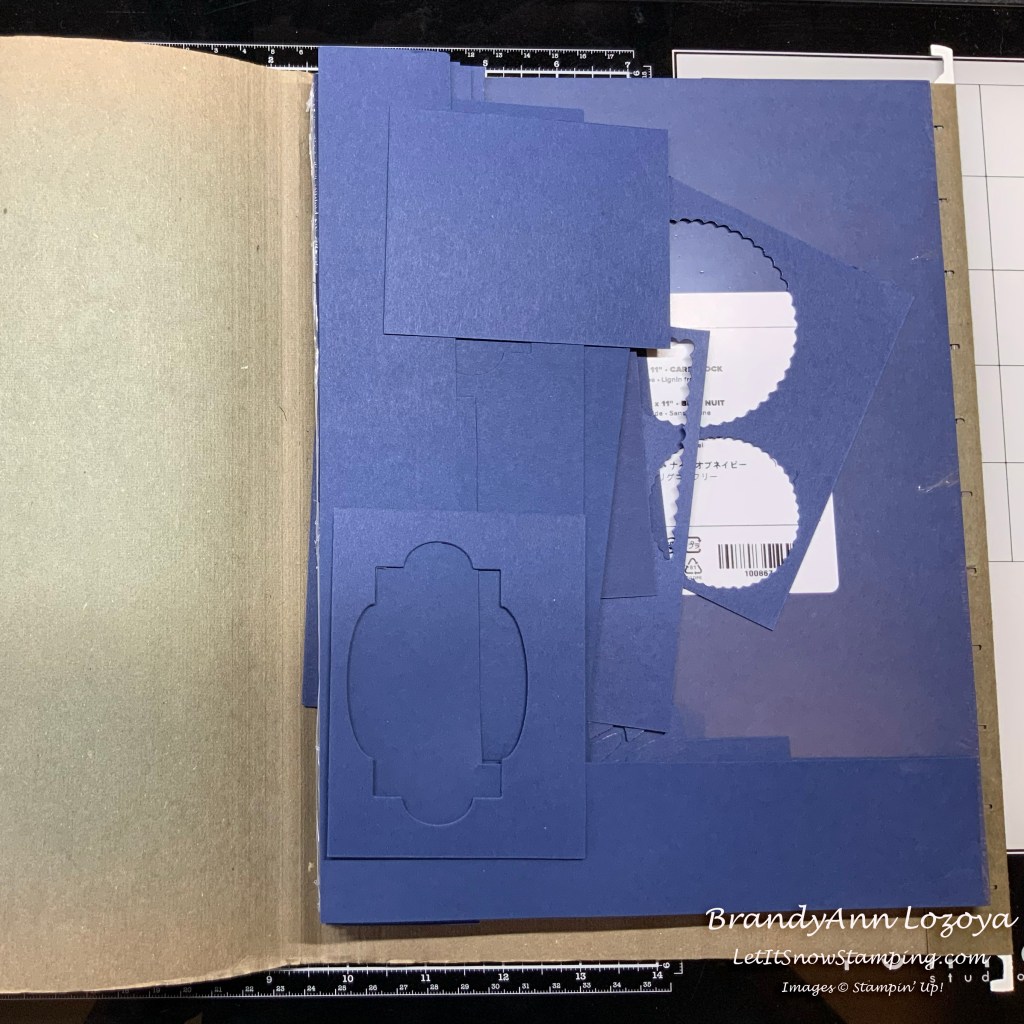
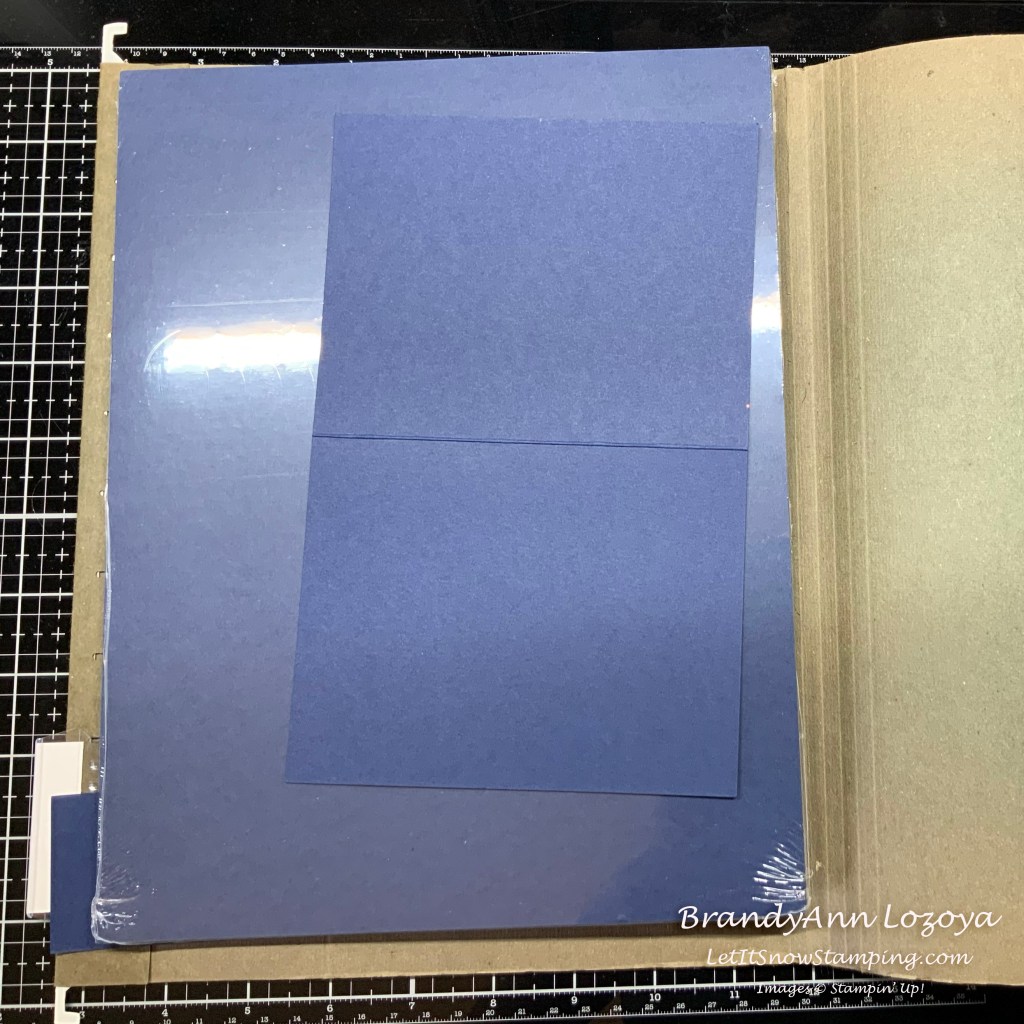
Behind the full sheets, I keep the larger pieces that can be made into card bases only! That way I just pull it out, fold it, and know it is the right size for a card base. These pieces will either measure 8-1/2″x5-1/2″ or 4-1/4″x11″. They may be scored like this one, or they might not be depending on if I took the time to do it.
I hope that helps you with scrap storage. I will show you how I store my DSP in another post. That one is a bit trickier with non-Stampin’ Up! DSP.
I hope you enjoyed today’s project. Make sure to subscribe to Let It Snow Stamping so you never miss another blog post. Every week I pick a stamp set and make one project (possibly two) every weekday. As an added bonus I also make videos for new techniques. The techniques can also be found under the Technique Corner tab.
Make sure you find LISS on:
Facebook (#LISStamping, @LetItSnowStamping),
Instagram (@LetItSnowStamping),
When ordering use the March 2021 host code for extra benefits
K6M4TYCT

BRUSHED BLOOMS BUNDLE (ENGLISH)
Bundled Savings
$49.50

GRANNY APPLE GREEN 8-1/2″ X 11″ CARDSTOCK
$8.75

BASIC WHITE 8-1/2″ X 11″ CARDSTOCK
$9.75

REAL RED CLASSIC STAMPIN’ PAD
$7.50
PUMPKIN PIE CLASSIC STAMPIN’ PAD
$7.50

DAFFODIL DELIGHT CLASSIC STAMPIN’ PAD
$7.50
GRANNY APPLE GREEN CLASSIC STAMPIN’ PAD
$7.50
PACIFIC POINT CLASSIC STAMPIN’ PAD
$7.50
GORGEOUS GRAPE CLASSIC STAMPIN’ PAD
$7.50

SCRIPTY 3D EMBOSSING FOLDER
$10.00
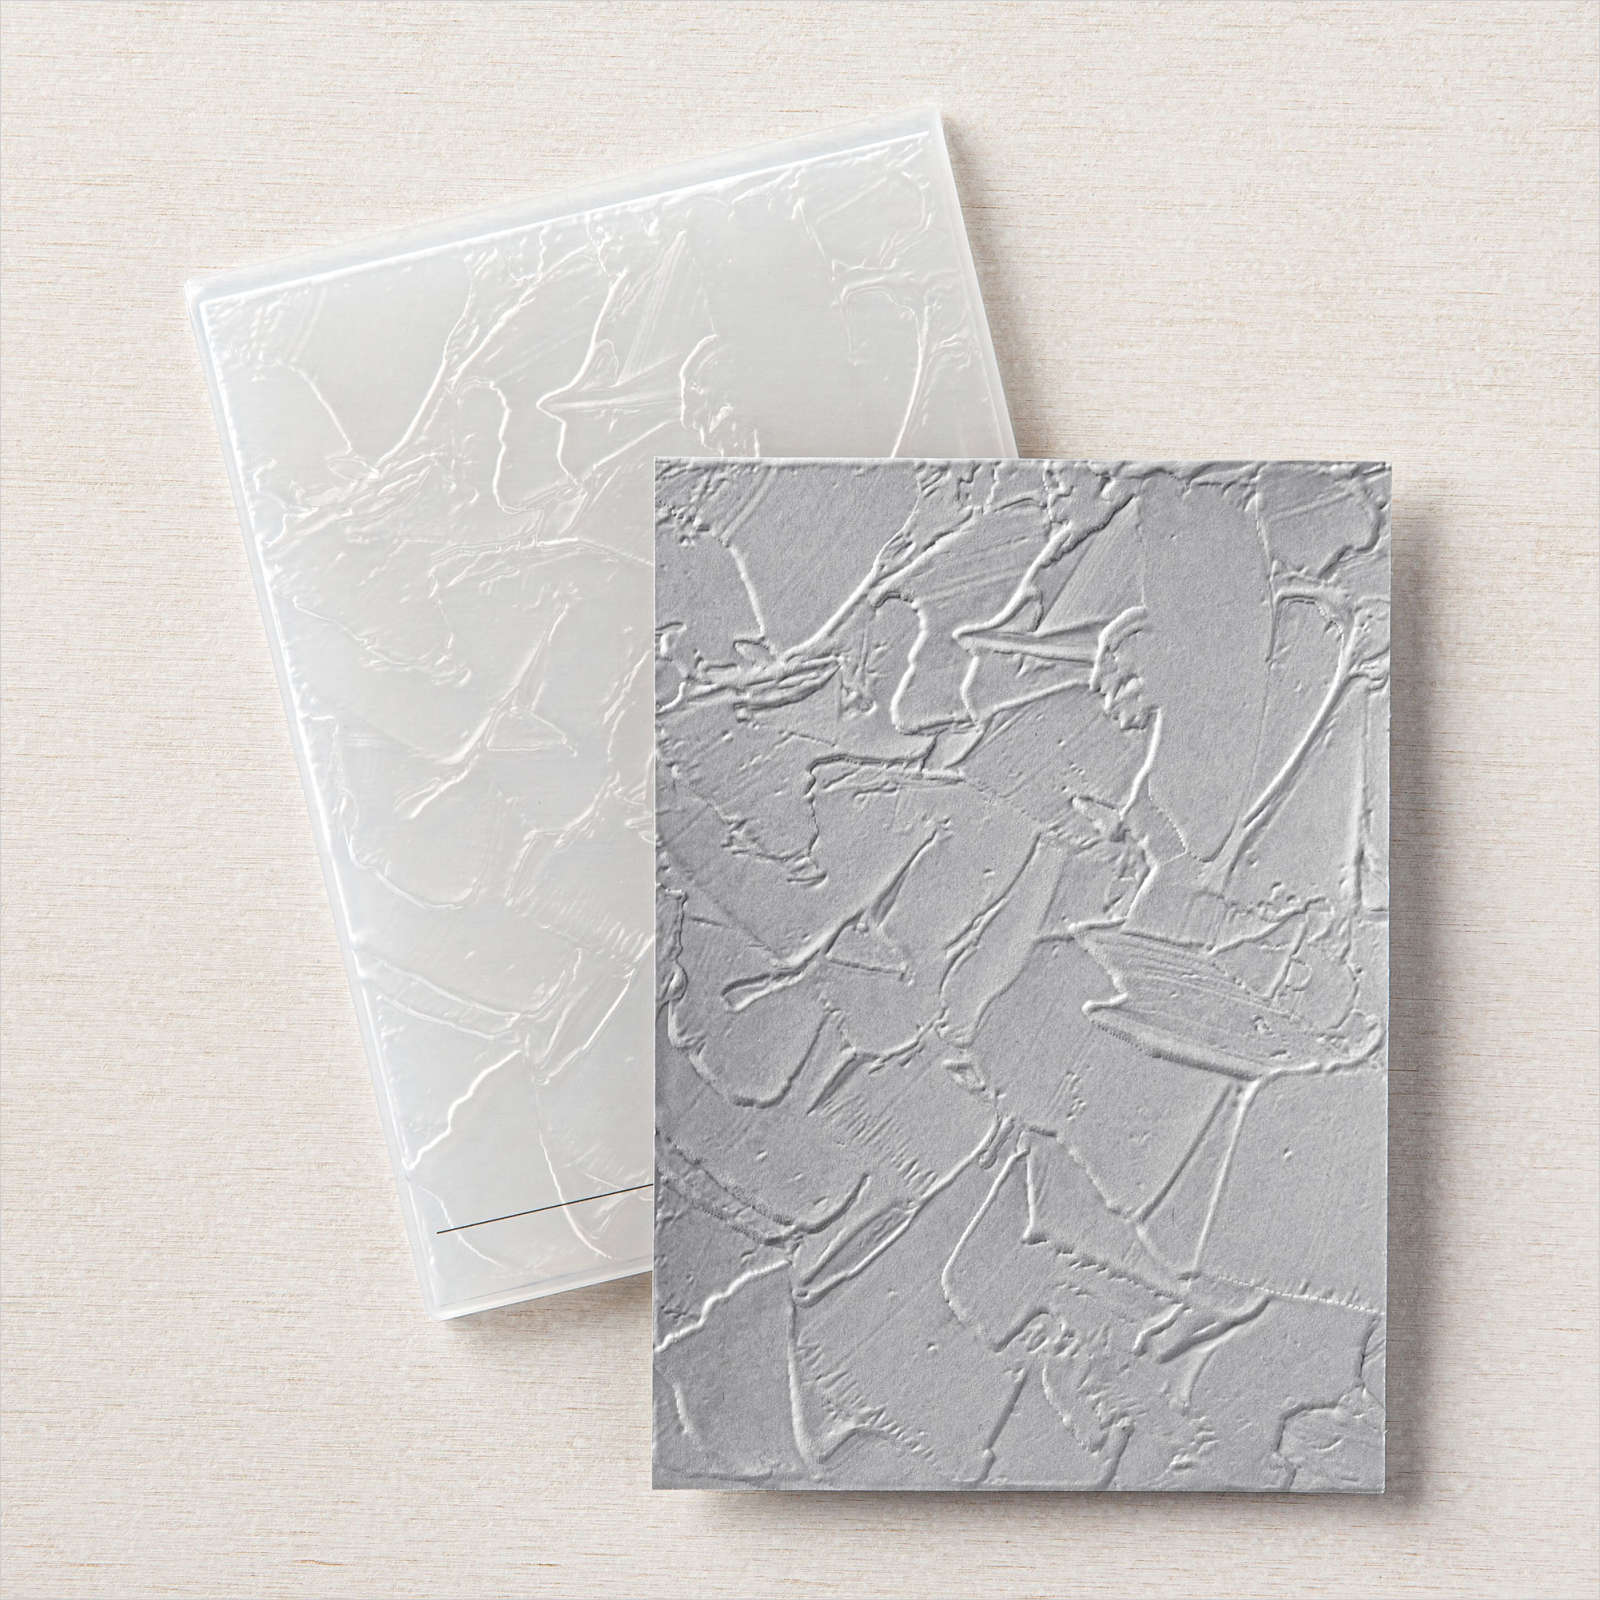
PAINTED TEXTURE 3D EMBOSSING FOLDER
$9.00

STITCHED SO SWEETLY DIES
$32.00
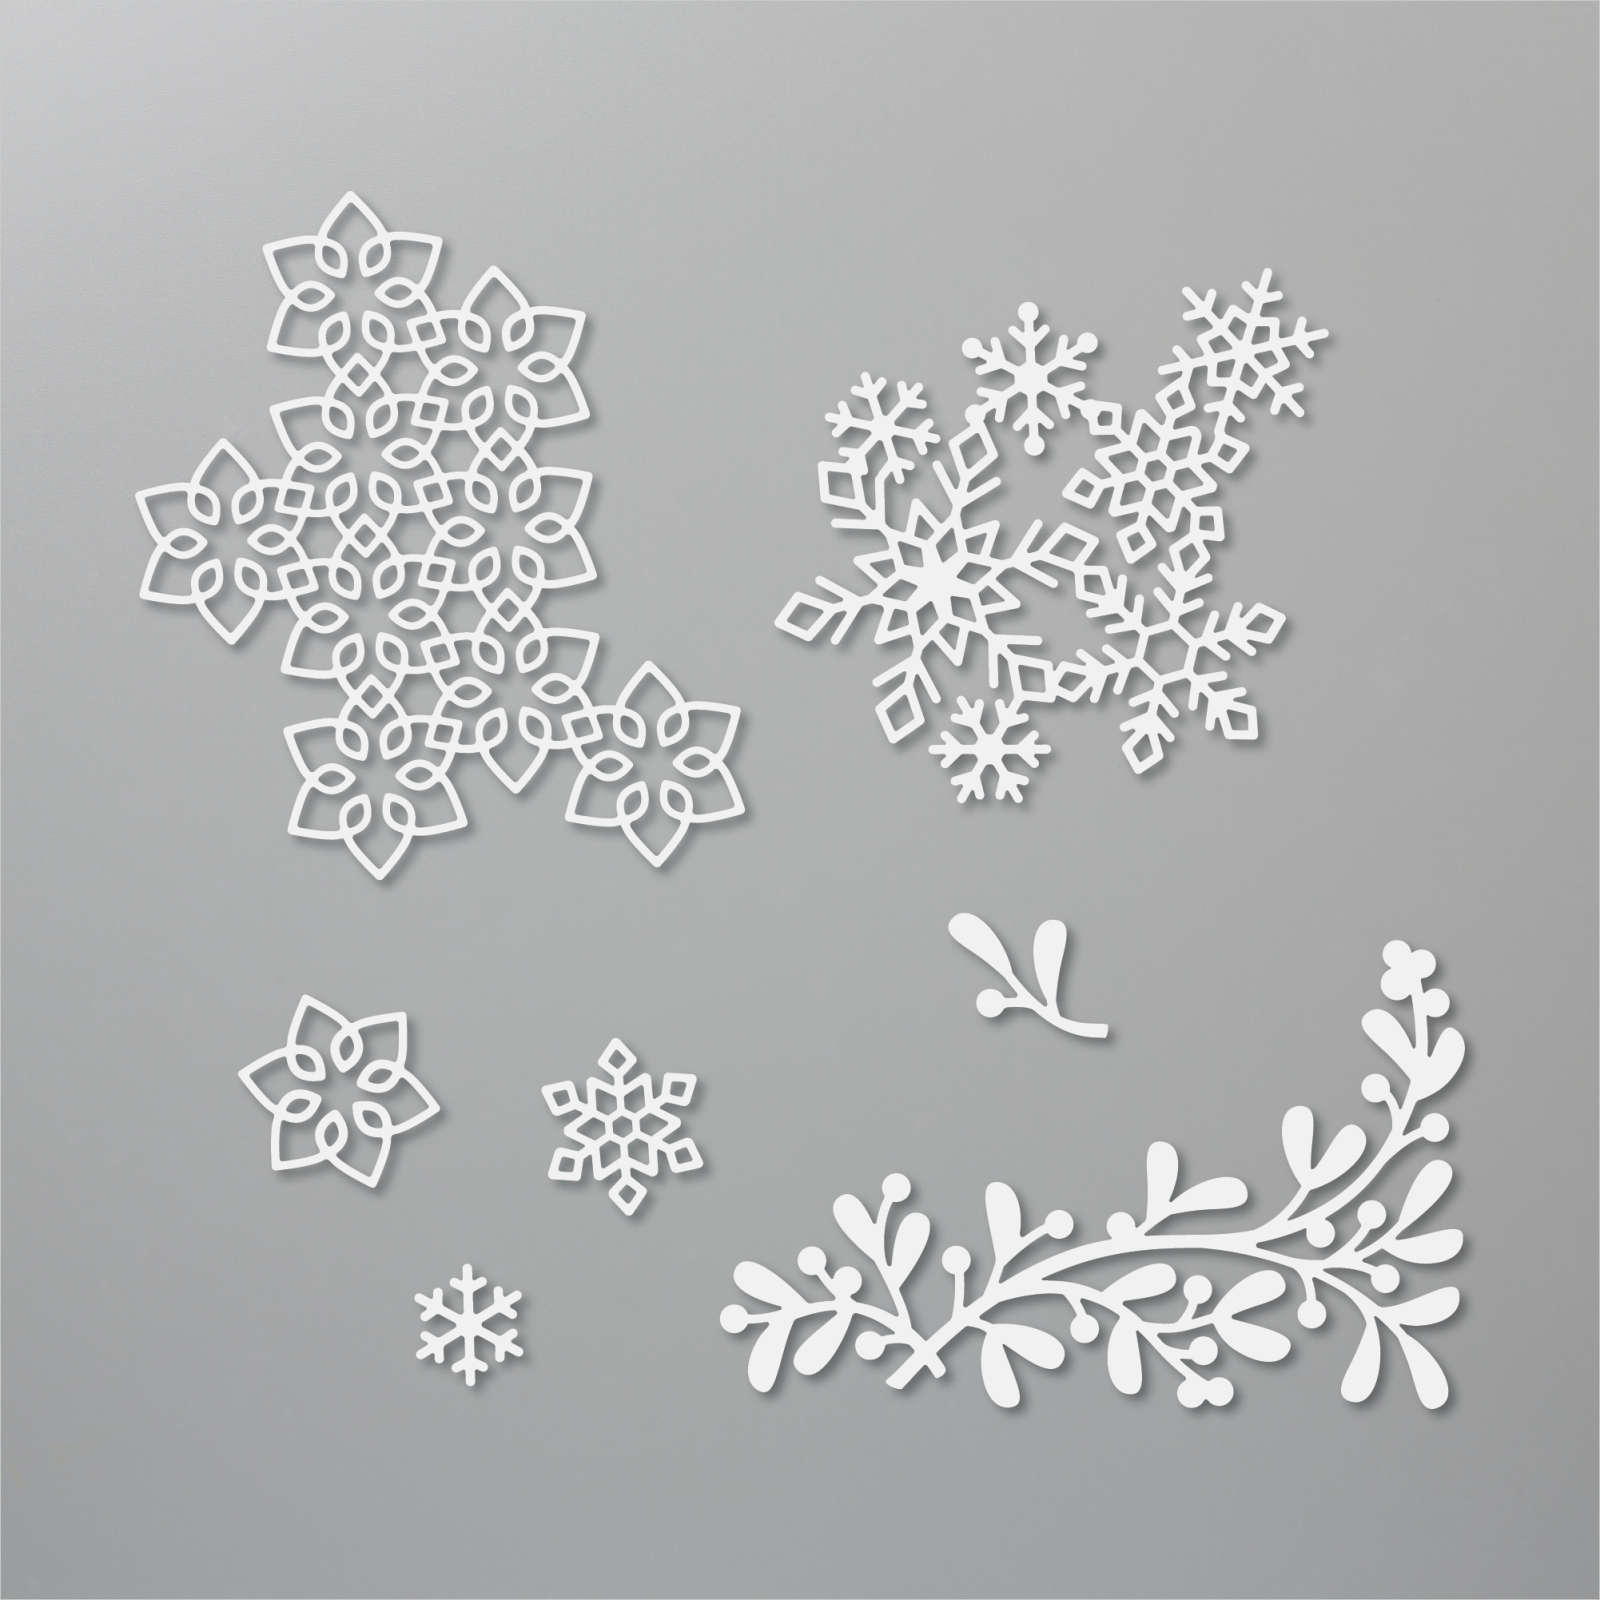
CHRISTMAS LAYERS DIES
$29.00
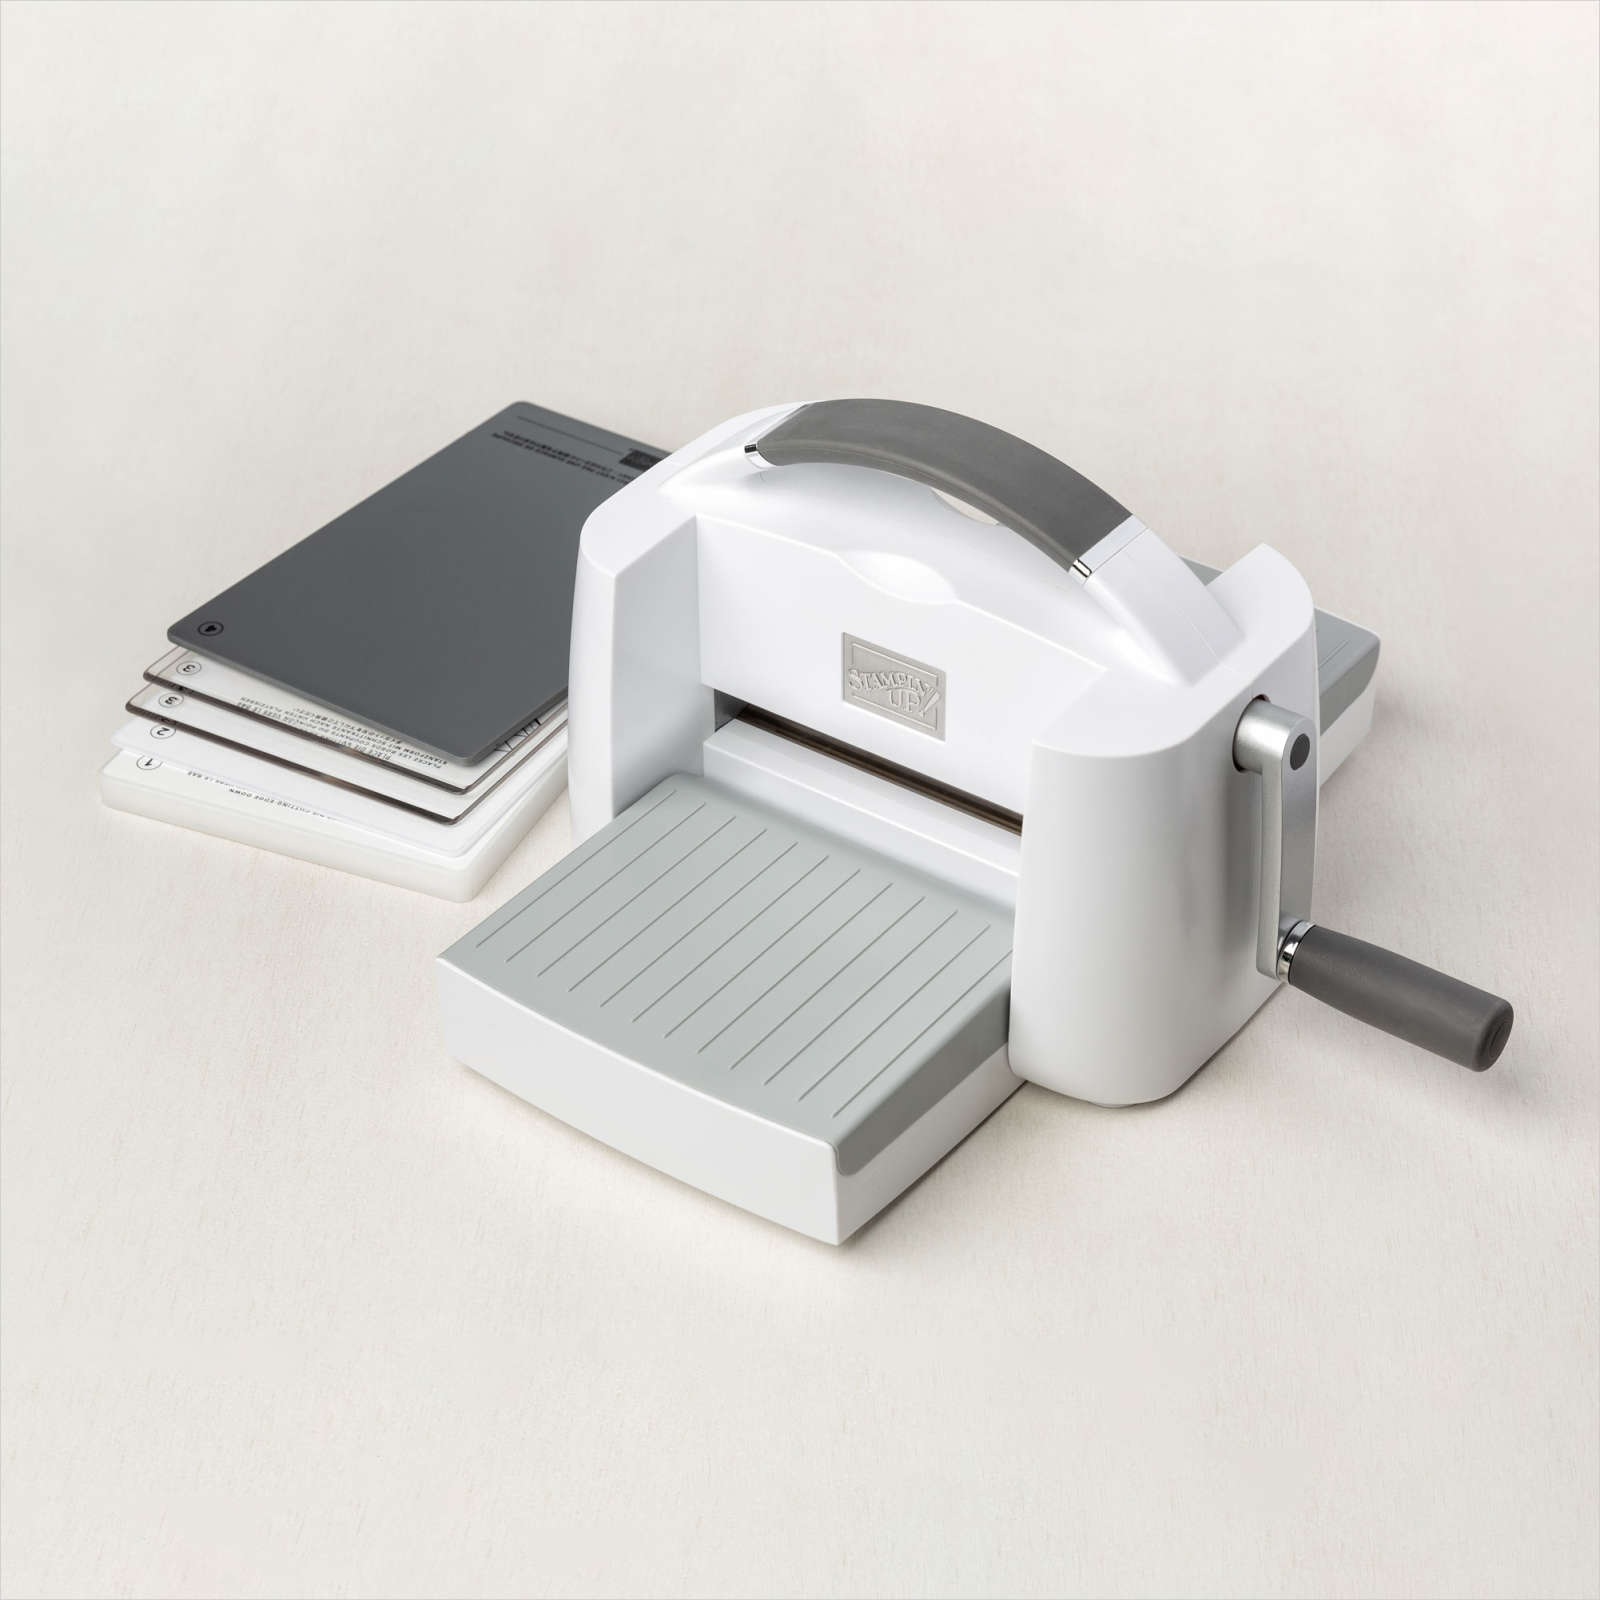
STAMPIN’ CUT & EMBOSS MACHINE
$120.00

PAPER TRIMMER
$25.00

STAMPIN’ DIMENSIONALS
$4.00

SIMPLY SCORED SCORING TOOL
$30.00

CLEAR BLOCK BUNDLE
Bundled Savings
$71.50
