Happy Stamping Tuesday!
I am so excited today! I finally have a vaccination date scheduled. I am hoping that COVID will slow down at some point and we won’t have to wear masks anymore. I really want to get back to my work helping people. I miss the day to day contact with my clients and with my stamping friends!
Today’s post is a bit of a long one. It has three parts. I have the step by step tutorial on how to make a shaker card, how to use the Stamparatus (for those who do not know how wonderful this tool is), and adding the finishing touched to the shaker card.
It has been a long time since I have made an actual Shaker Card and not just a Simple Shaker Card.
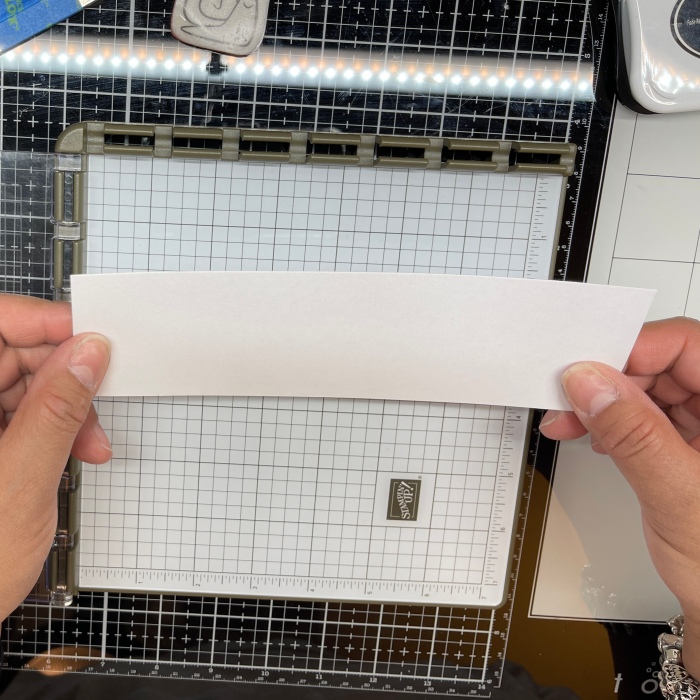
To start this one off, I cut a piece of Bermuda Bay cardstock to 4-1/4″x11″ and scored it at 5-1/2″.
Next, I cut my Blushing Bride card front to 4″x5-1/4″ and set them both aside.
Part One – the shaker base
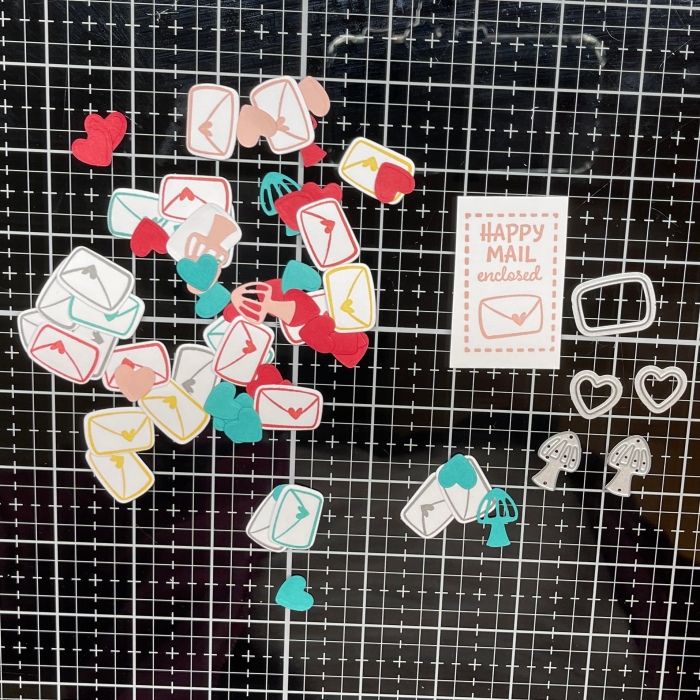
Using scraps of cardstock I cut out shaker pieces. These are the little bits that move around the inside of the card when you shake it. I stamped several of the Happy Mail Enclosed stamps and cut out the cute envelope with the letter die from the Snail Dies.
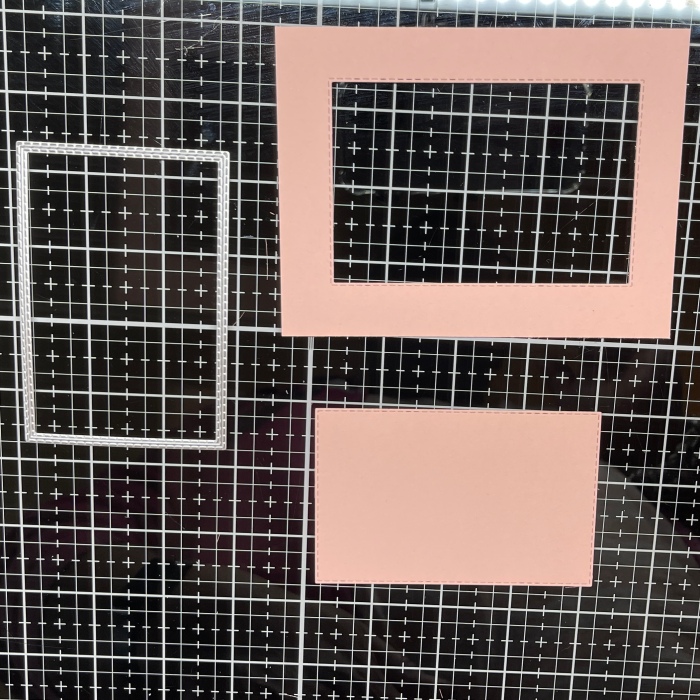
Now take the Blushing Bride card front and one of the rectangle dies from Rectangle Stitched Dies set. Center the die on the card front and run it through your die cut machine.
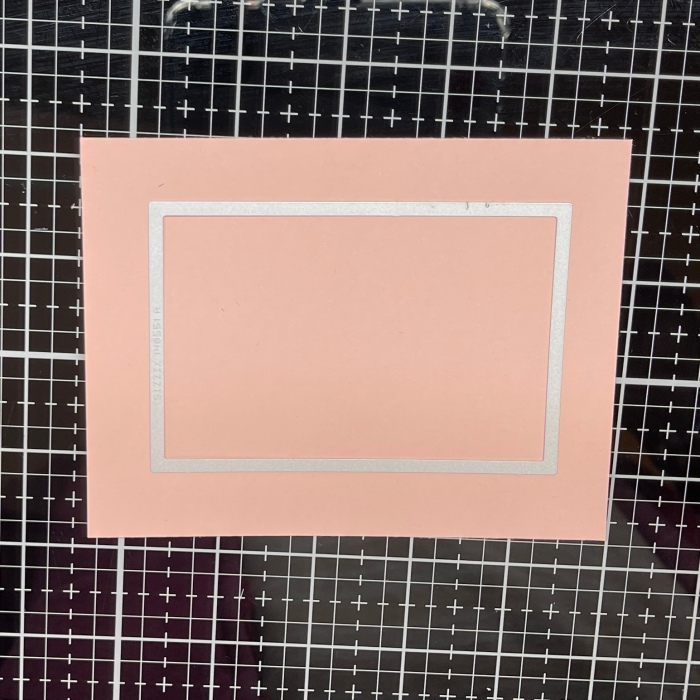
This creates the frame for your shaker card.
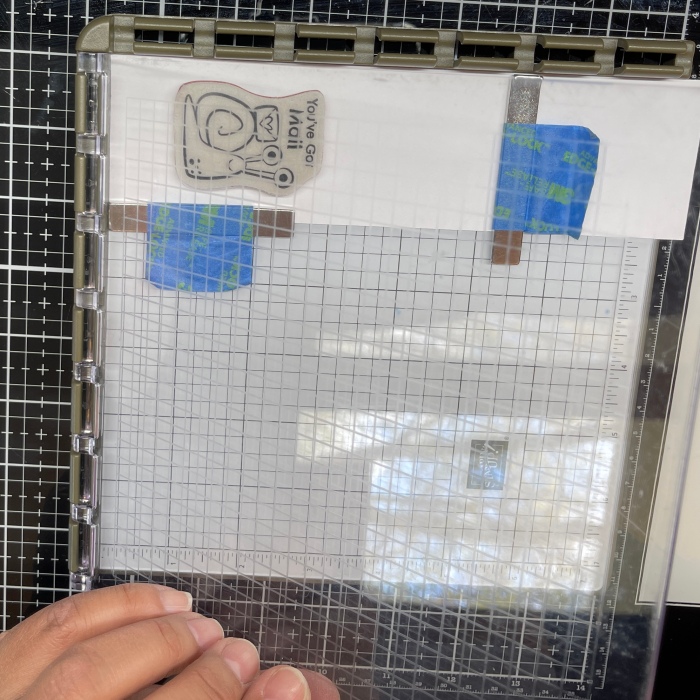
Next, I cut a piece of Window Sheet to measure 3-3/4″x5″. These Window Sheets are wonderful for any acetate project because they are thicker than regular transparencies from the office supply store.
Adhere the Window Sheet to the frame with Tear and Tape or other adhesive runner.
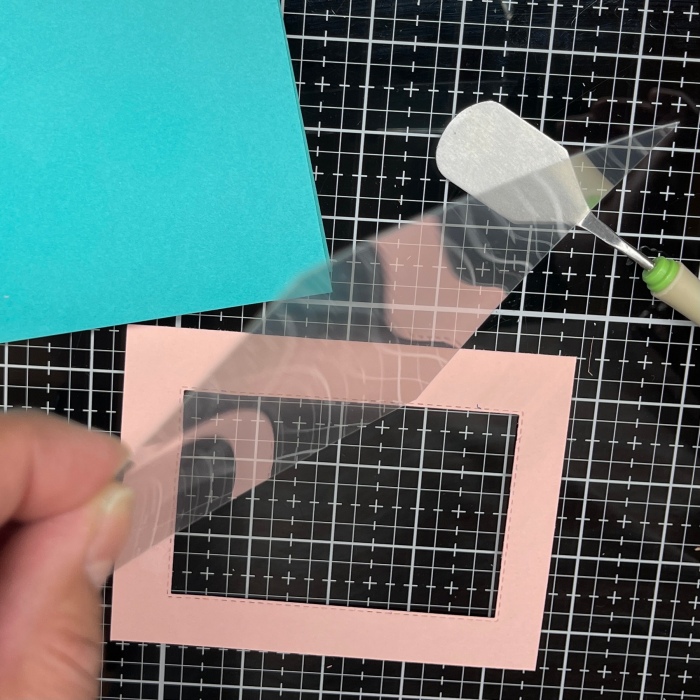
Once it is glued to the frame, use your Foam Adhesive Strips to make a foam frame to keep your shaker pieces inside the shake. I had a little gap in the corner, so I added a small piece so nothing slips out.

If you have one of our old Embossing Buddies, rub that on the inside edge of the foam tape before taking off the tape backing. Otherwise, baby powder works too. This helps to get rid of any sticky edges to the foam adhesive and helps to remove the static from the Window Sheet so your bits don’t stick to it.
After I ran the Embossing Buddy over the Window Sheet I cleaned the it with a microfiber cloth to make it clear again.

Next, I put my bits inside the frame. Before taking off the tape backing, I pressed the Bermuda Bay card base against it and flipped it over. This just helps me know where the bits need to fit inside the frame and to make sure they are not bundled too thick. If they are, thin them out otherwise they won’t shake properly once your card is together.
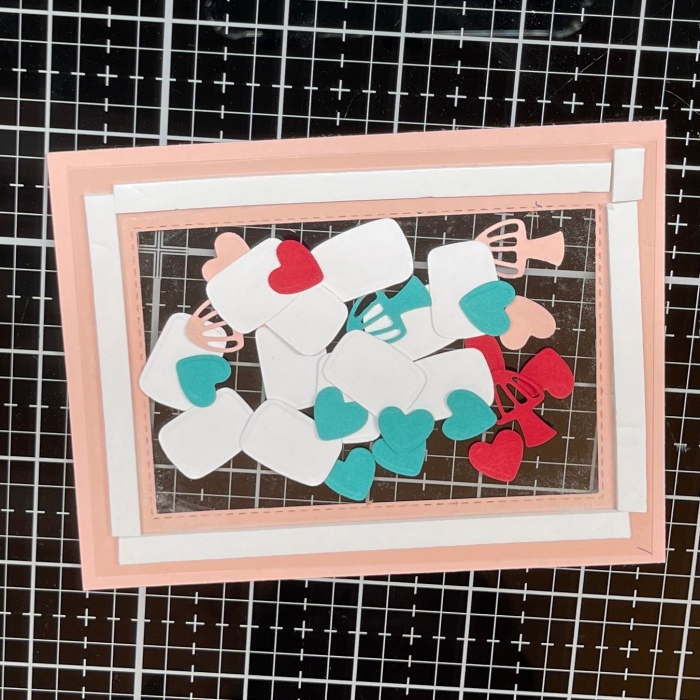
Now, take off the tape backing from the foam adhesive and center your frame on the card base.
Part Two – The Stamparatus Lesson
If you do not own a stamping platform, then you need to buy one! The Stamparatus is the most awesome thing in my arsenal of tools. As it turns out, I am able to show you the MAIN reason I love this tool in this demo!
As you can see below, it comes with two hinged plates, a foam mat for Photopolymer stamps, and two magnets to hold your paper in place as you stamp.
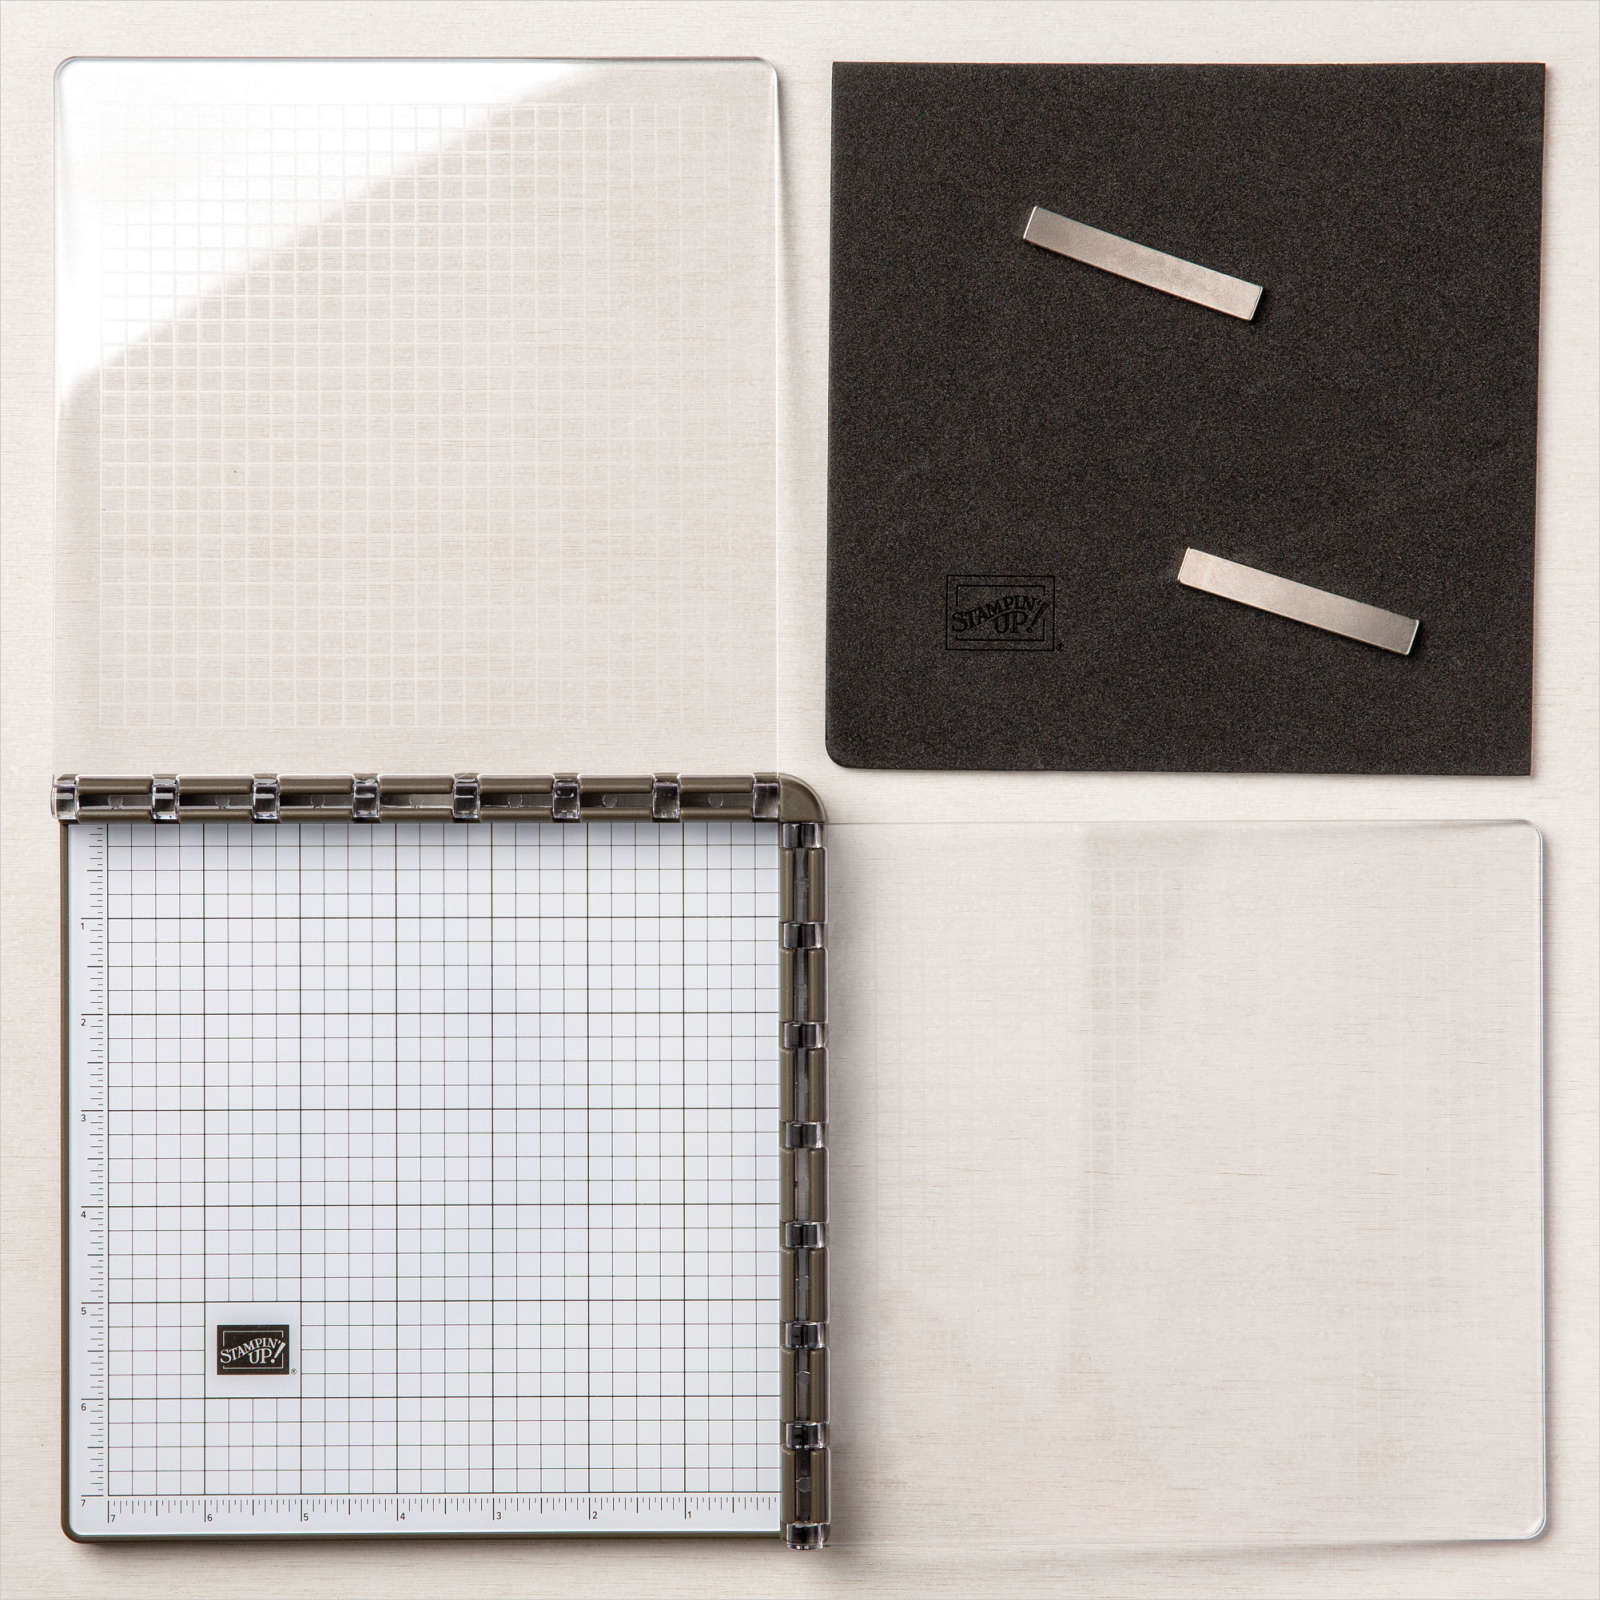
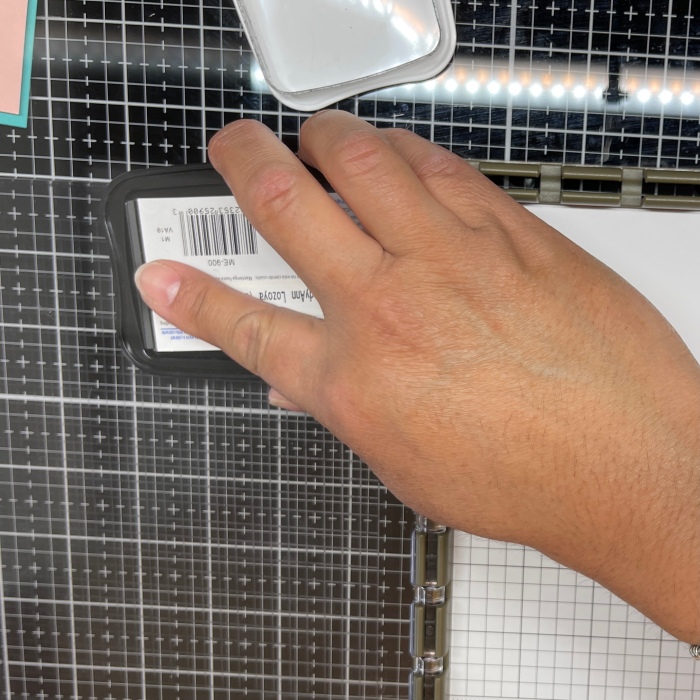
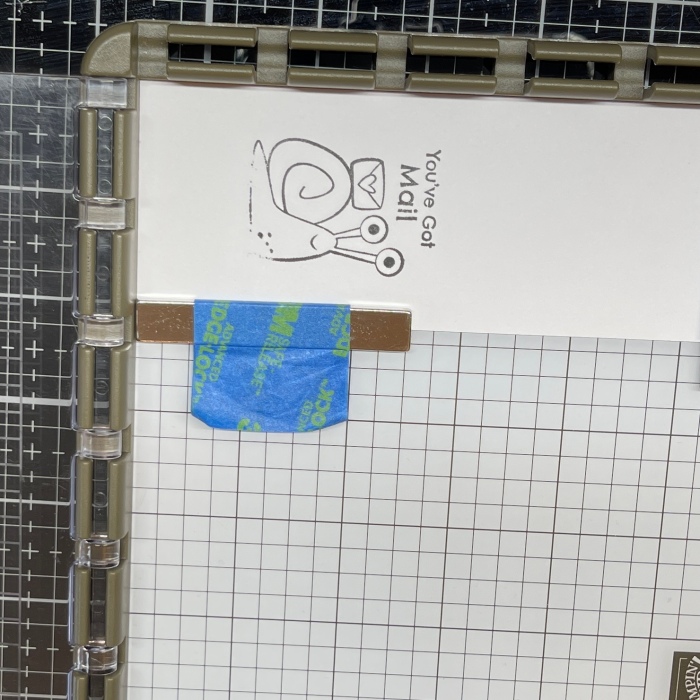
I am stamping my snail embellishment, so I just have a scrap piece of Basic White cardstock that I will be using. First, you want to put your paper on the white grid platform. Since I have a right angle on my upper left corner, I like to place the corner of my paper at the top left corner of the Stamparatus. It helps me stamp straight when I stamp on card fronts, so now it is just habit to place my corners there.
Next, I placed my provided magnets to hold my paper in place. As you can see, I put painter’s tape on mine to give them a “handle”. These magnets are STRONG and if they snap together they will break. They are hard to pick up because of their strength so the extra tape “handle” helps to life them off of the magnetic plate.

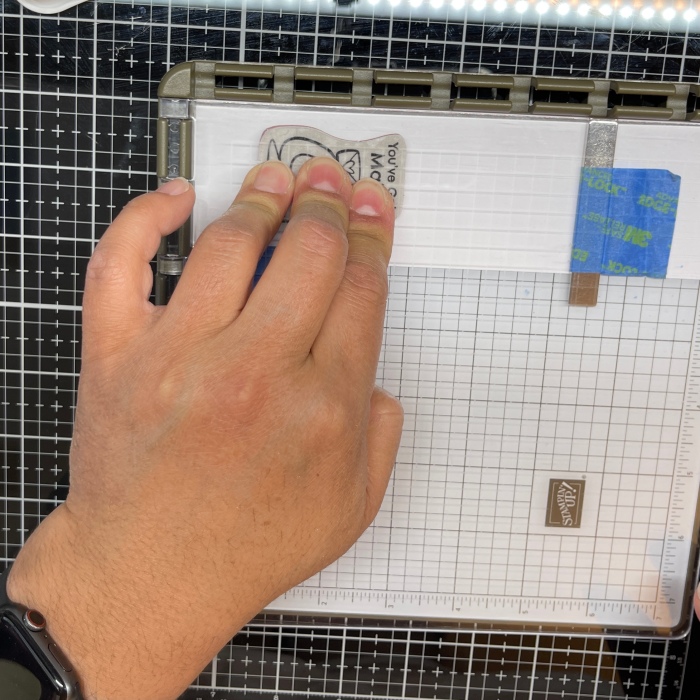
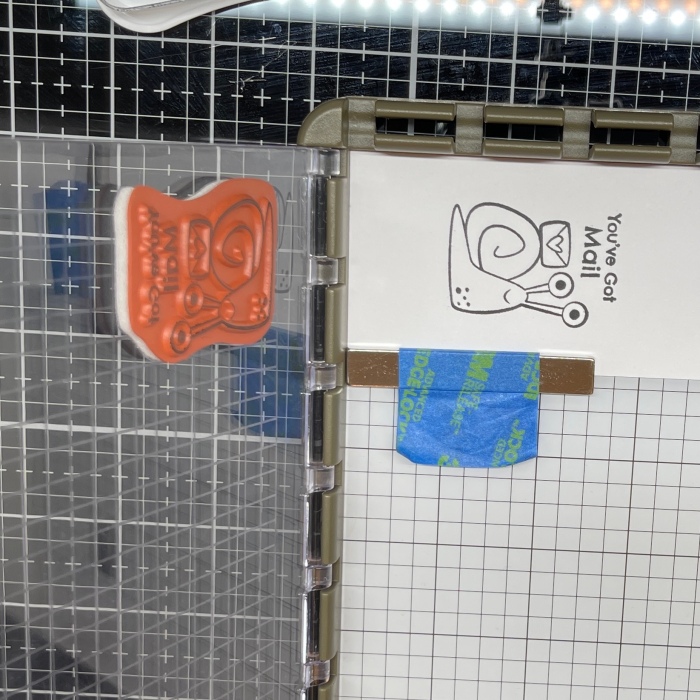
Next, take your stamp (I used a cling stamp here so I did not need to use the provided foam mat for the photopolymer stamps) and place it where you want it stamped on your paper.

Fold over the hinged plate and press it to your stamp to get it to stick on the plate.
Open the hinged plate and ink up your stamp.
Here is the stamped all inked up and ready to press to the paper. Close the hinged plate to stamp the image to your paper.

Press firmly, but not too hard so your image isn’t too thick to where lines blend with each other.
Uh Oh! This did not get a good clean stamp. This is where I love this tool! Do not remove your magnets or move your paper just yet! Re-ink your stamp and re-stamp your image right on top of the first try.
Ta-Da! A perfect image!
If you need to make multiple cards, this tool is great for quick stamping. That is why I like using the corner to line up my paper. There is never any guess work about where it will stamp if you line up your paper in the corner every time. Just re-ink between stamping!
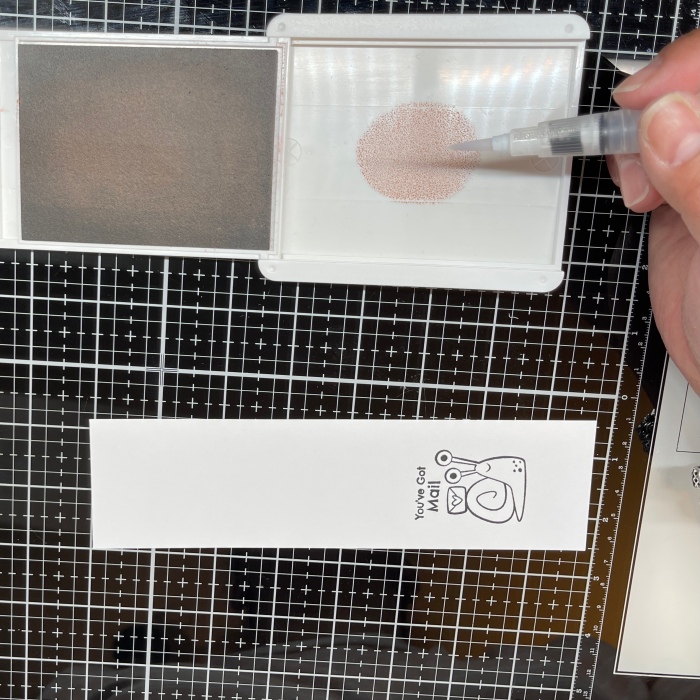
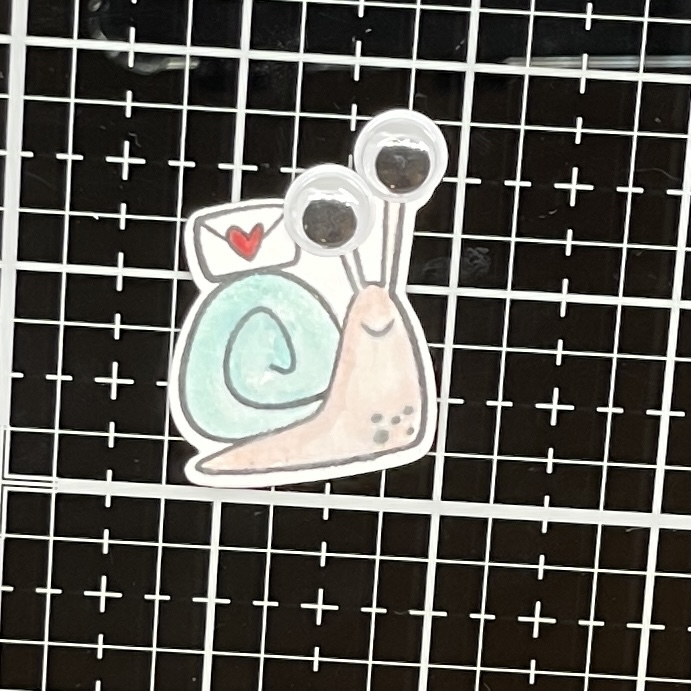
Next, I used my water brush to add color to my snail. Simply press the cover of your stamp pad to the ink before opening to get some color on the inside lid.

Next, I added some Wink of Stella to the snail’s shell.

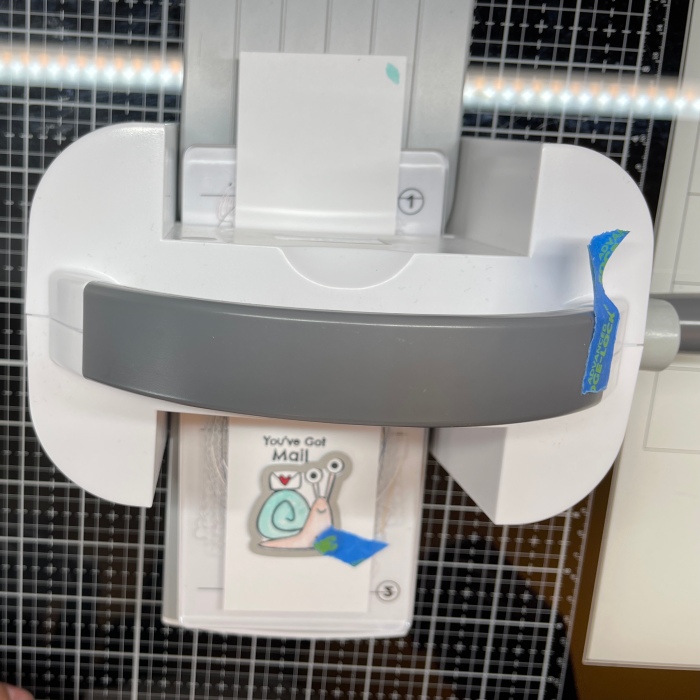
Then, run the snail through the Stampin’ Cut & Emboss Machine with the coordinating die
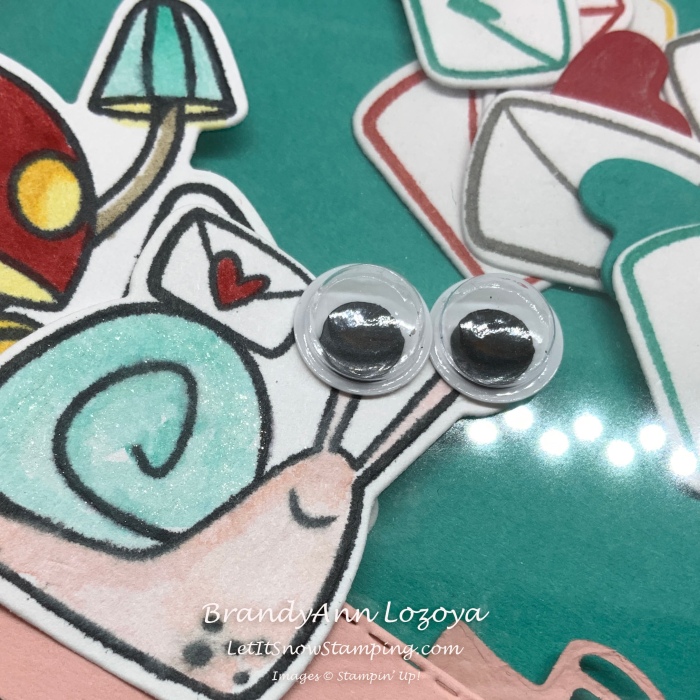
I was hoping I had smaller googly eyes, but my son liked how the larger eyes made him look like Gary on Sponge Bob, LOL. It almost looks like he is wear magnifying glasses.
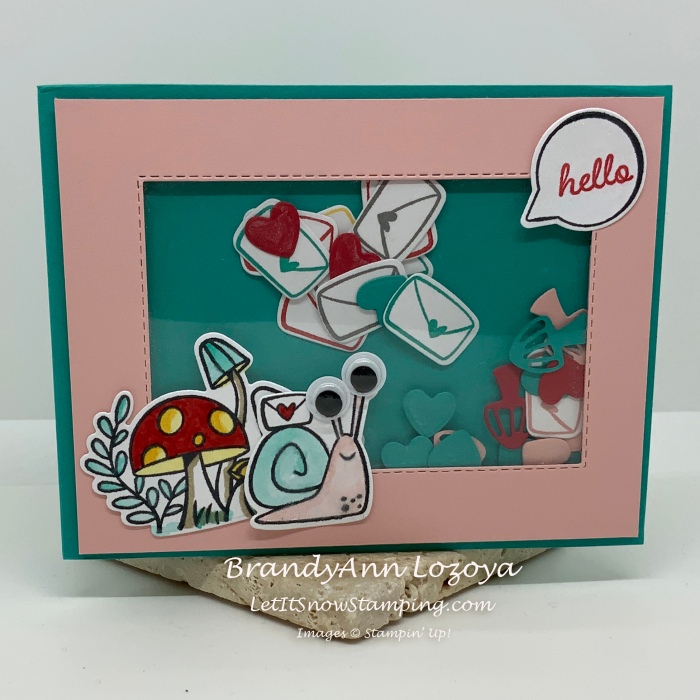
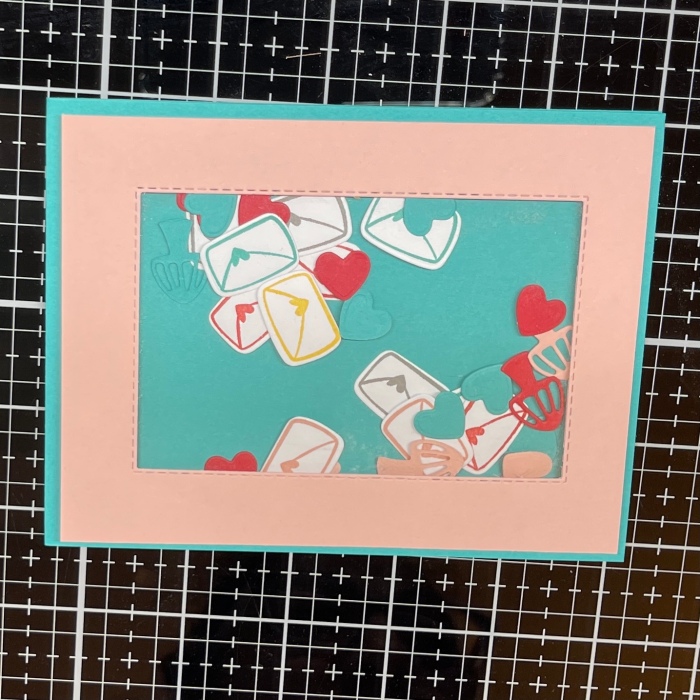
Part three – Finishing up the card
I added a couple more stamped images in the corners. I kept going back and forth about stamping on the Blushing Bride frame, but in the end decided it was fine just as it was. I used Glue Dots to stick everything to the frame and for the googly eyes on the snail.
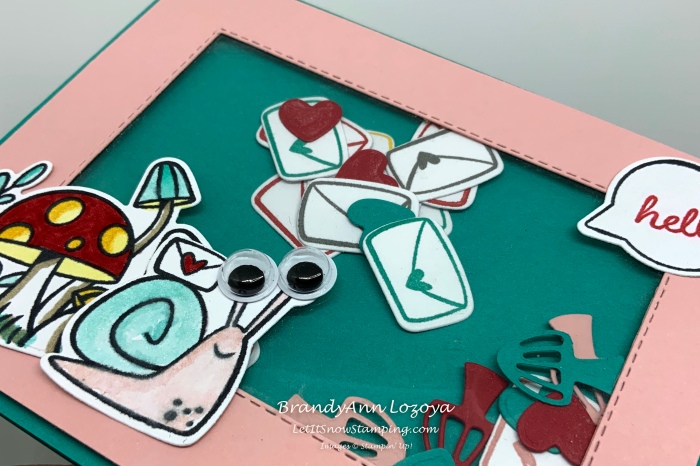
It was hard to take a picture of the snail once it was glued down because my light was reflecting on the Window Sheet.
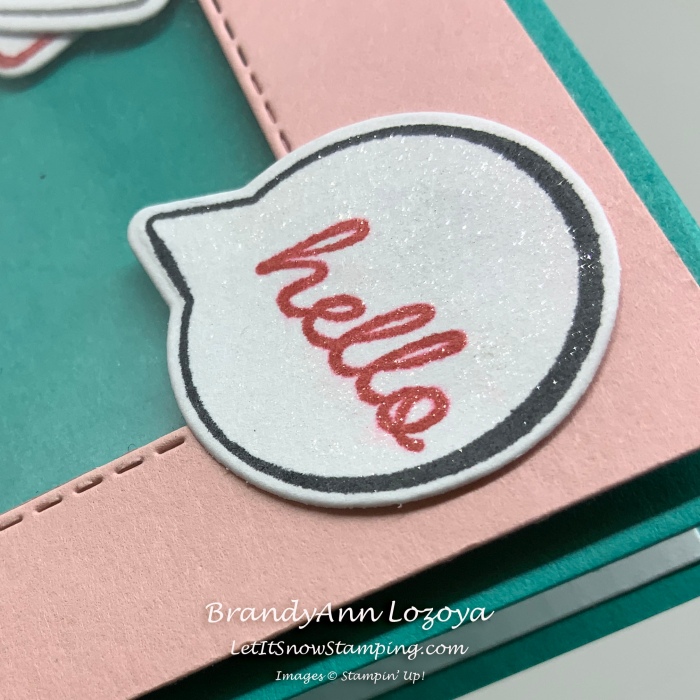
I added a bit of Wink of Stella to the word bubble as well to brighten up the upper right hand corner a bit more.
I hope you enjoyed today’s project. Make sure to subscribe to Let It Snow Stamping so you never miss another blog post. Every week I pick a stamp set and make one project (possibly two) every weekday. As an added bonus I also make videos for new techniques. The techniques can also be found under the Technique Corner tab.
Make sure you find LISS on:
Facebook (#LISStamping, @LetItSnowStamping),
Instagram (@LetItSnowStamping),

One thought on “Snailed It Week – Project 2”