Happy Stampin’ Thursday and Happy Earth Day!
I was so glad that the weather was nice for Earth Day here in Northern Illinois. My 5th grader is the only remote student in his class and so while his class went outside for Earth Day activities, we did our own here. He planted 3 pots of flower seeds, helped me weed the flowers beds, and planted some bulbs (that hopefully the critters don’t steal again!). We also prepped our tent for this weekend’s first scout camp out of the season. I love to go camping with him. It’s a great way to spend some one on one time with him.
I apologize for not taking the step-by-step photos today. On top of all the Earth Day activities with my son, I had to rush my 18 year old pup to the vet. He was not able to walk last night because his hind legs kept giving out on him. Over all, he is great health, but he has lost a lot of muscle mass this past year.
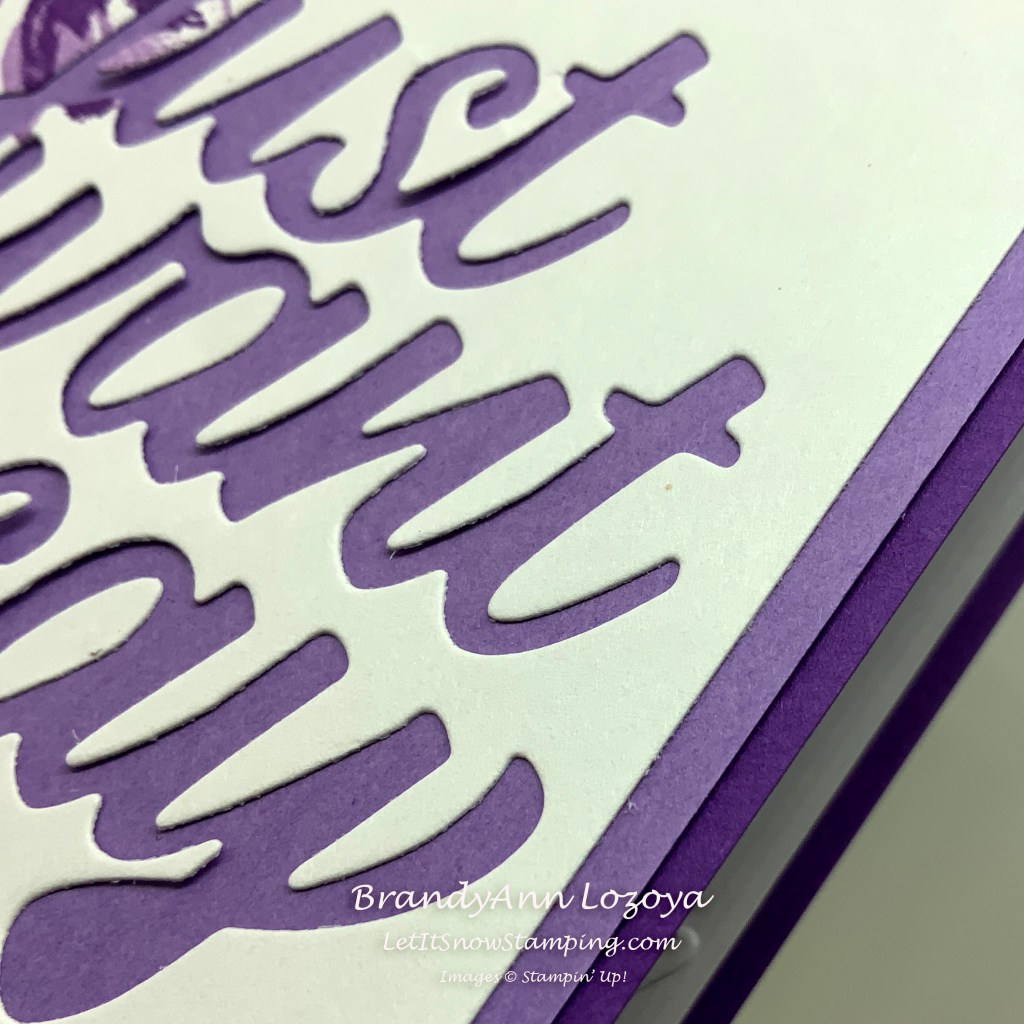
Today’s project was inspired by a card I saw on Pinterest by Yvonne Pree. I loved the way she cut out the sentiment instead of gluing it on. The only parts I glued on were the “holes” in the letters. This was so much easier than trying to glue the words on straight!
My cardstock measures:
- Gorgeous Grape card base – 8-1/2″x5-1/2″, scored and folded at 4-1/4″
- Highland Heather mat – 4″x5-1/4″
- Basic White card front – 3-3/4″x5″
- Scrap of Basic White for the large blossom

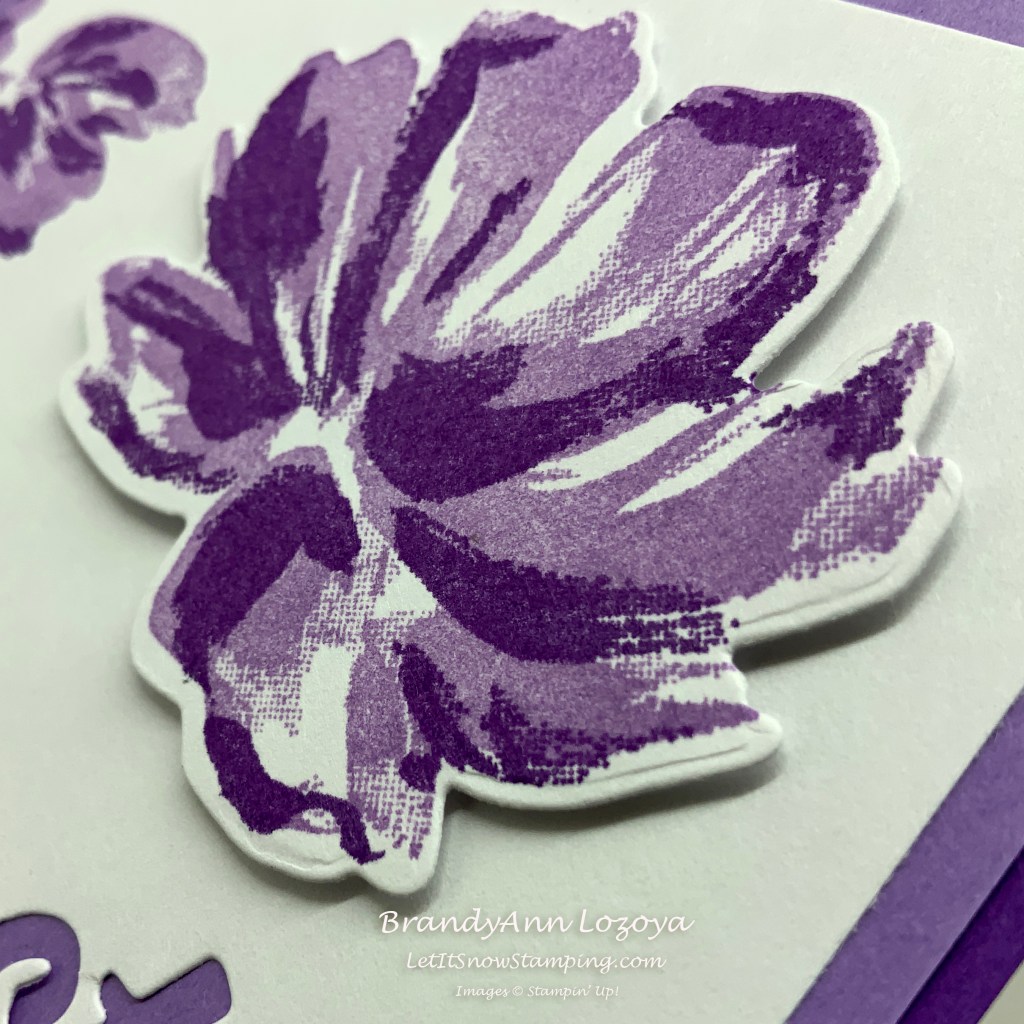
First, stamp the smaller blossom branch off the side of the Basic White card front using Highland Heather.
Next, stamp the highlight image using Gorgeous Grape.
While you have your stamp pads out, stamp the large bloom on your scrap of Basic White in the same colors and order. Then cut it out using the coordinating die or fussy cut. Set it aside.

Next, using the sentiment die, cut out the sentiment in the lower right corner. Make sure not to lose the inner parts of the J, A’s, and O. You will need to glue these little bits back into the letters later.
Next, glue the Basic White card front to the Highland Heather mat.
Now glue the two layers to the Gorgeous Grape card base.
Next, glue your letter bits in as seen above. My O was a little off, but it’s OK.
Lastly, glue the large blossom in the upper right hand corner using Stampin’ Dimensionals.
I think the most difficult part of making this card was gluing the letter bits back on, LOL! If you want, you can add some gems to make it shine, but I loved it the way it was.
I hope you enjoyed today’s project. Make sure to subscribe to Let It Snow Stamping so you never miss another blog post. Every week I pick a stamp set and make one project (possibly two) every weekday. As an added bonus I also make videos for new techniques. The techniques can also be found under the Technique Corner tab.
Make sure you find LISS on:
Facebook (#LISStamping, @LetItSnowStamping),
Instagram (@LetItSnowStamping),
