Happy Stampin’ Wednesday!
Today the sun is shining in Northern IL! How about where you are?
Announcements:

- The new 2021-2022 Annual Catalog launched yesterday and with it, so did a new promotion!
- From 4 May–14 June 2021, qualifying orders will receive our generous Stampin’ Rewards PLUS additional rewards! Hosts can earn Stampin’ Rewards based on order totals for an entire party. Outside of the party setting, Stampin’ Rewards are available to those who place individual orders that meet the order totals.
- For any individual or party orders totaling a minimum of $250, earn an additional $25 in host rewards on top of the normal host rewards!

“Step up to the plate, take a swing, and knock it out of the park! With the Batter Up! Paper Pumpkin Kit, it’s your turn to go to bat for all the people who’ve gone to bat for you. This month’s timeless kit with a “throwback” theme contains enough grand slam supplies to create nine cards—and coordinating envelopes—featuring classic colors, pinwheel and pinstripe patterns, and vintage-washed paper pieces. There’s no “batter” way to root, root, root for your home team and honor the all-stars in your life!
A beloved baseball-themed kit would be incomplete without the sport’s signature, sticky snack—the official bubble gum of the MLB! A favorite in the field, the Batter Up! Paper Pumpkin Kit contains a couple sticks of the chewy staple; chew while you craft, slide a piece into a card, or save it for later.
Today’s Project
Today’s project is geared toward the beginner stamper. All you need for the card is a card base, some Designer Series Paper, circle die or punch, dimensionals, and a sentiment!

Supplies:
- Misty Moonlight Cardstock
- Hand-Penned Designer Series Paper
- Scrap of Basic White Cardstock for sentiment
- Layering Circles Dies or circle punch
- Sweet Ice Cream sentiment, or other longer sentiment
- Misty Moonlight ink pad
- Multipurpose Liquid Glue
- Stampin’ Dimensionals
- White Baker’s Twine
- Glue Dots
- Paper Snips Scissors
Begin by cutting out 12 (1-3/8″) circles from the DSP using either the Layering Circles Dies or a circle punch.
Glue and position circles on the Misty Moonlight card base, measuring 8-1/2″x5-1/2″, scored and folded at 4-1/4″, in a grid pattern using the liquid glue. The liquid glue is more forgiving and allows you to slide the circles into place if needed.


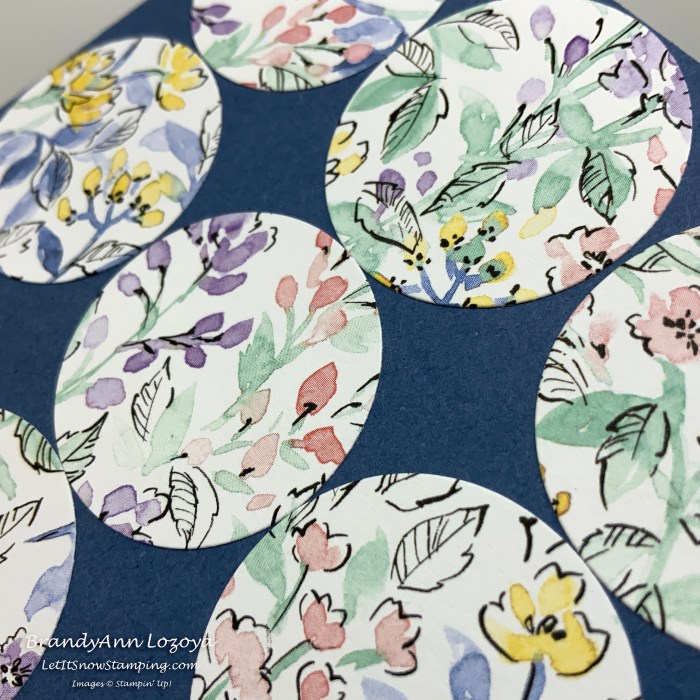
Once you have all of the circles glued in place, set something heavy on it while it dries. I use my large Clear Block F because it is thick, has some weight to it, and covers the entire card base at once.

Once it dries, trim the circles with Paper Snips Scissors if there is any overhang

On a scrap piece of Basic White cardstock, measuring 4″x1-1/4″, stamp the sentiment using Misty Moonlight ink. Here I used the Happy Birthday sentiment from the Sweet Ice Cream stamp set. When you stamp the sentiment, stamp it closer to the right side to allow room for the banner edge.

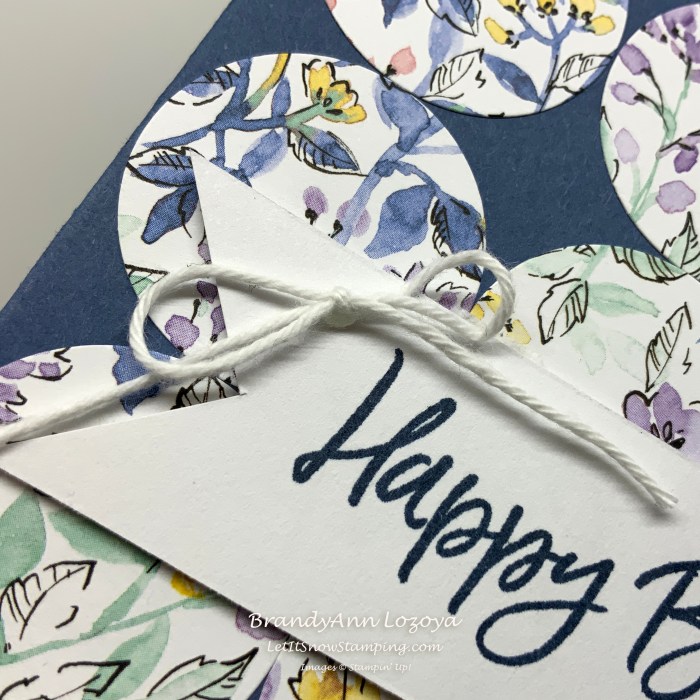
Next, create a banner edge on the left side of the sentiment. Cut a straight line from the edge to where you want your banner “V” to end.

Next, cut diagonally from one corner to the end of your first cut.

Then, do the same thing from the other corner.

Glue the sentiment banner to the lower half of the card base using Stampin’ Dimensionals.
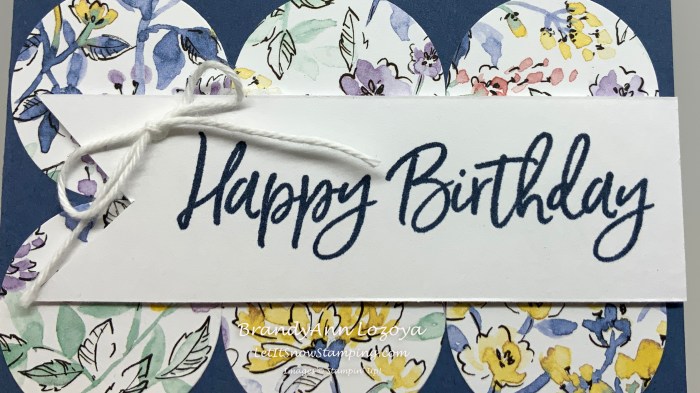
As an accent, tie a bow using Baker’s Twine or other ribbon, and glue to the sentiment using a Glue Dot.
Since this is a darker card base, make sure to cut a layer measuring 4″x5-1/4″ of Basic White or other light color, to glue to the inside of the card to make hand written messages easier to read.
New Feature!
Downloadable step-by-step PDF instructions
I am trying a new feature for this blog post this week. A printable version of the blog post in PDF format which includes the supply list. Let me know in the comments if this is something I should do for other step-by-step blog posts.
I hope you enjoyed today’s project. Make sure to subscribe to Let It Snow Stamping so you never miss another blog post. Every week I pick a stamp set and make one project (possibly two) every weekday. As an added bonus I also make videos for new techniques. The techniques can also be found under the Technique Corner tab.
Make sure you find LISS on:
Facebook (#LISStamping, @LetItSnowStamping),
Instagram (@LetItSnowStamping),
