Hello!
I will admit, yesterday was awful, so I did not post the card I made in the morning. This card is what I consider one of my “Ugly” cards that has to come out to get the pretty cards to flood my system, LOL, but I wanted to show you the technique anyway. However, after a day and some green highlights on the leaves, it is not as bad as I originally thought it was yesterday. Before I was able to post it, we went for our 2nd COVID vaccine. Right after I got it, I got the nastiest headache and it took me out the rest of the day. Good thing we had a pop-in-the-oven pizza in the fridge or we would have starved. Hopefully, today I can catch up and I do apologize for not getting this posted yesterday!
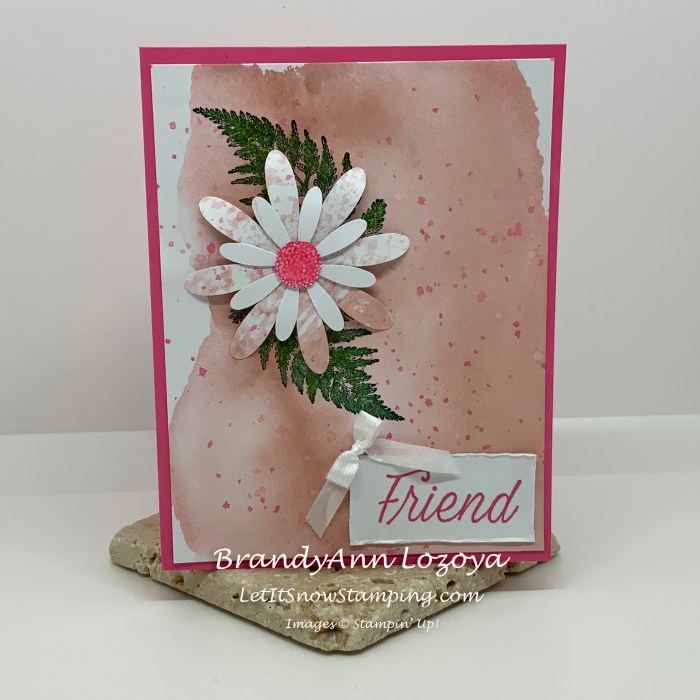
The Project:
Supplies:
- Daisy Lane Stamp Set
- Polished Pink Cardstock
- Basic White Cardstock
- Blushing Bride, Evening Evergreen, Polished Pink, and Granny Apple Green Classic Stampin’ Pads
- Wink of Stella pen
- Shimmery Crystal Effects
- Water Painter Brush
- Bone Folder
- Stampin’ Spritzer
- Daisy Punch
- Medium Daisy Punch
- Clear Blocks F & D
- Crinkled Seam Binding Ribbon
- Stampin’ Dimensionals
- Glue Dots
- Stampin’ Seal Adhesive
Instructions:
Using your largest acrylic block or a glass mat, cover your area with ink from an ink pad. I used Blushing Bride.
In hind sight, maybe I covered my acrylic block with too much of a good thing, LOL. When you try this technique, less is more! This is called the Ink Smooching Technique.

Spritz with water.


Before pressing your white card front (4″x5-1/4″) to the ink, make yourself a little removable tape handle to help pry the paper off of the wet acrylic block. (Sorry for the really dry hands! That hand sanitizer has me all dried out!)

Press card front to the block to pick up the damp ink. I dabbed the edge of mine on a paper towel when I pulled it off, as color pooled at the bottom.


Before the block dries, pull another print. This one looks better and I should have used it for my card front instead. See how the ink separates with a beautiful textured pattern. Let them dry completely before moving on. If you are impatient like me, dry them with a heat tool or blow dryer.


Once dry, using the second pull, punch out one or two daisies using the Daisy Punch.

Next, gather the card front, flowers, acrylic block, water painter brush, and Polished Pink ink pad. Press the ink pad to the acrylic block like before.

Using the water painter, gather up some of the ink on the acrylic block and tap it with the opposite hand to create ink splatter on the card front and flowers.

Using a bone folder, gently pull the petals from the center outward in a downward curved motion to give the petals a little dimension.

Layer the card front to a Polished Pink card base that measures 8-1/2″x5-1/2″ and is scored at 4-1/4″, using Stampin’ Seal Adhesive.

Using Evening Evergreen, stamp leaves on your card front. When I came back today, I decided the leaves were too dark on their own, so using the water painter brush, I added some Granny Apple Green to brighten them up.

Punch another daisy using the Medium Daisy Punch in white and layer on top of the larger one using a Glue Dot. Add a Stampin’ Dimensional to the back of the larger one and glue down in the center of the leaves.


Using the Wink of Stella pen, add touches of glitter to the card front and on the daisy petals.

On a scrap of white cardstock, stamp a large daisy in Polished pink and cut out the center.

Glue the Polished Pink center to the center of the daisy and add some Shimmery Crystal Effects to add texture to it. Let dry.

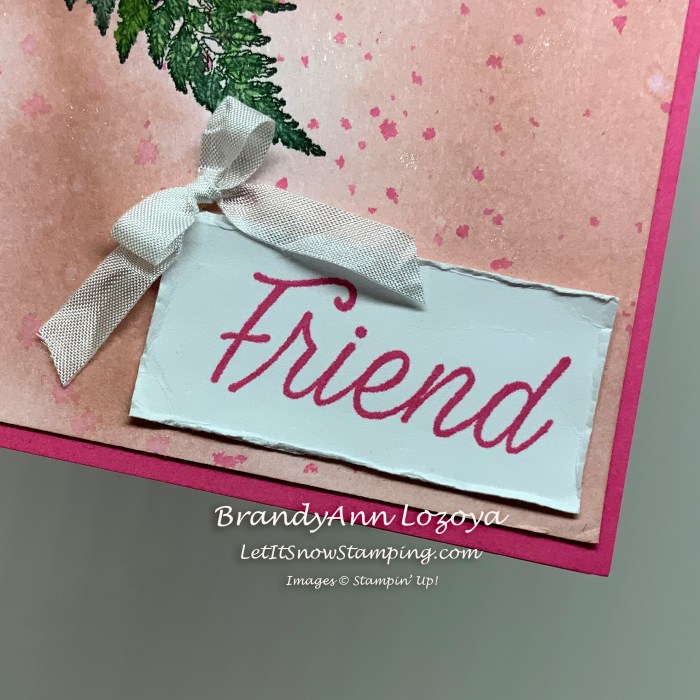
On another scrap piece of white cardstock, measuring 2″x1″, stamp the Friend sentiment in Polished Pink and distress the edges a bit. Adhere to the card on the lower right hand side.

Make a small bow out of Crinkled Seam Binding Ribbon and adhere next to the sentiment using a Glue Dot.
Later, I added the Granny Apple Green to the leaves to make them brighter. I used the water painter brush for this and just dipped the end of the brush directly onto the stamp pad to pick up the ink.

I do love the rounding of the petals for a little dimension.


I hope you enjoyed today’s project. Make sure to subscribe to Let It Snow Stamping so you never miss another blog post. Every week I pick a stamp set and make one project (possibly two) every weekday. As an added bonus I also make videos for new techniques. The techniques can also be found under the Technique Corner tab.
Make sure you find LISS on:
Facebook (#LISStamping, @LetItSnowStamping),
Instagram (@LetItSnowStamping),
