Happy Stampin’ Tuesday!
As promised yesterday, today’s project was made using the beautiful impression plates that are included in the Stitched Snowflakes Dies. All of the images in the dark gray rectangles and squares are image impression plates. They do not cut out shapes, but rather, cut a design into the paper.

The Project
Level – casual (Intermediate)

Supply List
- Stamp Sets
- Merry Snowflakes
- Dies/Embossing Folders
- Stitched Snowflakes Dies
- Cardstock/DSP
- Night of Navy
- Card Base measures 5-1/2″x8-1/2″, scored and folded at 4-1/4″
- Scrap piece for die cut
- Balmy Blue
- Scrap for die cuts
- Vellum Cardstock
- Scrap piece for die cut
- Basic White
- Card front and inside panel each measure 5-1/4″x4″
- Night of Navy
- Stamp Pads
- Night of Navy
- Balmy Blue – Inside panel
- Stampin’ Blends/Markers
- Wink of Stella
- Embellishments
- Rhinestone Basic Jewels
- Glittered Organdy Ribbon
- Adhesive
- Stampin’ Seal
- Mini Stampin’ Dimensionals
- Multipurpose Liquid Glue
- Scotch Tape
- Tools
- Bone Folder
- Clear (Acrylic) Blocks B
- Paper Snips Scissors
- Paper Trimmer
- Simply Scored Scoring Tool
- Stamparatus
- Stampin’ Cut & Emboss Machine
Instructions
Begin by scoring the card base at 4-1/4″, fold and burnish with a bone folder.

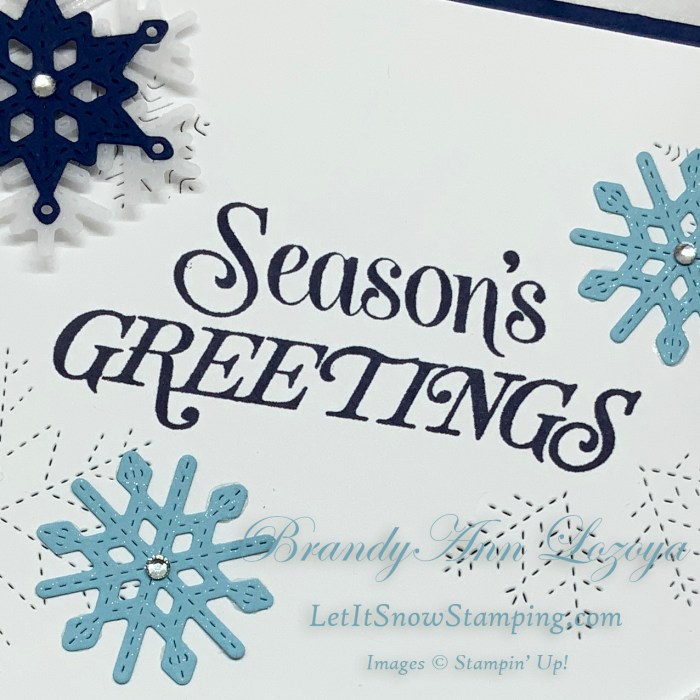
Using the Stamparatus or other stamping platform, stamp sentiment using Night of Navy ink in the center of one of the white panels.
*Instructions on how to use the Stamparatus can be found in the How To… video menu.


Next, Place impression plate dies on the card front.

Here is what it should look like.

Next, cut two 3″ lengths of ribbon for the corners of the card front. Tape ribbon to the back of the card front as shown at an angle.


Adhere card front to the card base.

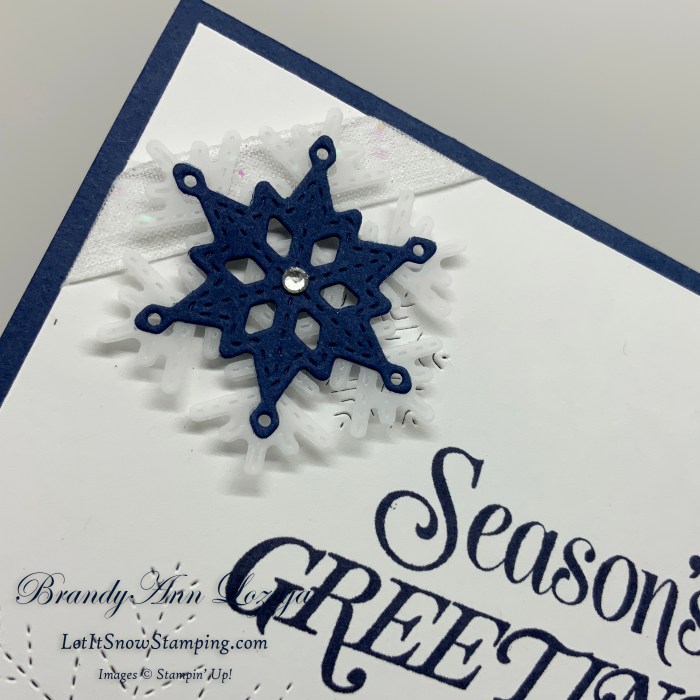
Die cut and weed the following colors of snowflakes – 1 Night of Navy, 2 Balmy Blue, 1 large Vellum Cardstock.


Glue Night of Navy snowflake to Vellum Cardstock snowflake. I use a silicone mat to protect my surface while gluing. Weigh down with an acrylic block while drying.


Add a Mini Stampin’ Dimensional that has been cut in half to the back of the glued snowflakes.

Attach to the top left corner of the card front.

Add Wink of Stella to the Balmy Blue snowflakes and adhere to the card front with Multipurpose Liquid Glue.


Stamp sentiment on inside panel with Night of Navy ink and the snowflakes in Balmy Blue.


Add three rhinestones to the card front. The Take Your Pick Tool is awesome for grasping the rhinestones for perfect placement!

The Final Project


September Special

Merry Snowflakes Bundle 
White 3/8″ Glittered Organdy Ribbon
September Special: Buy the Merry Snowflakes Bundle* (page 13 in the July-December Mini Catalog) and receive a roll of the White 3/8″ Glittered Organdy Ribbon FREE! (While Supplies Last)
*Orders must be placed via email and not through the online store.

When ordering use my name and the September 2021 host code for extra benefits
BrandyAnn Lozoya
A69ERDDQ
I hope you enjoyed today’s project. Make sure to subscribe to Let It Snow Stamping so you never miss another blog post. Every week I pick a stamp set and make one project every weekday. As an added bonus I also make videos for new techniques. The techniques can also be found under the Technique Corner tab.
Make sure you find LISS on:
Facebook (#LISStamping, @LetItSnowStamping),
Instagram (@LetItSnowStamping),

Love your projects. New to this, can’t wait until I have everything so I can make every projectNancy
Little by little :) Let me know if there is anything you’d like to try to make but with what you have on hand. I can show you some quick techniques with what you already have in your stash!