Happy Stampin’ Thursday!
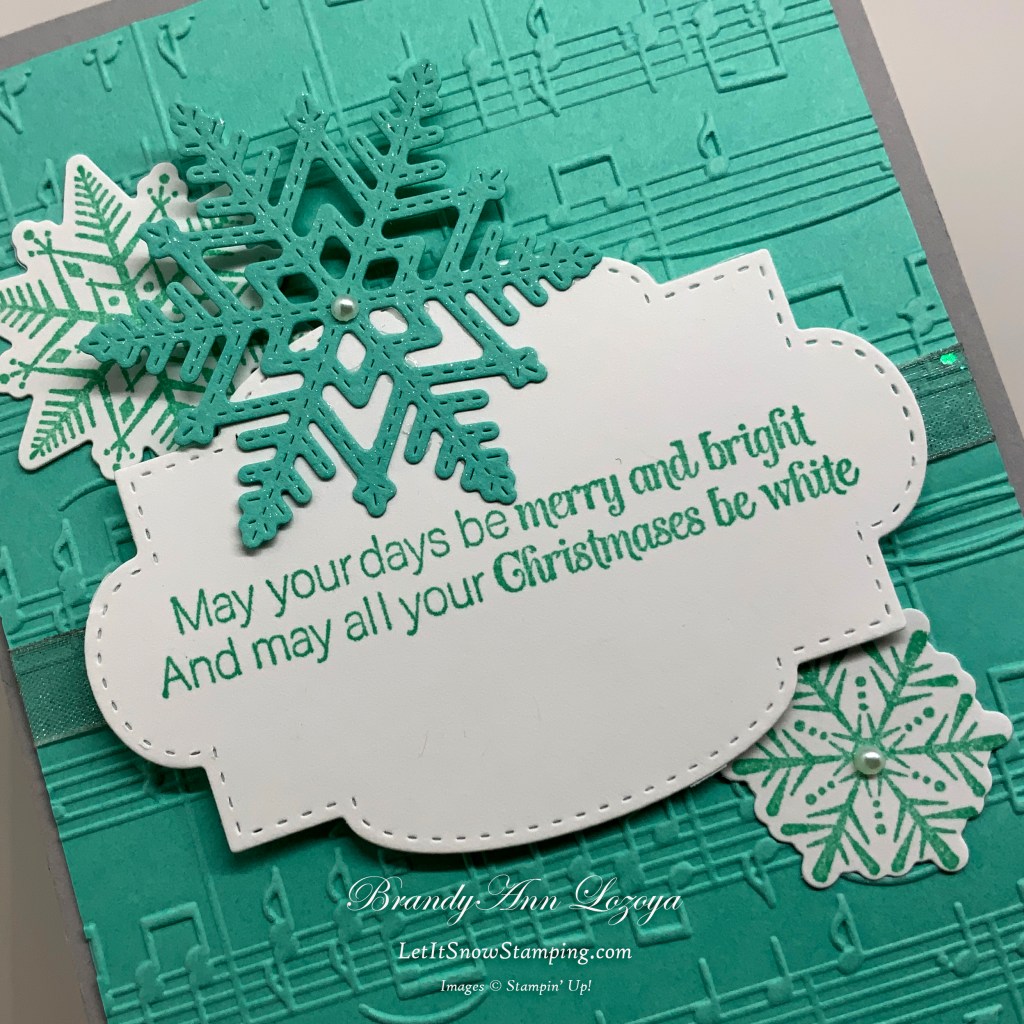
Can you hear Bing Crosby sing as you read the sentiment? I know I sure can! Today’s sentiment and embossed image go perfectly together to make this fun and festive card.
The Project
Level – casual (Intermediate)

Supply List
- Stamp Sets
- Merry Snowflakes
- Dies/Embossing Folders
- Stitched Snowflakes Dies
- Stitched So Sweetly Dies
- Merry Melody 3D Embossing Folder
- Cardstock/DSP
- Smoky Slate
- Card Base measures 5-1/2″x8-1/2″, scored and folded at 4-1/4″
- Coastal Cabana
- Card front measures 4″x5-1/4″
- Scrap for large snowflake
- Basic White
- Inside panel measures 5-1/4″x4″
- Scraps for sentiment and snowflakes
- Smoky Slate
- Stamp Pads
- Coastal Cabana
- Stampin’ Blends/Markers
- Light Smoky Slate Blends
- Wink of Stella
- Embellishments
- Pearl Basic Jewels
- Glittered Organdy Ribbon
- Adhesive
- Stampin’ Seal
- Stampin’ Dimensionals
- Scotch Tape
- Tools
- Bone Folder
- Clear (Acrylic) Blocks B, C, & H
- Take Your Pick Tool
- Paper Snips Scissors
- Paper Trimmer
- Simply Scored Scoring Tool
- Stampin’ Cut & Emboss Machine
Instructions
Begin by folding your card base at 4-1/2″ and burnishing it with a bone folder for a nice, crisp fold.

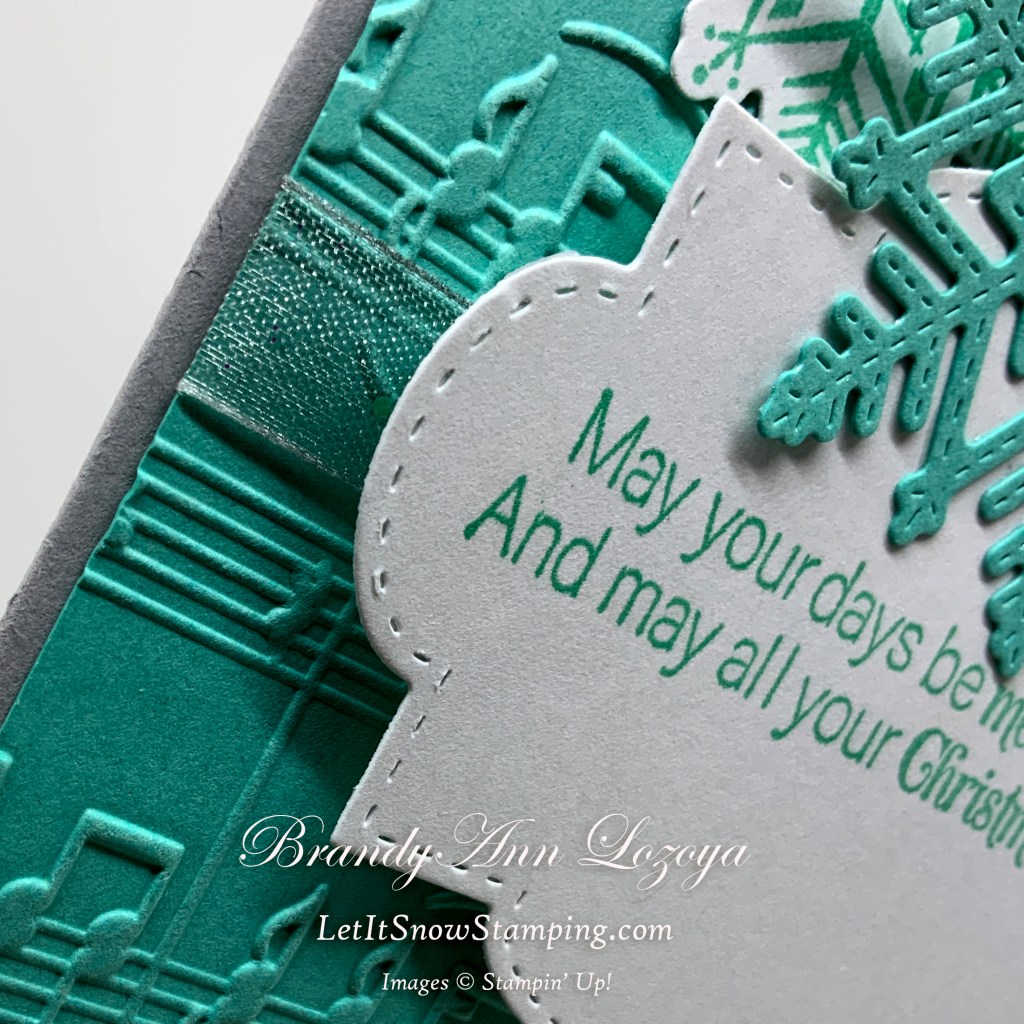
Next, emboss the Coastal Cabana panel using the Merry Melody embossing folder.

Cut a 6″ length of ribbon and color it using the Light Smoky Slate Stampin’ Blends marker.

Place ribbon on card front panel and tape the edges to the backside of the panel.


Stamp the sentiment on a scrap of white cardstock. Leave enough room to cut out the sentiment using the large sentiment frame die from the Stitched So Sweetly Dies set.


Add dimensionals (foam adhesive) to the back of the sentiment and adhere to the center of the card front panel.


Adhere panel to the card base using your favorite adhesive.

On the scrap of white cardstock, stamp two snowflakes using Coastal Cabana.
Next, cut out the snowflakes with the coordinating dies.


Adhere the two snowflakes around the sentiment.

Using the largest snowflake die, cut out one snowflake in Coastal Cabana and weed out extra pieces with the Take Your Pick Tool.

Add glitter sparkle to the die cut using a Wink of Stella pen.

Add glue to only half of the large snowflake and adhere on the sentiment frame.


Embellish with pearl jewels.

Stamp inside panel with snowflakes along the right side of the panel. Allow snowflakes to fall off the edge of the card.

Adhere panel to the inside of the card.

The Final Project


September Special

Merry Snowflakes Bundle 
White 3/8″ Glittered Organdy Ribbon
September Special: Buy the Merry Snowflakes Bundle* (page 13 in the July-December Mini Catalog) and receive a roll of the White 3/8″ Glittered Organdy Ribbon FREE! (While Supplies Last)
*Orders must be placed via email and not through the online store.

When ordering use my name and the September 2021 host code for extra benefits
BrandyAnn Lozoya
A69ERDDQ
I hope you enjoyed today’s project. Make sure to subscribe to Let It Snow Stamping so you never miss another blog post. Every week I pick a stamp set and make one project every weekday. As an added bonus I also make videos for new techniques. The techniques can also be found under the Technique Corner tab.
Make sure you find LISS on:
Facebook (#LISStamping, @LetItSnowStamping),
Instagram (@LetItSnowStamping),
