Step-by-Step Card Making Instructions
Happy Stampin’ Thursday!
Clearance Rack Refresh
The Clearance Rack has been updated with new items! Lots of items have already flown off the shelves!
Supplies are limited, and with discounts up to 60% off, products will go quickly!
The Project
Level – Casual (Intermediate)
Supply List
- Stamp Sets
- Nature’s Beauty set
- Sweet Ice Cream set
- Dies/Embossing Folders
- Painted Labels Dies
- Parisian Flourish 3D Embossing Folder
- Cardstock/DSP
- Evening Evergreen
- Card Base measures 8-1/2”x5-1/2”, scored and folded at 4-1/4
- Sentiment mat measures 4”x1-1/4”
- Scrap piece to fit circle die, roughly 3-1/4” square
- Basic White
- Front and inside panels measure 4″x5-1/4″
- Sentiment measures 2-7/8”x1-1/8”
- Scrap piece to fit stamped image, roughly 3” square
- Evening Evergreen
- Stamp Pads
- Cajun Craze
- Stampin’ Blends/Markers
- Wink of Stella pen
- Adhesive
- Stampin’ Seal
- Stampin’ Dimensionals
- Tools
- Bone Folder
- Tweezers
- Clear (Acrylic) Blocks H
- Paper Trimmer
- Stamparatus
- Simply Scored Scoring Tool
- Stampin’ Cut & Emboss Machine
Instructions
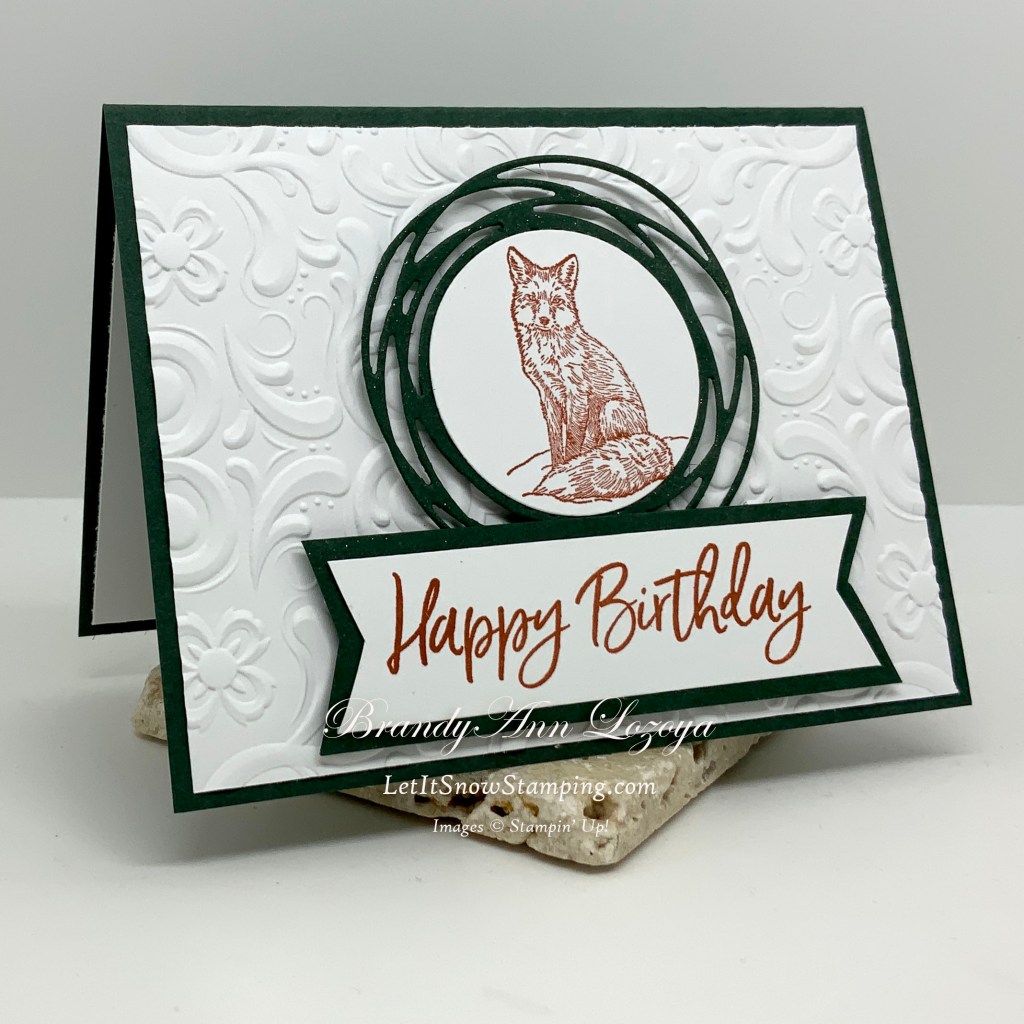
Begin by scoring and folding your card base at 4-1/4” and burnishing it with a bone folder for a nice, crisp fold.


Emboss one of the white panels. I centered the panel to the design as best I could.


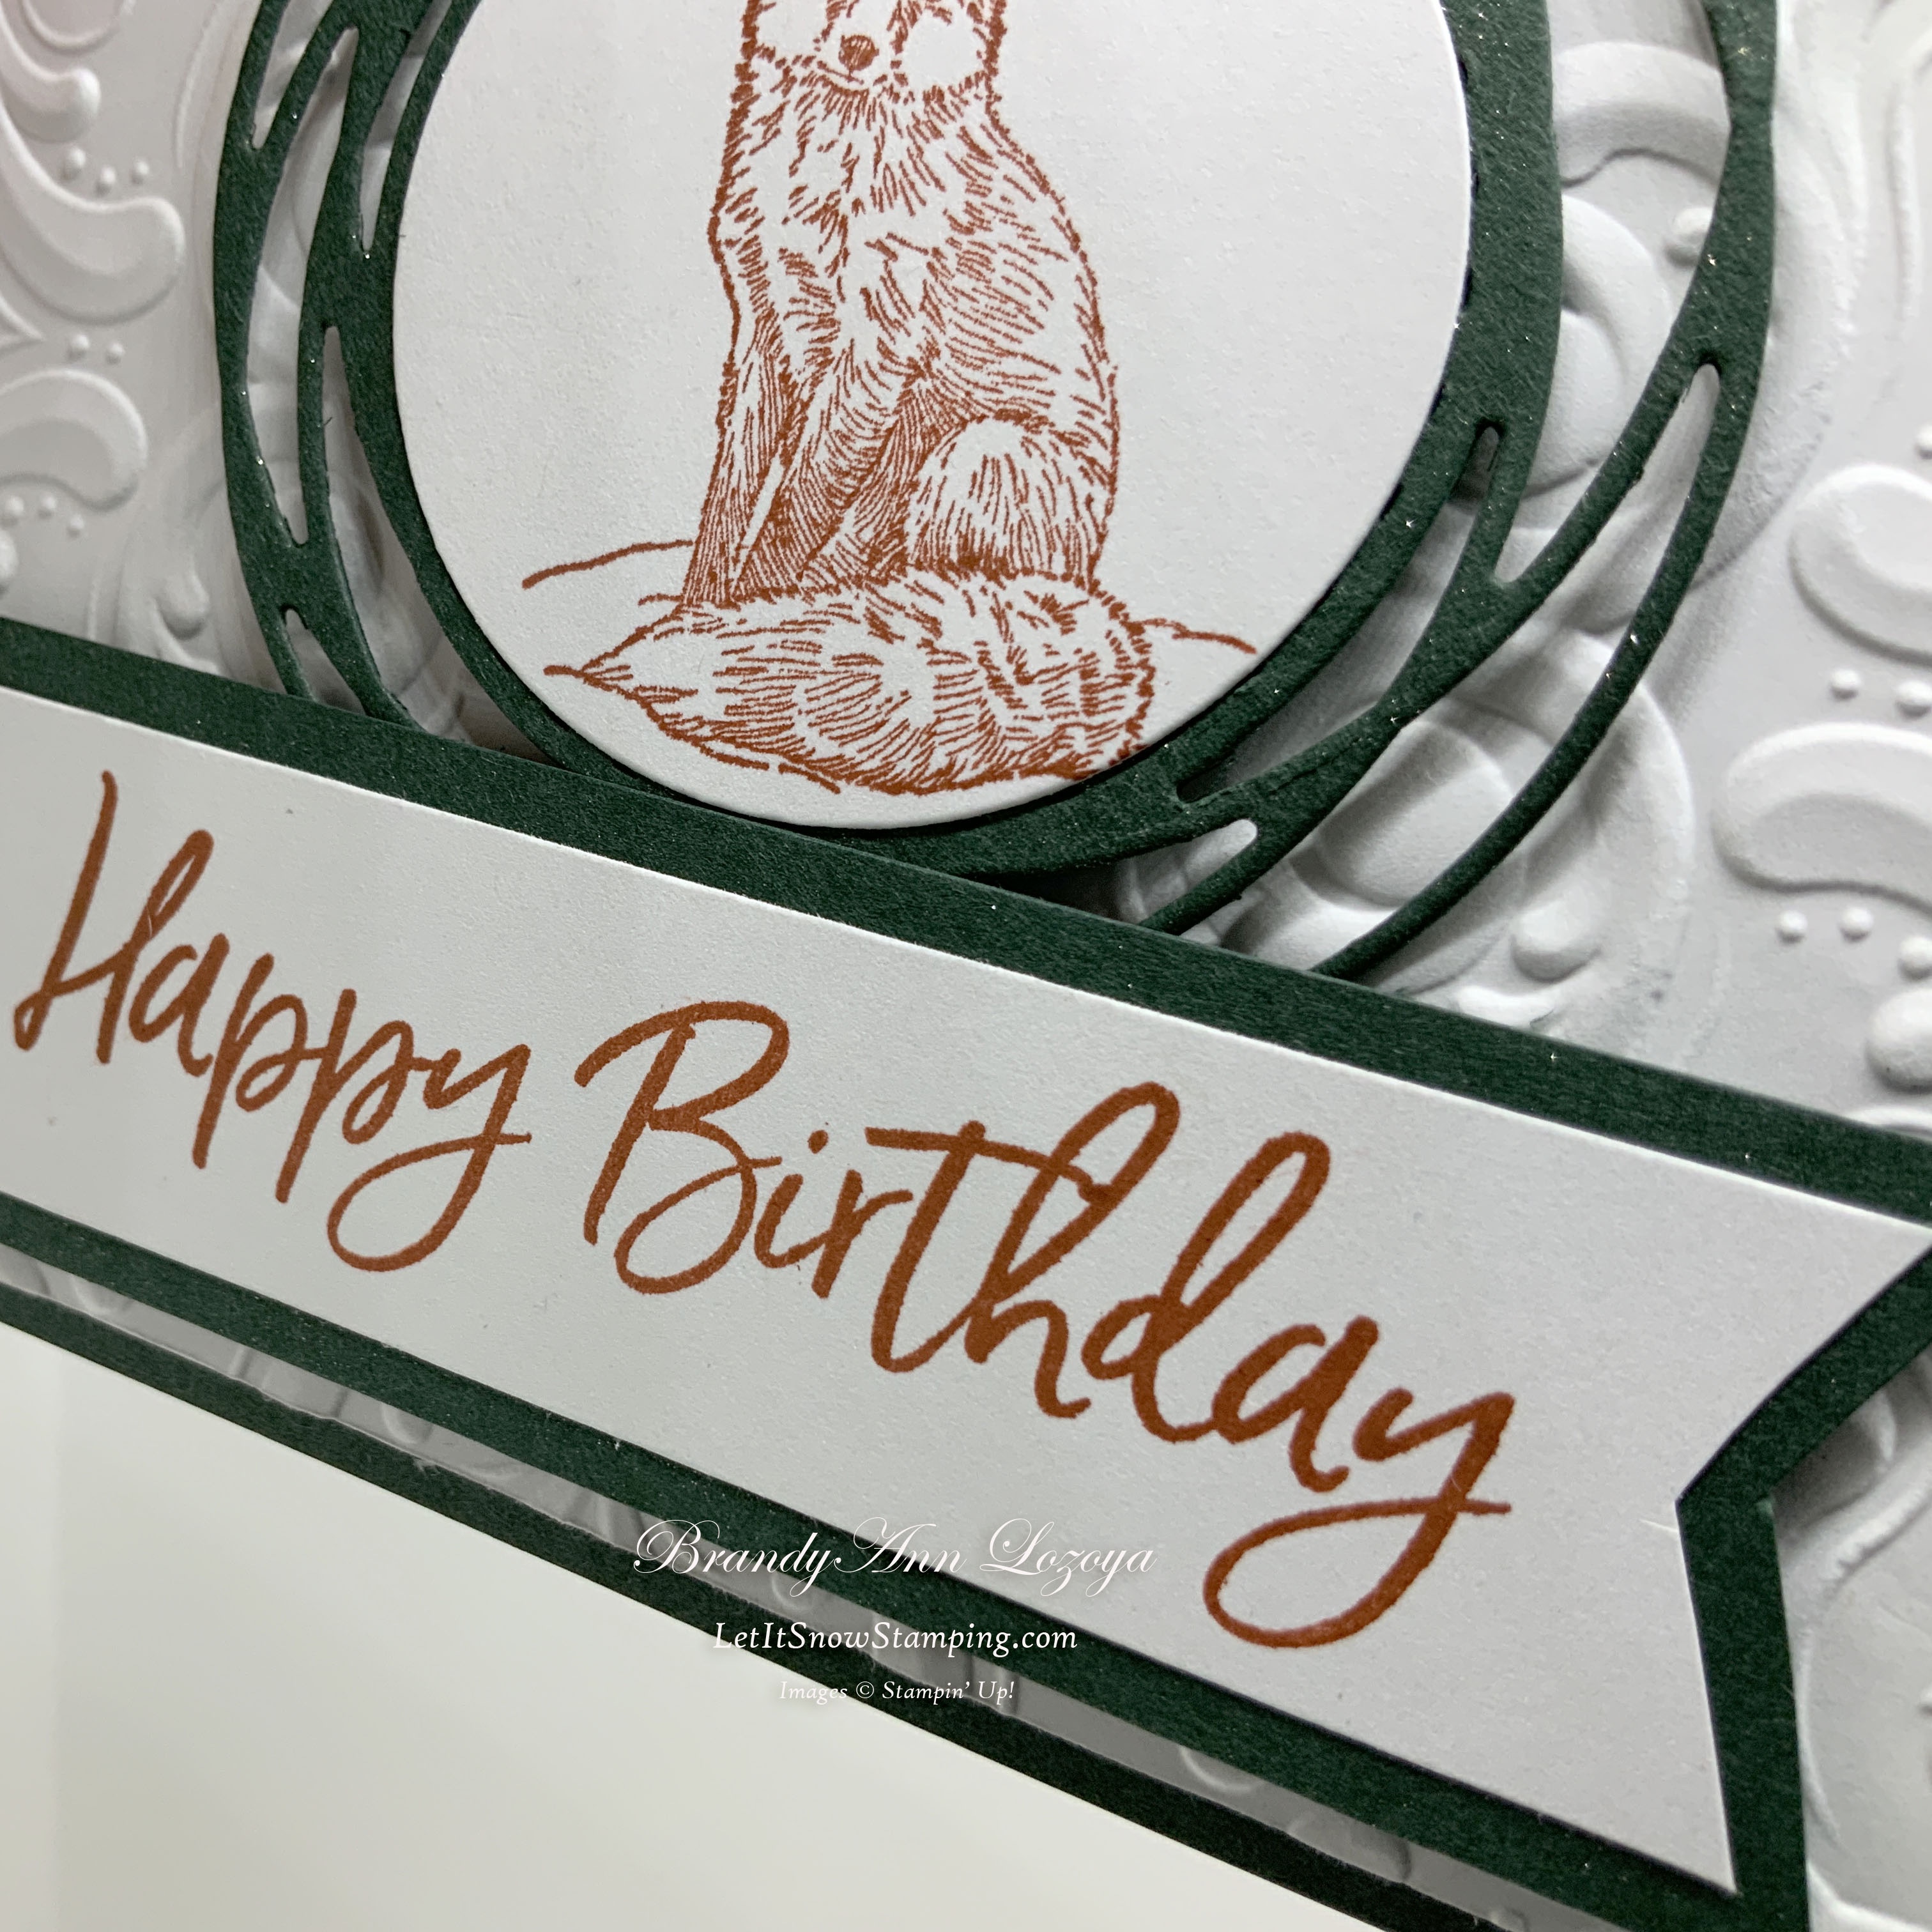
Stamp fox on the white scrap in Cajun Craze ink and cut out with the circle die that is 1-15/16”.
Because these are detailed and delicate images, I used my Stamparatus to stamp the fox. If you would like a lesson on the Stamparatus, go to the video library and click on How To.

Using the circle in the Painted Labels Dies set, cut one circle in Evening Evergreen. Adhere fox into the center.


Add some Wink of Stella for a bit of bling to the circle.


Adhere embossed card front to the card base.

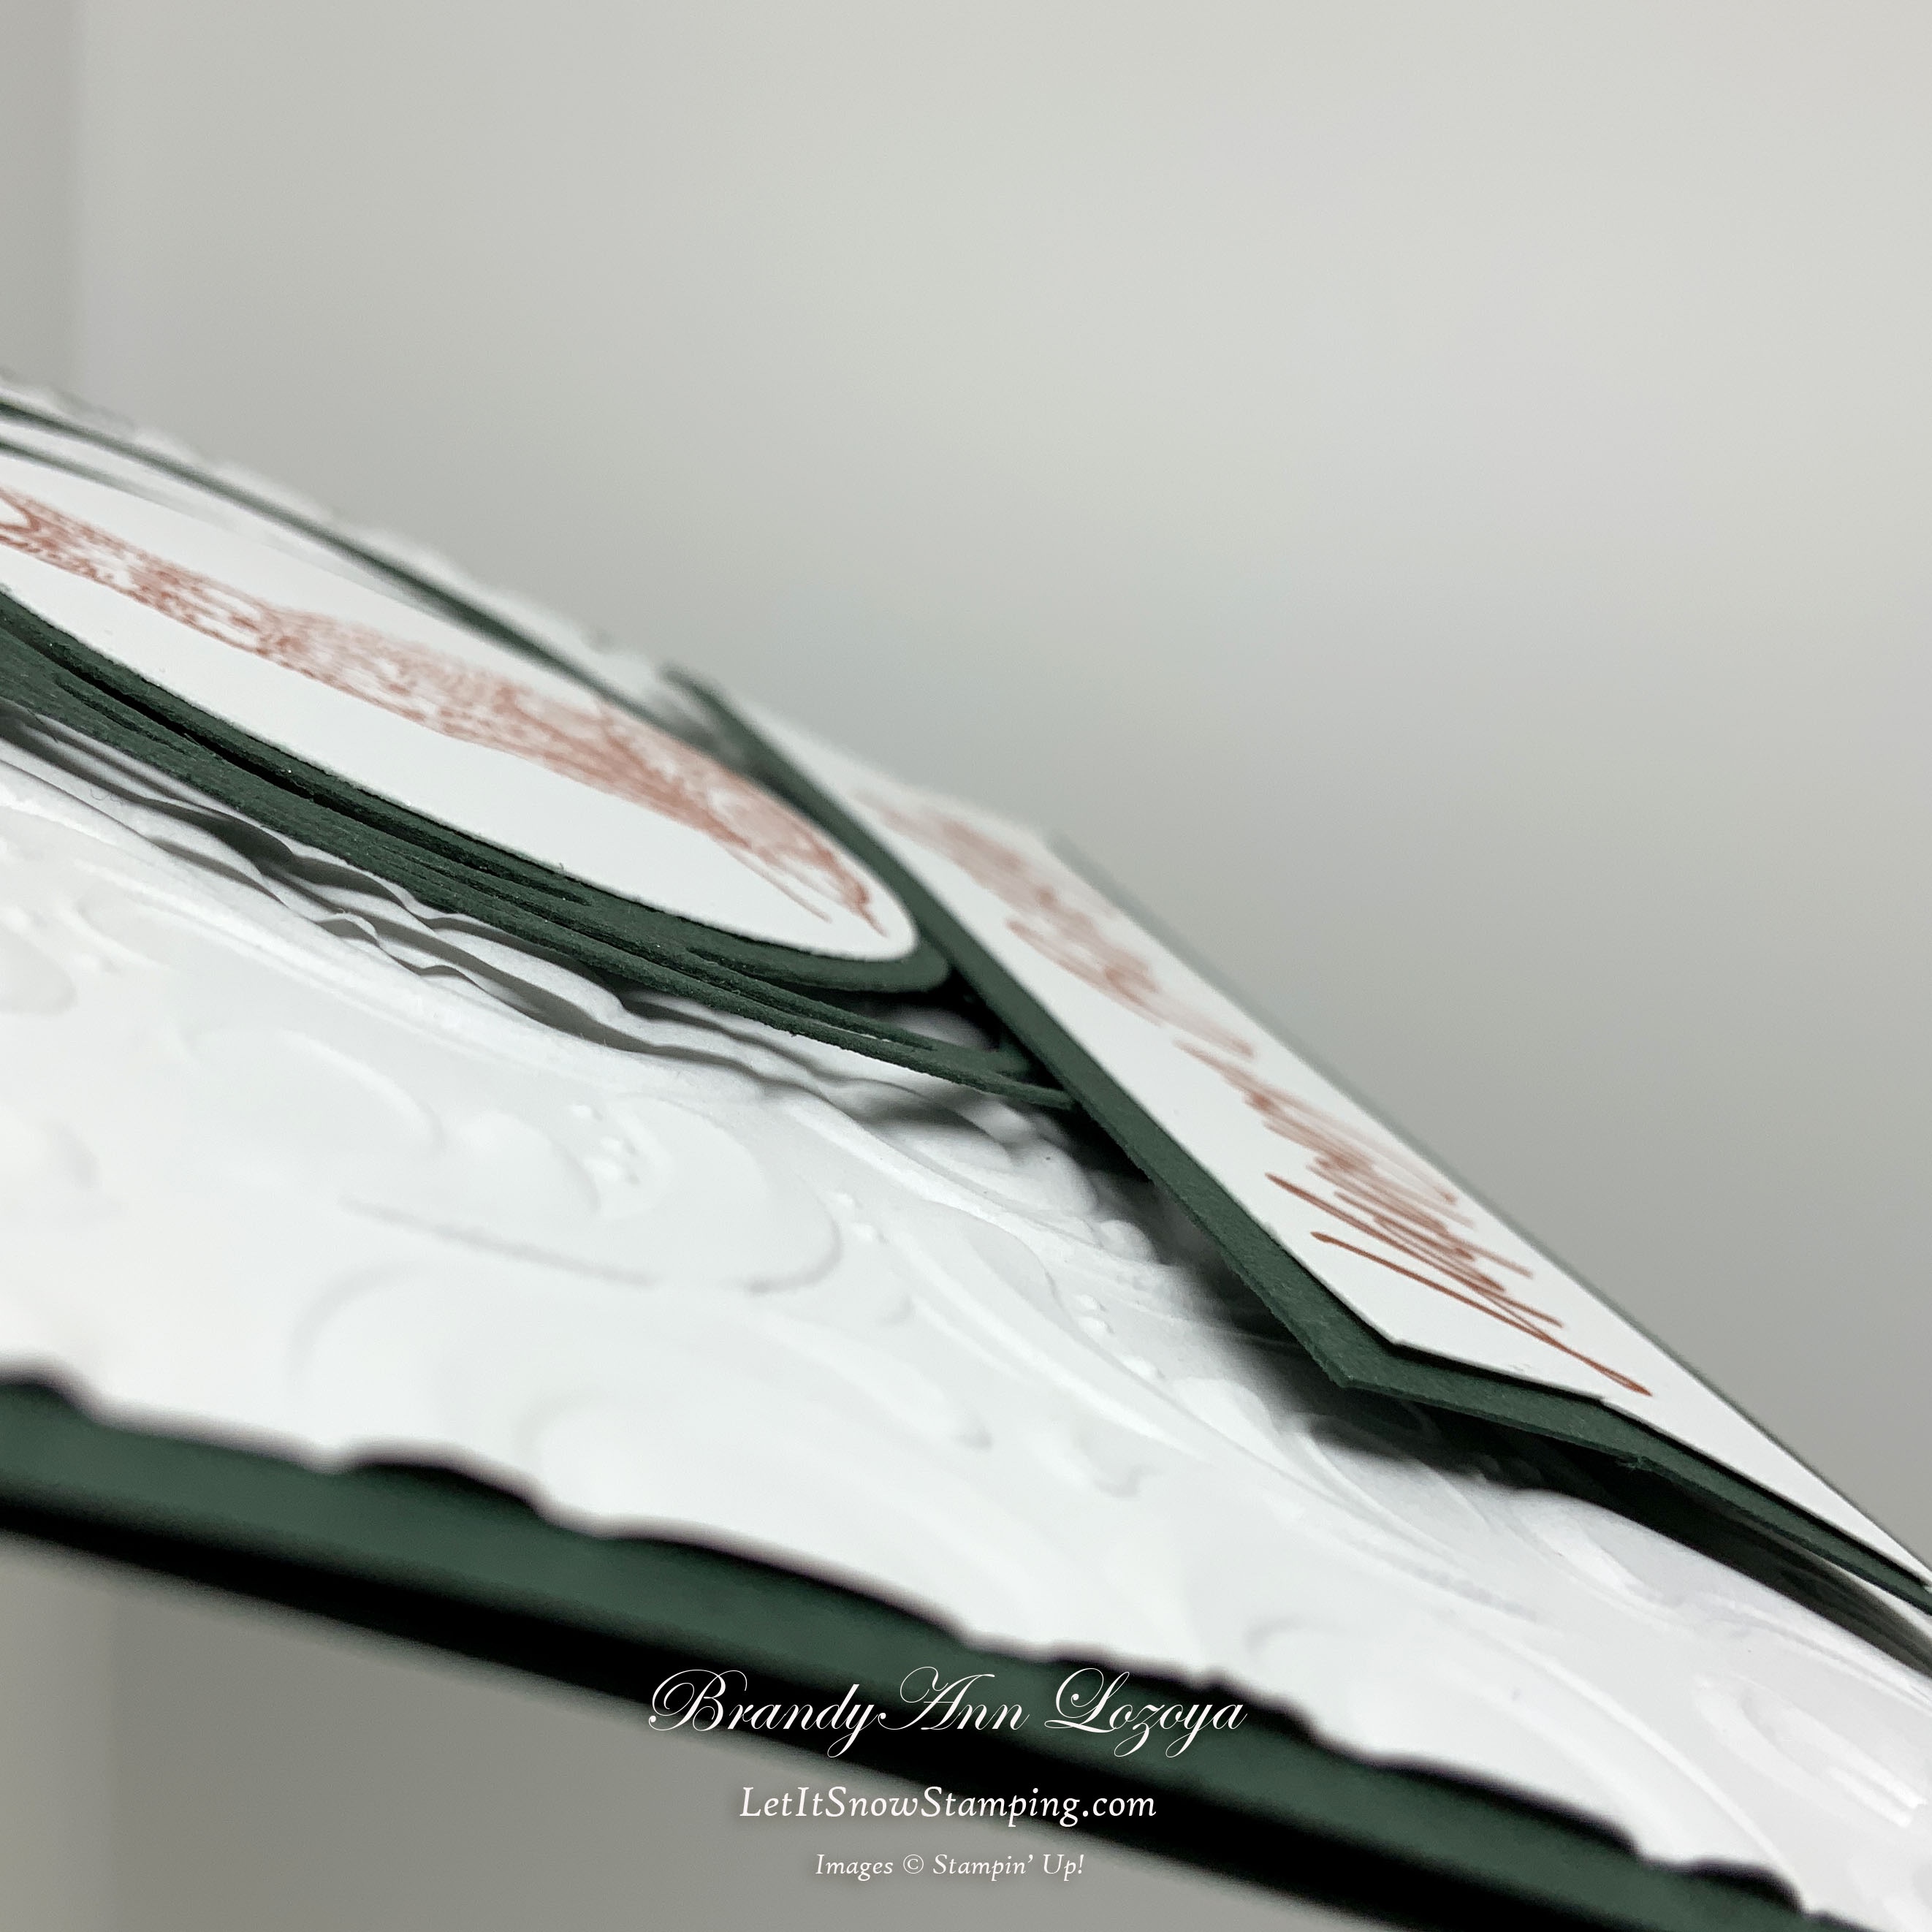
Using dimensionals adhere circle element to the center of the card.


Stamp sentiment in Cajun Craze and cut banner edges on both sides.


Mat sentiment and trim banner edges. Add some Wink of Stella around the edges to sparkle.


Adhere the sentiment to the card front with dimensionals.


Adhere inside panel.

The Final Project


When ordering use my name and the October 2021 host code for extra benefits
BrandyAnn Lozoya
DKGKTMQ2
I hope you enjoyed today’s project. Make sure to subscribe to Let It Snow Stamping so you never miss another blog post. Every week I pick a stamp set and make one project every weekday. As an added bonus I also make videos for new techniques. The techniques can also be found under the Technique Corner tab.
Make sure you find LISS on:
Facebook (#LISStamping, @LetItSnowStamping),
Instagram (@LetItSnowStamping),
