Step-by-Step Card Making Instructions
Happy Stampin’ Wednesday!
Clearance Rack Refresh
Today’s the day! The Clearance Rack has been updated with new items! Supplies are limited, and with discounts up to 60% off, products will go quickly!
The Project
Level – Casual (Intermediate)

Supply List
- Stamp Sets
- Nature’s Beauty set
- Best Year set
- Dies/Embossing Folders
- Layering Circles Dies
- Cardstock/DSP
- Blushing Bride
- Card Base measures 8-1/2”x5-1/2”, scored and folded at 4-1/4”
- Band measures 4-1/4”x1”
- Large rectangle mat measures 2-7/8”x4-1/8”
- Sentiment mat measures 3-1/8”x 1-3/8”
- Scrap piece to fit large scalloped circle die, roughly 3-1/4” square
- Hand-Penned Designer Series Paper
- Card front panel measures 4”x5-1/4”
- Basic White
- Inside panel measures 4″x5-1/4″
- Large rectangle panel measures 2-3/4”x4”
- Sentiment measures 2-7/8”x1-1/8”
- Scrap piece to fit stamped image, roughly 3-1/4” square
- Blushing Bride
- Stamp Pads
- Basic Gray
- Mint Macaron
- Blushing Bride
- Sahara Sand
- Soft Sea Foam
- Embellishments
- Pearl Basic Jewels
- Adhesive
- Stampin’ Seal
- Stampin’ Dimensionals
- Tools
- Bone Folder
- Tweezers
- Water Painter Brush
- Take Your Pick Tool
- Clear (Acrylic) Blocks B, C, & H
- Paper Trimmer
- Stamparatus
- Simply Scored Scoring Tool
- Stampin’ Cut & Emboss Machine
Instructions
Begin by scoring and folding your card base at 4-1/4” and burnishing it with a bone folder for a nice, crisp fold.


Adhere DSP to card base.

Because these are detailed and delicate images, I used my Stamparatus to stamp the rabbit in Basic Gray. If you would like a lesson on the Stamparatus, go to the video library and click on How To.


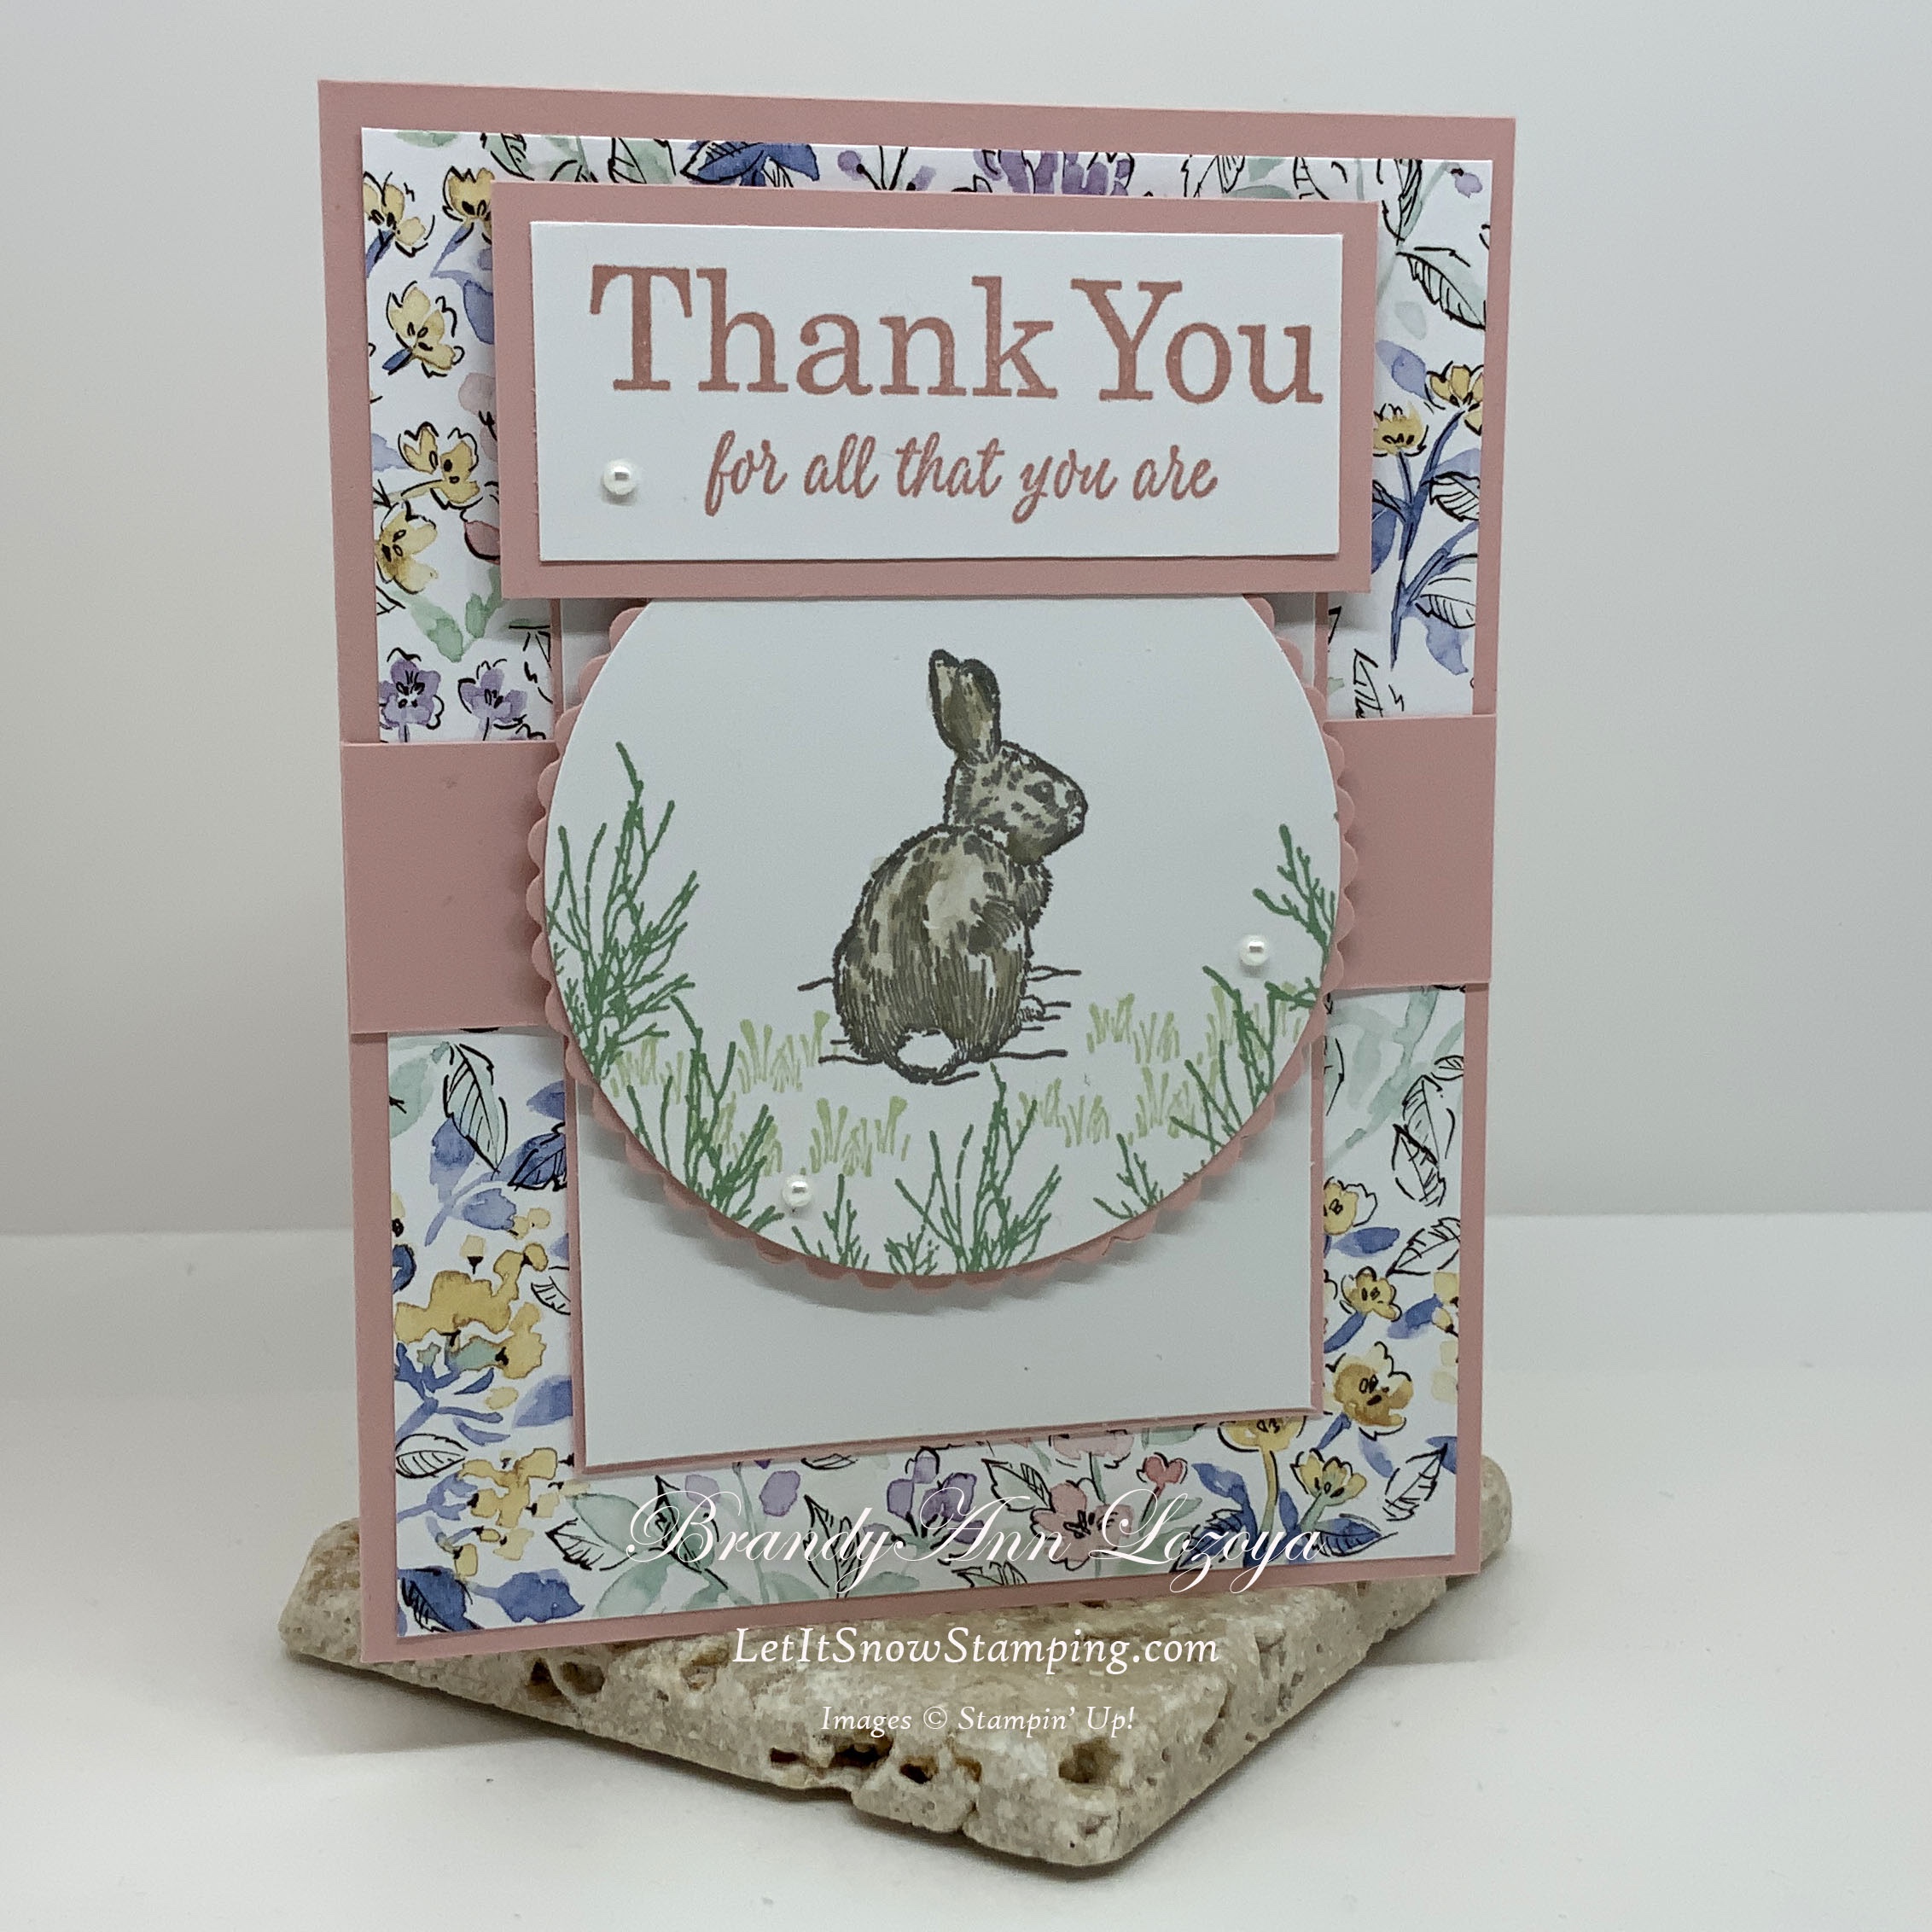
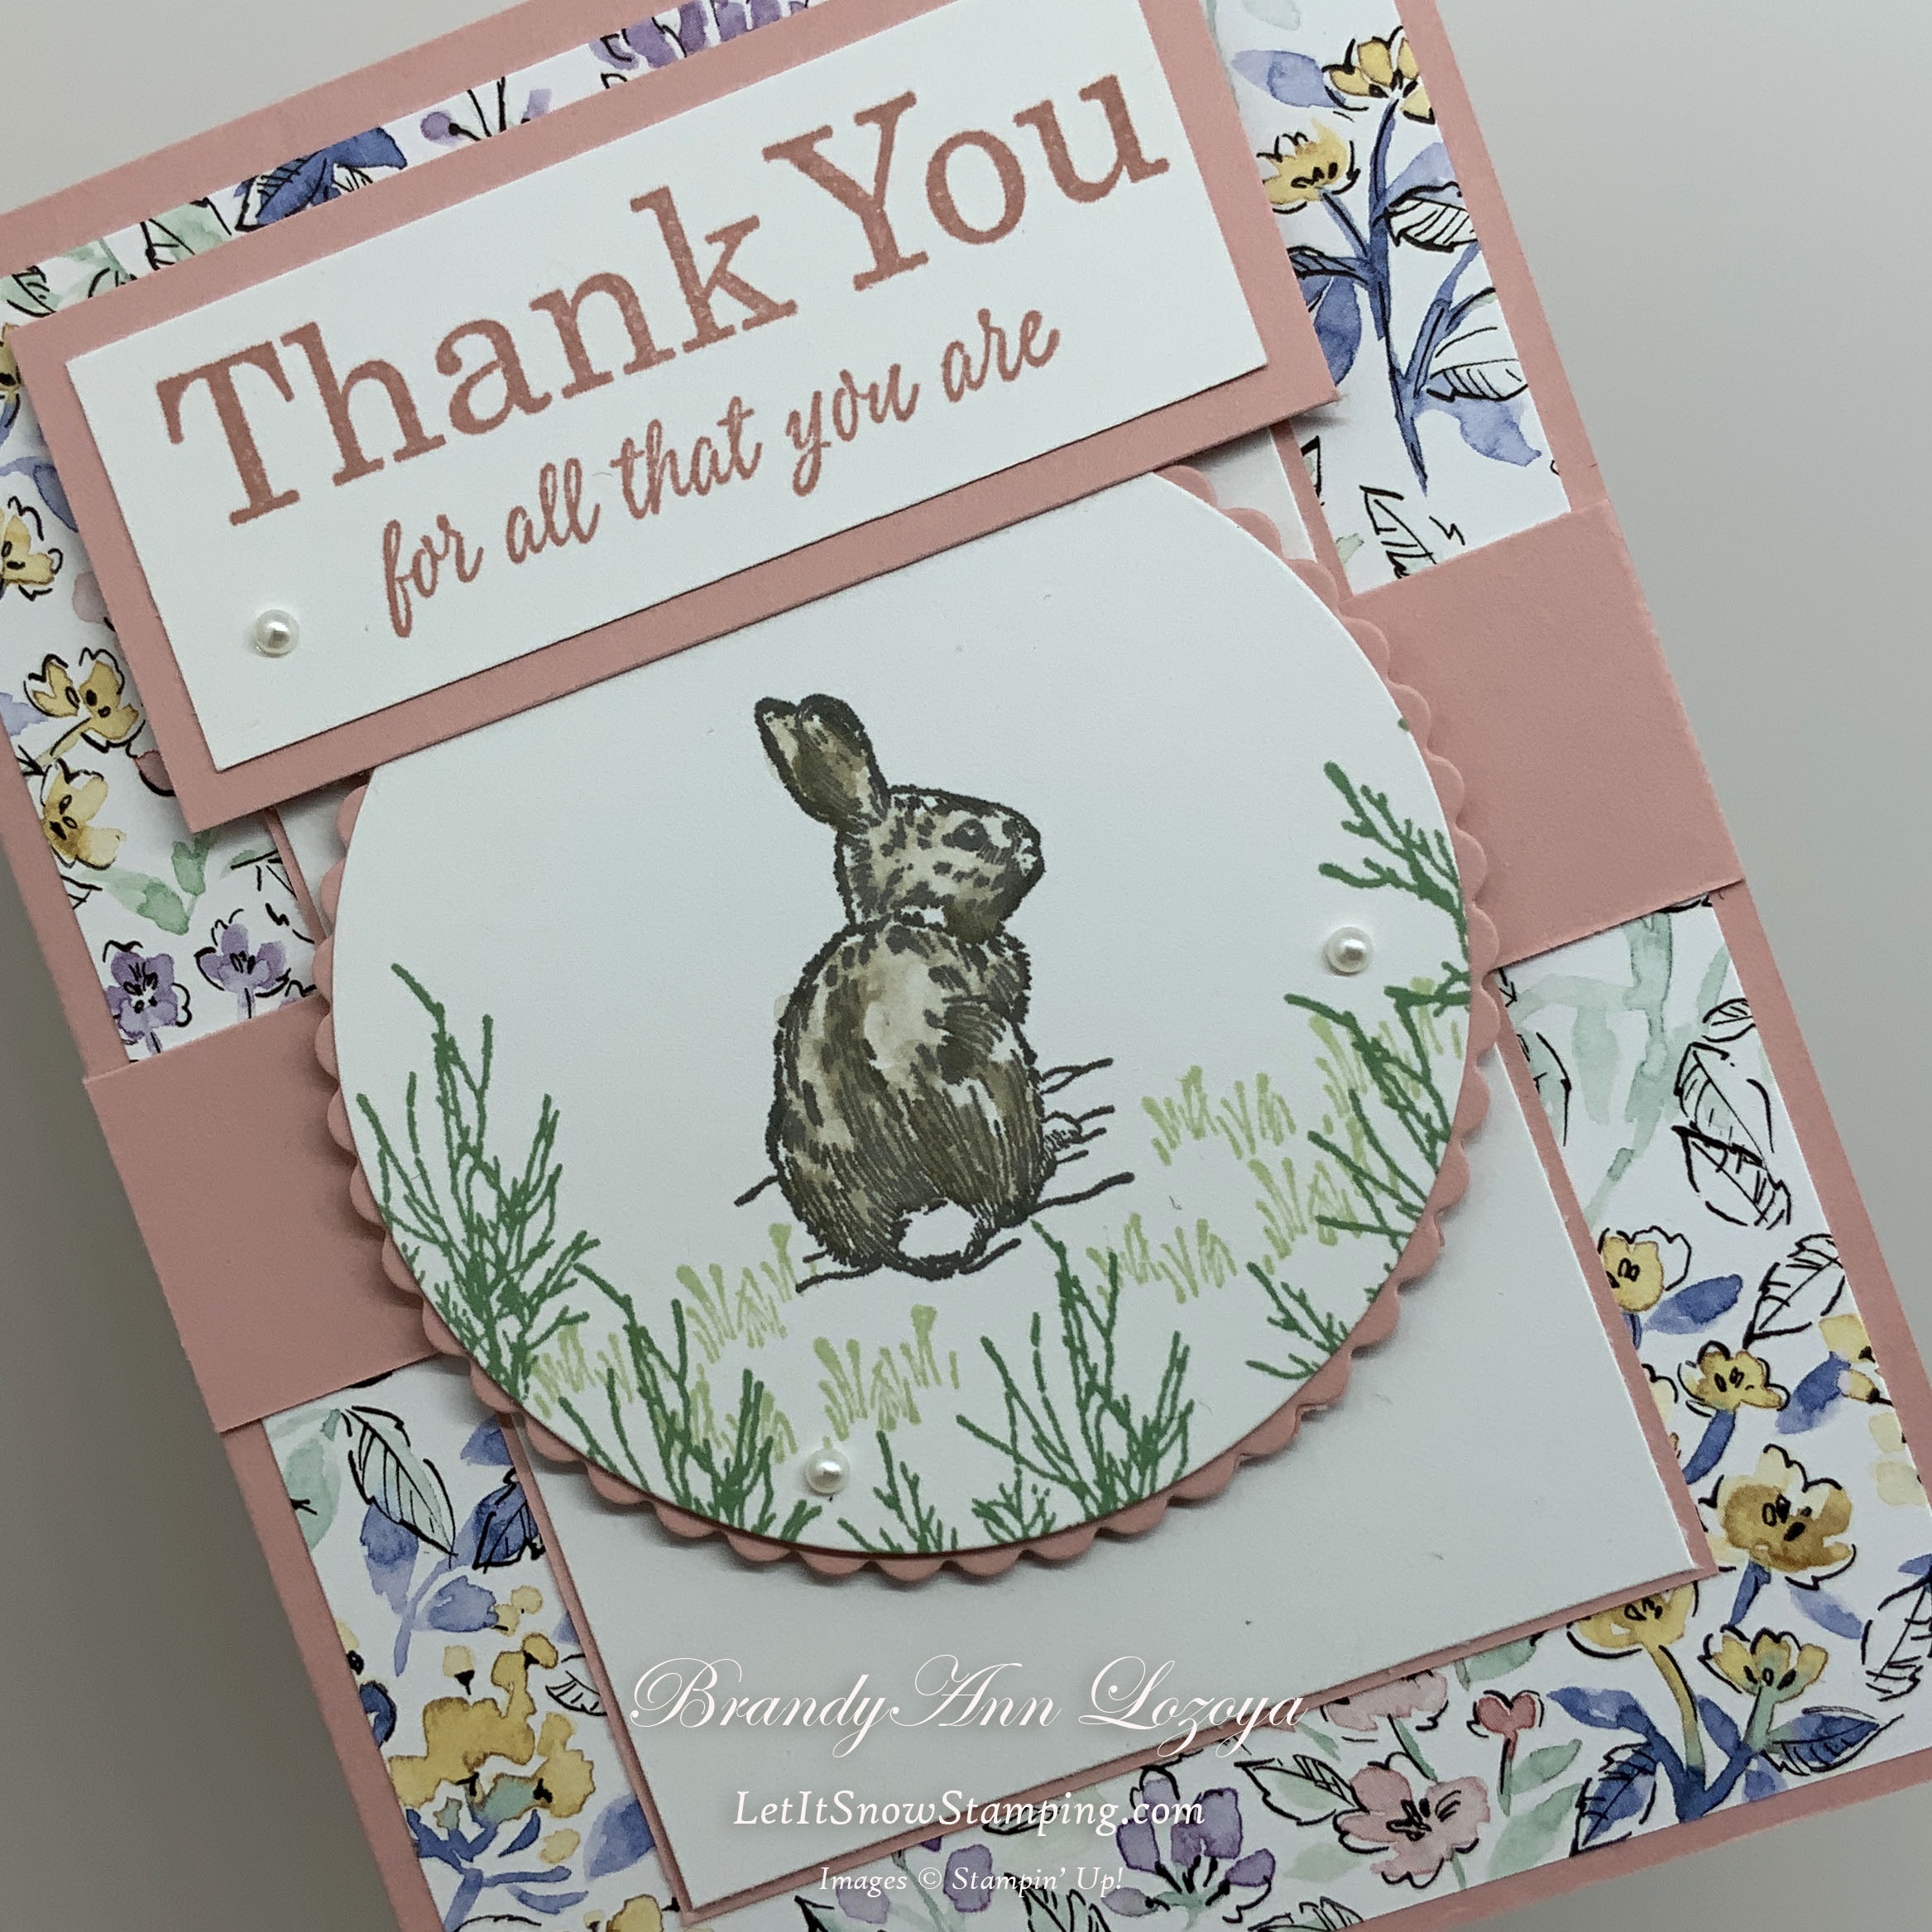
Stamp bushes in Mint Macaron and grass in Soft Seafoam ink. Color rabbit with a water painter brush and Sahara Sand ink. Start the brush in the darker areas and draw the ink to the open areas.


Using the largest circle die in the set, cut out the rabbit. Then using the largest scalloped circle die, cut out a scalloped circle from the scrap of Blushing Bride cardstock.


Adhere circles together as shown.

Stamp sentiment using Blushing Bride ink onto sentiment piece. Adhere it to the sentiment mat.


Adhere rectangle piece to mat, then mount it to the card base.


Next, adhere band to the middle of the card. Then, layer rabbit piece on top of the band using dimensionals (foam adhesive).


Adhere sentiment to card front.

Adhere panel to the inside of card base.

Adhere pearls.

The Final Project


When ordering use my name and the October 2021 host code for extra benefits
BrandyAnn Lozoya
DKGKTMQ2
I hope you enjoyed today’s project. Make sure to subscribe to Let It Snow Stamping so you never miss another blog post. Every week I pick a stamp set and make one project every weekday. As an added bonus I also make videos for new techniques. The techniques can also be found under the Technique Corner tab.
Make sure you find LISS on:
Facebook (#LISStamping, @LetItSnowStamping),
Instagram (@LetItSnowStamping),
