Happy Monday! I really do not want a repeat of this Monday! I did not get to work on my project today until almost 2 in the afternoon today! My puppy is still dealing with her allergic reaction from last week so we trotted off to the vet again this morning. When we got home, I had to find a T-Shirt that she could wear to help her stop scratching. Well, on top of stopping the scratching, it has also stopped her from walking! She HATES clothes. The only thing she wears is her collar. Look at how sad she looks :(

So with everything going on with Tiki, I decided to use a sketch and Designer Series Paper for the project today. It makes the card making process so much quicker! For sketches, simply go to Pinterest and search for card sketches. I also get a lot of my sketches from Spiltcoast Stampers. They post a new one each Wednesday as a site challenge.
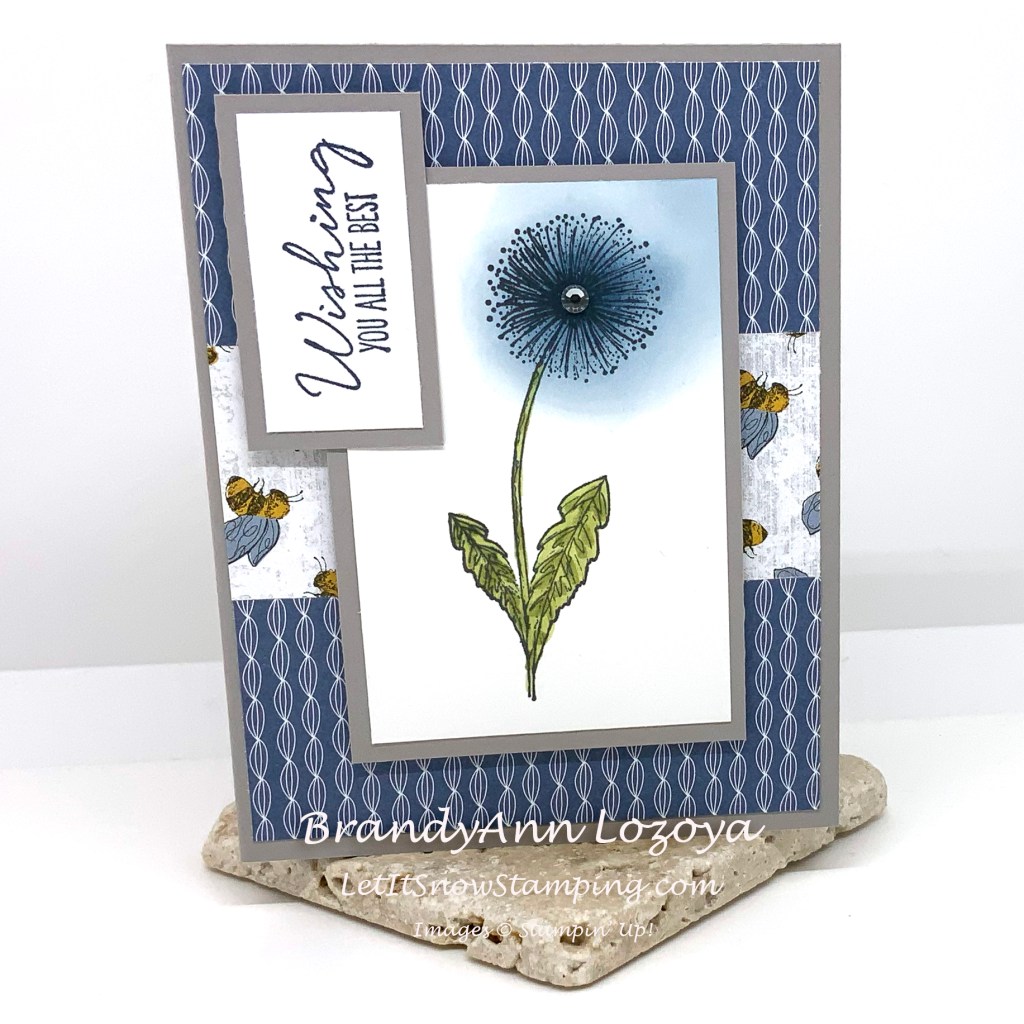
It was a fairly simple sketch. I started with a 8-1/2″x5-1/2″ card based scored and folded at 4-1/4″. Then I used a piece of doubled sided DSP cut to start at 4″x 5-1/4″. From there I cut it into thirds. Each third measured 4″x1-3/4″. I flipped the center piece to show the backside of the DSP. Then I lined them all up backside facing up and taped them together using good ol’ Scotch tape. This helps with centering them properly on the card base. Using a tape runner adhesive I glued the whole thing down on the card base.
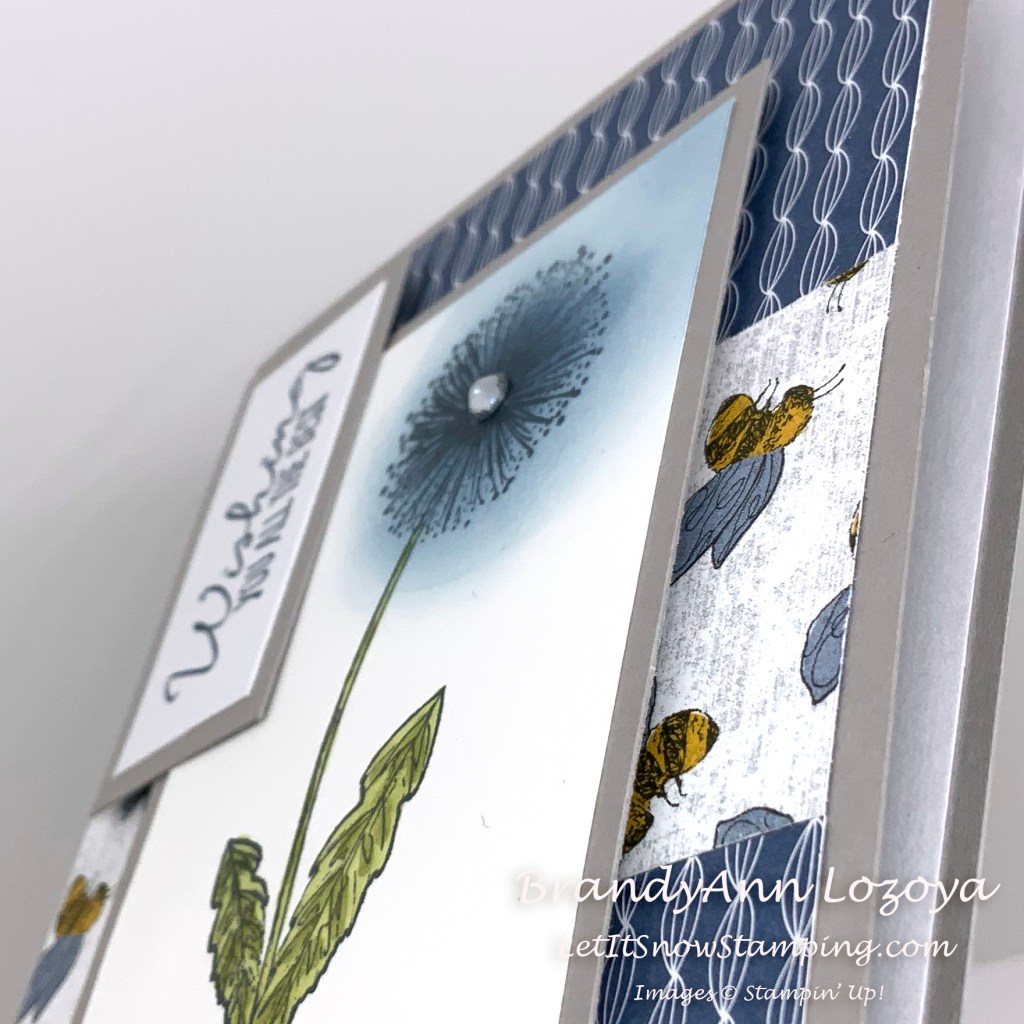
My center piece measures 2-1/2″x3-3/4″. I stamped the dandelion using Momento Tuxedo Black and colored it using the Stampin’ Blends markers. I also colored the rhinestone with the Stampin’ Blends as well. They come in almost every color that Stampin’ Up! has. What is awesome about these markers is that they are alcohol based and will color most everything permanently. That means that if you don’t have a piece of Misty Moonlight baker’s twine or ribbon to match your card, you can color a white one with the marker and it will look just as good as one dyed Misty Moonlight! You can use the markers on other colors of twine, rhinestones, etc. to get other color combinations to suit your needs.

I popped up the center piece with Foam Adhesive Strips for dimension then added some to the sentiment as well.
For the dandelion head I used my Blending Brush to add a bit of color. Then I used my Wink of Stella pen to make it sparkle.

I think prepping the photos for this post took longer than making the card. If you have never worked with card sketches before, go check them out! They are a big time saver! They do not need to be done exactly as drawn, but they give you a bit of inspiration. This card sketch did not have a sentiment included, but I added one anyway.
Splitcoast Stampers has a ton of card sketches for your inspirational needs!
I hope you enjoyed today’s project. Make sure to subscribe to Let It Snow Stamping so you never miss another blog post. Every week I pick a stamp set and make one project (possibly two) every weekday. As an added bonus I also make videos for new techniques. The techniques can also be found under the Technique Corner tab.
Make sure you find LISS on:
Facebook (#LISStamping, @LetItSnowStamping)
