Happy Thursday!
I hope everyone is having a good week. Here we are looking forward to Spring Break, so the noise coming from my son’s class while he does remote school is a little crazy. Bless our teachers this week!
So……..today’s card did not come out the way I envisioned. It was too blah color-wise. Nothing stood out and it all meshed together.

SO, I tried again! I like this version much better! Same concept, but I added more ink to make things stand out better.
I started out with a Merry Merlot card base that measures 8-1/2″x5-1/2″ and is scored at 4-1/4″ for that lovely straight and crisp fold. (Trying to spruce up this sentence since it tends to be the same day after day, LOL!)
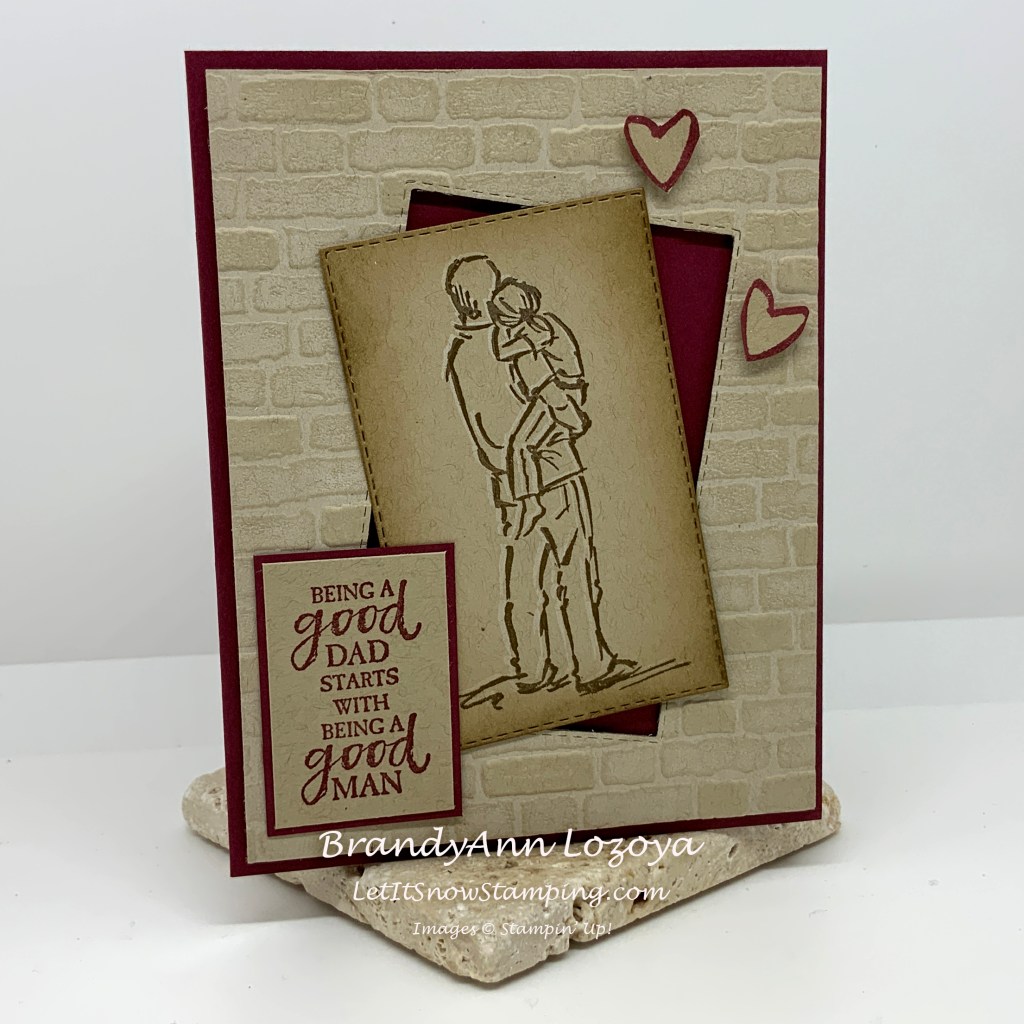
Using a piece of Crumb Cake, measuring 4″x5-1/4″, I cut out a Stitched Rectangle from the Stitched Rectangle Dies set.

Next, I inked up my Brick and Mortar 3D Embossing Folder using my white craft ink pad. I inked up the front side that has the Stampin’ Up! logo and line guide.

You can kind of make out where I put the white craft ink on this photo below.

I gently placed my frame on the inked embossing folder along the line mark that is on the folder to make sure my bricks would be straight. Take card to not slide your paper on the ink, otherwise you might end up with unwanted streaks.

Very carefully, I lifted the frame off of the embossing folder. I like to wash my folders right away with running water to reduce the chance of staining. I love the effect this has on the embossed image.


Next, I added dimensionals to the back of the frame.

Then placed the frame on my card base. I admit, I am the worst at placing a card front on straight when it has dimensionals on it. Does anyone have any tips for this? It just drives me crazy when an element is crooked, but that is just my OCD kicking in.

Next, using a blending brush, I added some Soft Suede ink to darken up my edges of the cut out rectangle for an antiqued look.

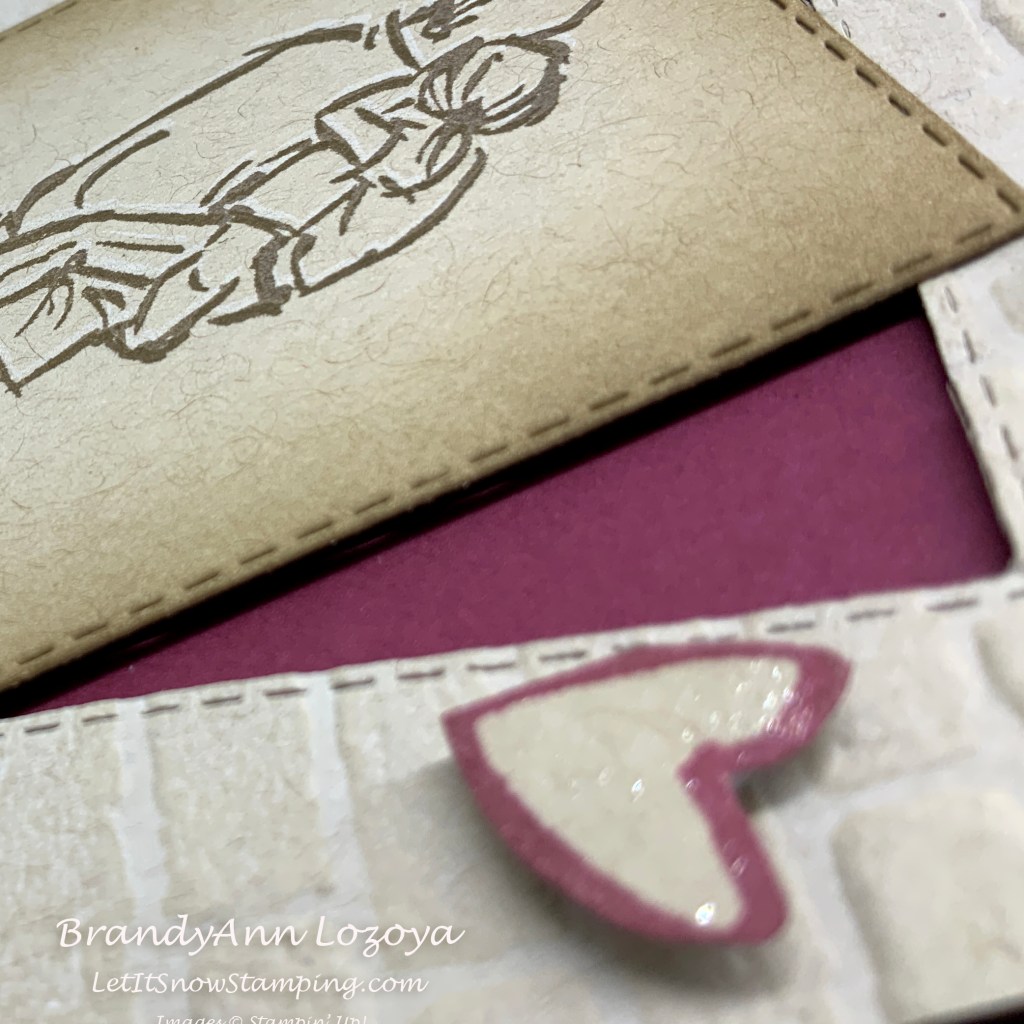
Then, I stamped my image first using the craft white ink and then stamped over it with the Soft Suede. If you look at one of the angled photos of the image you can see a small outline of the white causing it to highlight the image a bit more.

Next, I added dimensionals to the back of the image and off set it to the frame.

Love the space between the image and the Merry Merlot card base!
Taking a scrap piece of Crumb Cake, I stamped my sentiment using Merry Merlot. I trimmed it to size with my paper trimmer, and added a mat of Merry Merlot, again using my paper trimmer to cut to size.

I mounted it in the lower left hand corner with Tear and Tape adhesive. I did not want more height on the card on the fold side, so it could fit in the envelope better. Though it looks like it has added height because of the embossing and the frame gap.

On another scrap of Crumb Cake, I stamped two hearts from the set and fussy cut them by hand. I am not a fan of fussy cutting (aka cutting by hand), but these were small, so I survived! Then I mounted to the card front using 1/2 a dimensional and added a bit of Wink of Stella to add a bit of sparkle to the daddy and daughter.

Look at all of the colors on this card
I only used Merry Merlot and Crumb Cake cardstock, but look what adding the white to the embossing folder, and using a blending brush with the Soft Suede did to change the color of the Crumb Cake. The sentiment is regular old Crumb Cake with no added ink enhancements. The hearts sparkle because I added Wink of Stella to them, but other than that, they are base Crumb Cake color.

Next time you think your card looks blah, add a bit of soft color to it with these techniques and a bit of matting for the sentiment. See how it went from blah to wow?
I hope you enjoyed today’s project. Make sure to subscribe to Let It Snow Stamping so you never miss another blog post. Every week I pick a stamp set and make one project (possibly two) every weekday. As an added bonus I also make videos for new techniques. The techniques can also be found under the Technique Corner tab.
Make sure you find LISS on:
Facebook (#LISStamping, @LetItSnowStamping),
Instagram (@LetItSnowStamping),
When ordering use my name and the March 2021 host code for extra benefits
BrandyAnn Lozoya
K6M4TYCT

A GOOD MAN CLING STAMP SET (ENGLISH)
$24.00

MERRY MERLOT 8-1/2″ X 11″ CARDSTOCK
$8.75
CRUMB CAKE 8-1/2″ X 11″ CARDSTOCK
$8.75
MERRY MERLOT CLASSIC STAMPIN’ PAD
$7.50
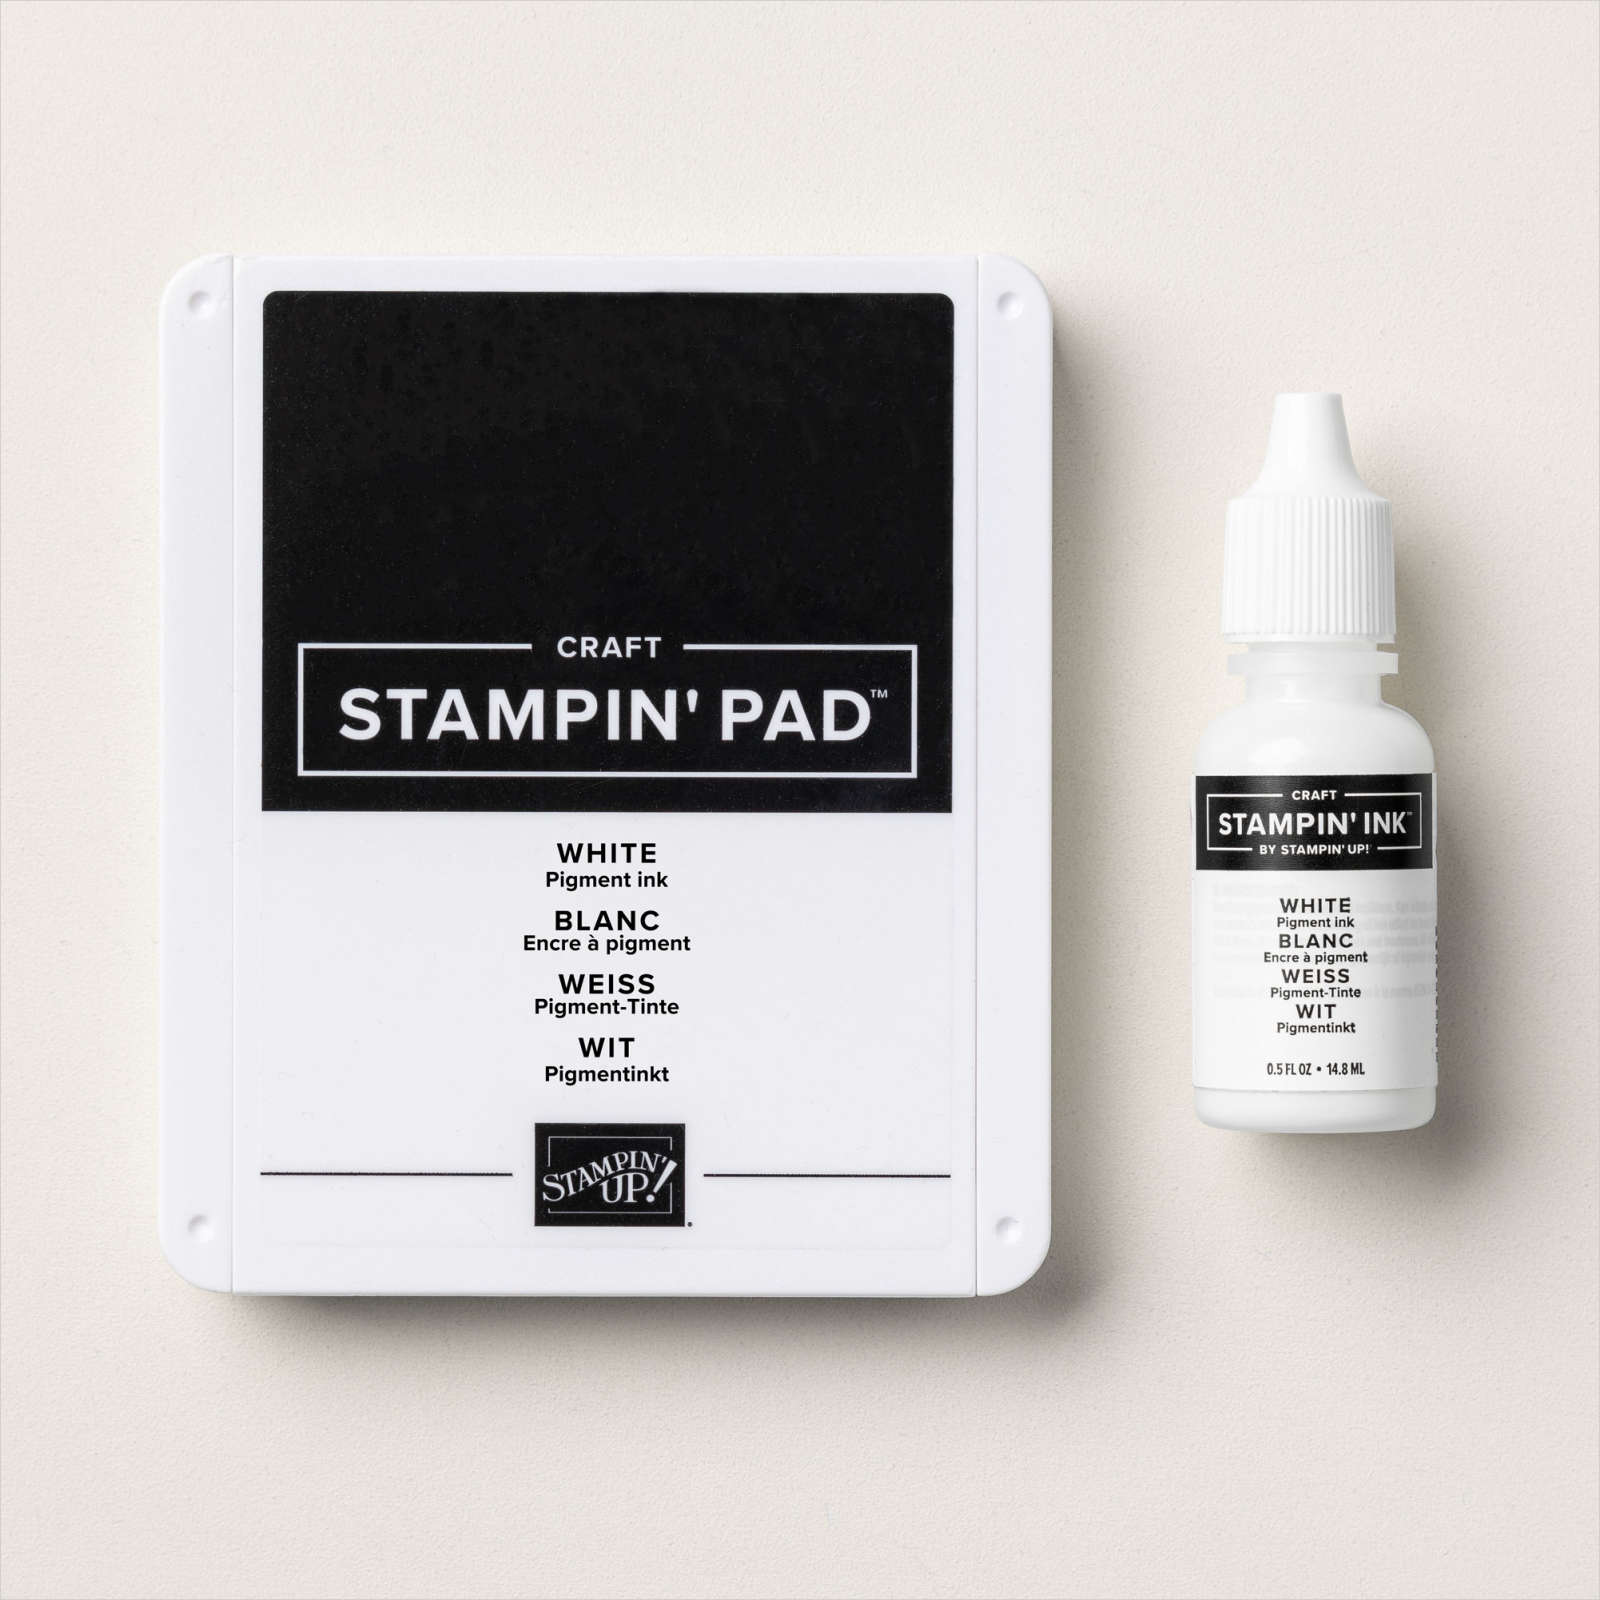
UNINKED STAMPIN’ PAD & WHISPER WHITE REFILL
$9.50

SOFT SUEDE CLASSIC STAMPIN’ PAD
$7.50

WINK OF STELLA GLITTER BRUSH
$8.00

STAMPIN’ DIMENSIONALS
$4.00
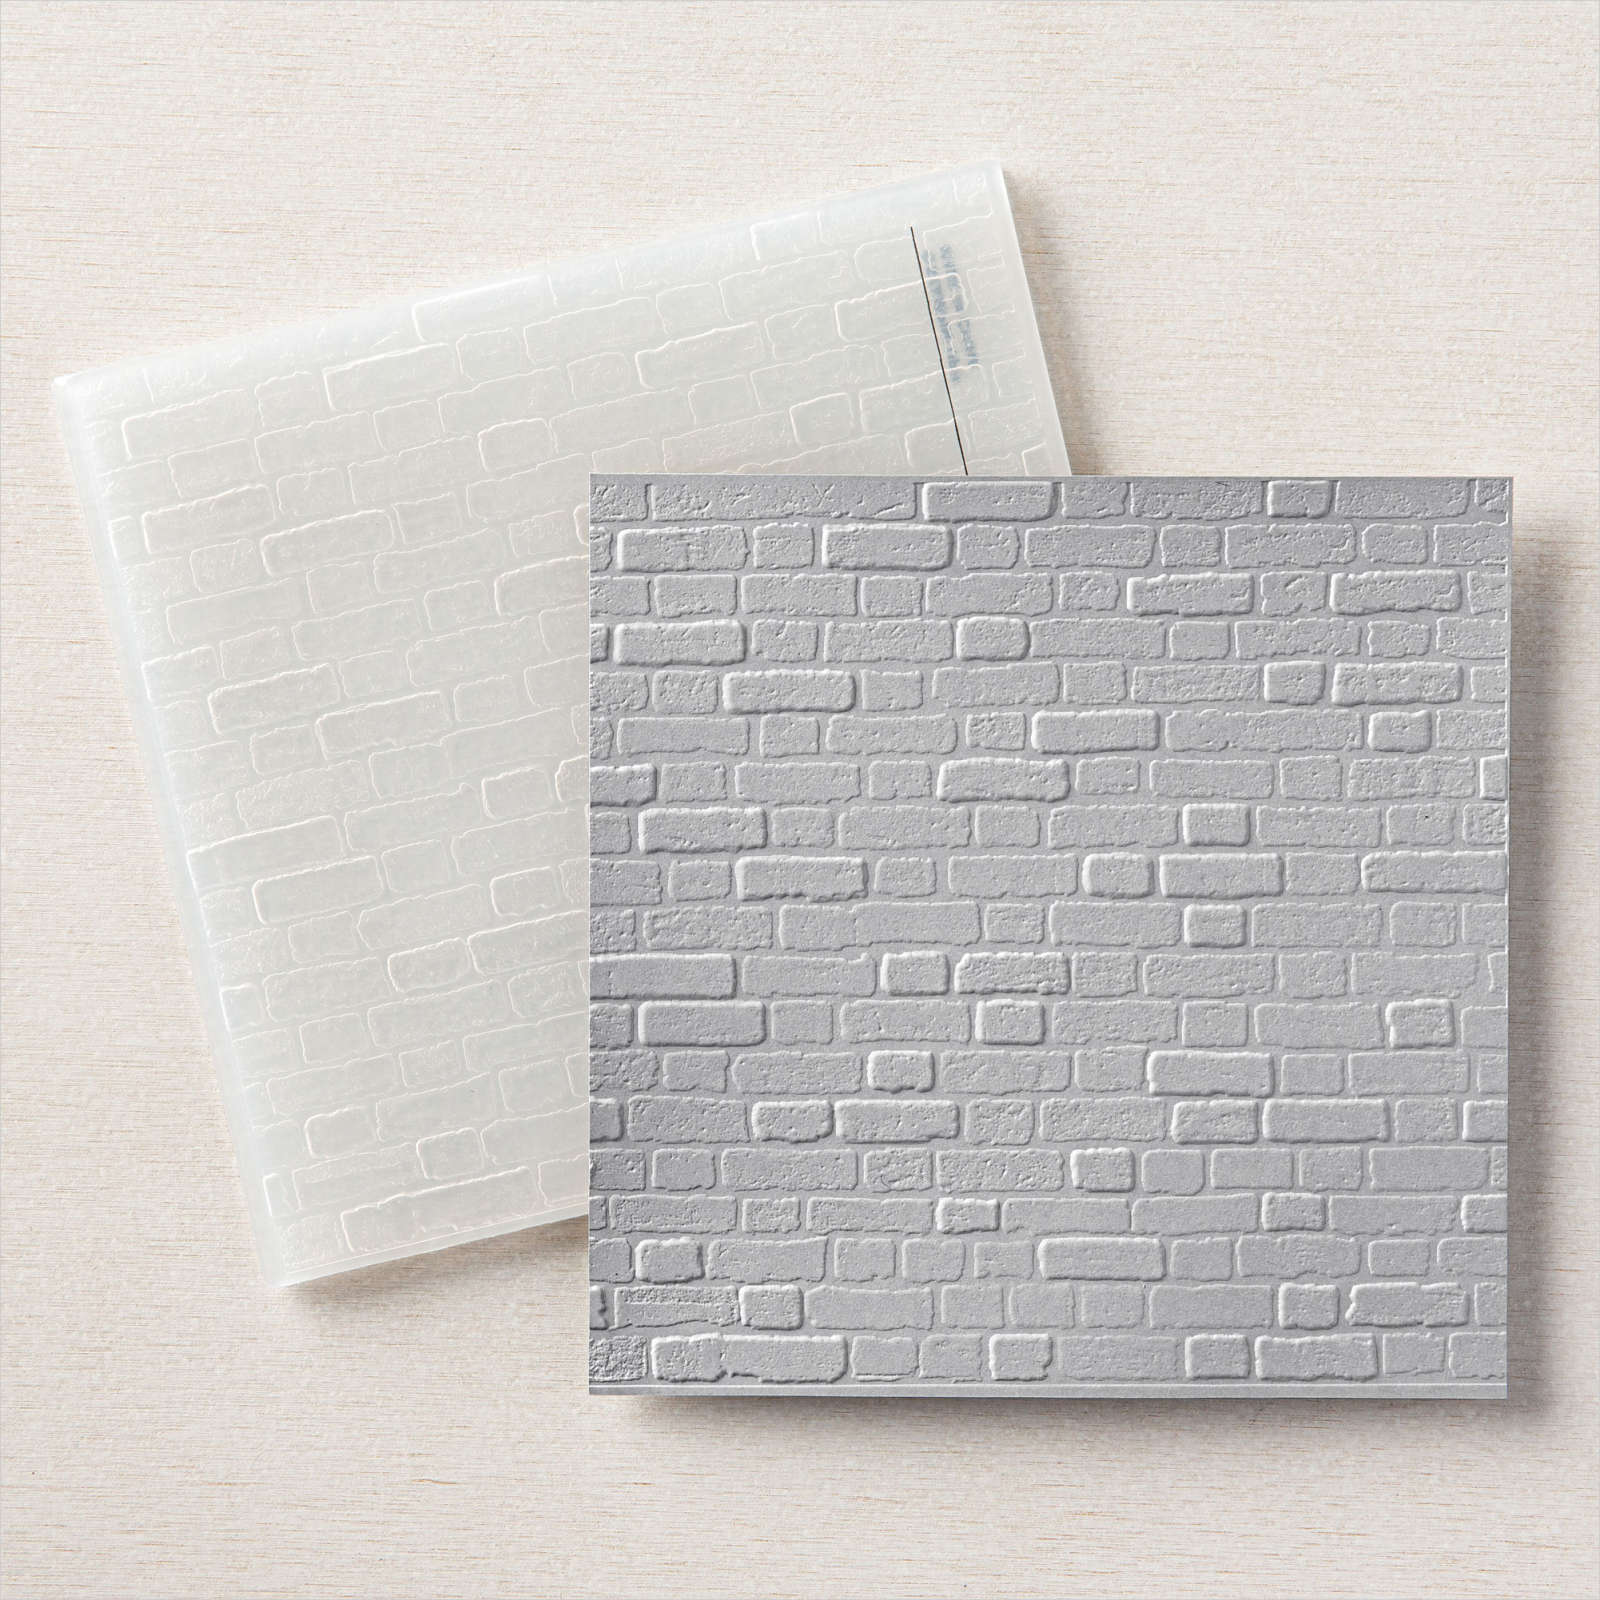
BRICK & MORTAR 3D EMBOSSING FOLDER
$10.00
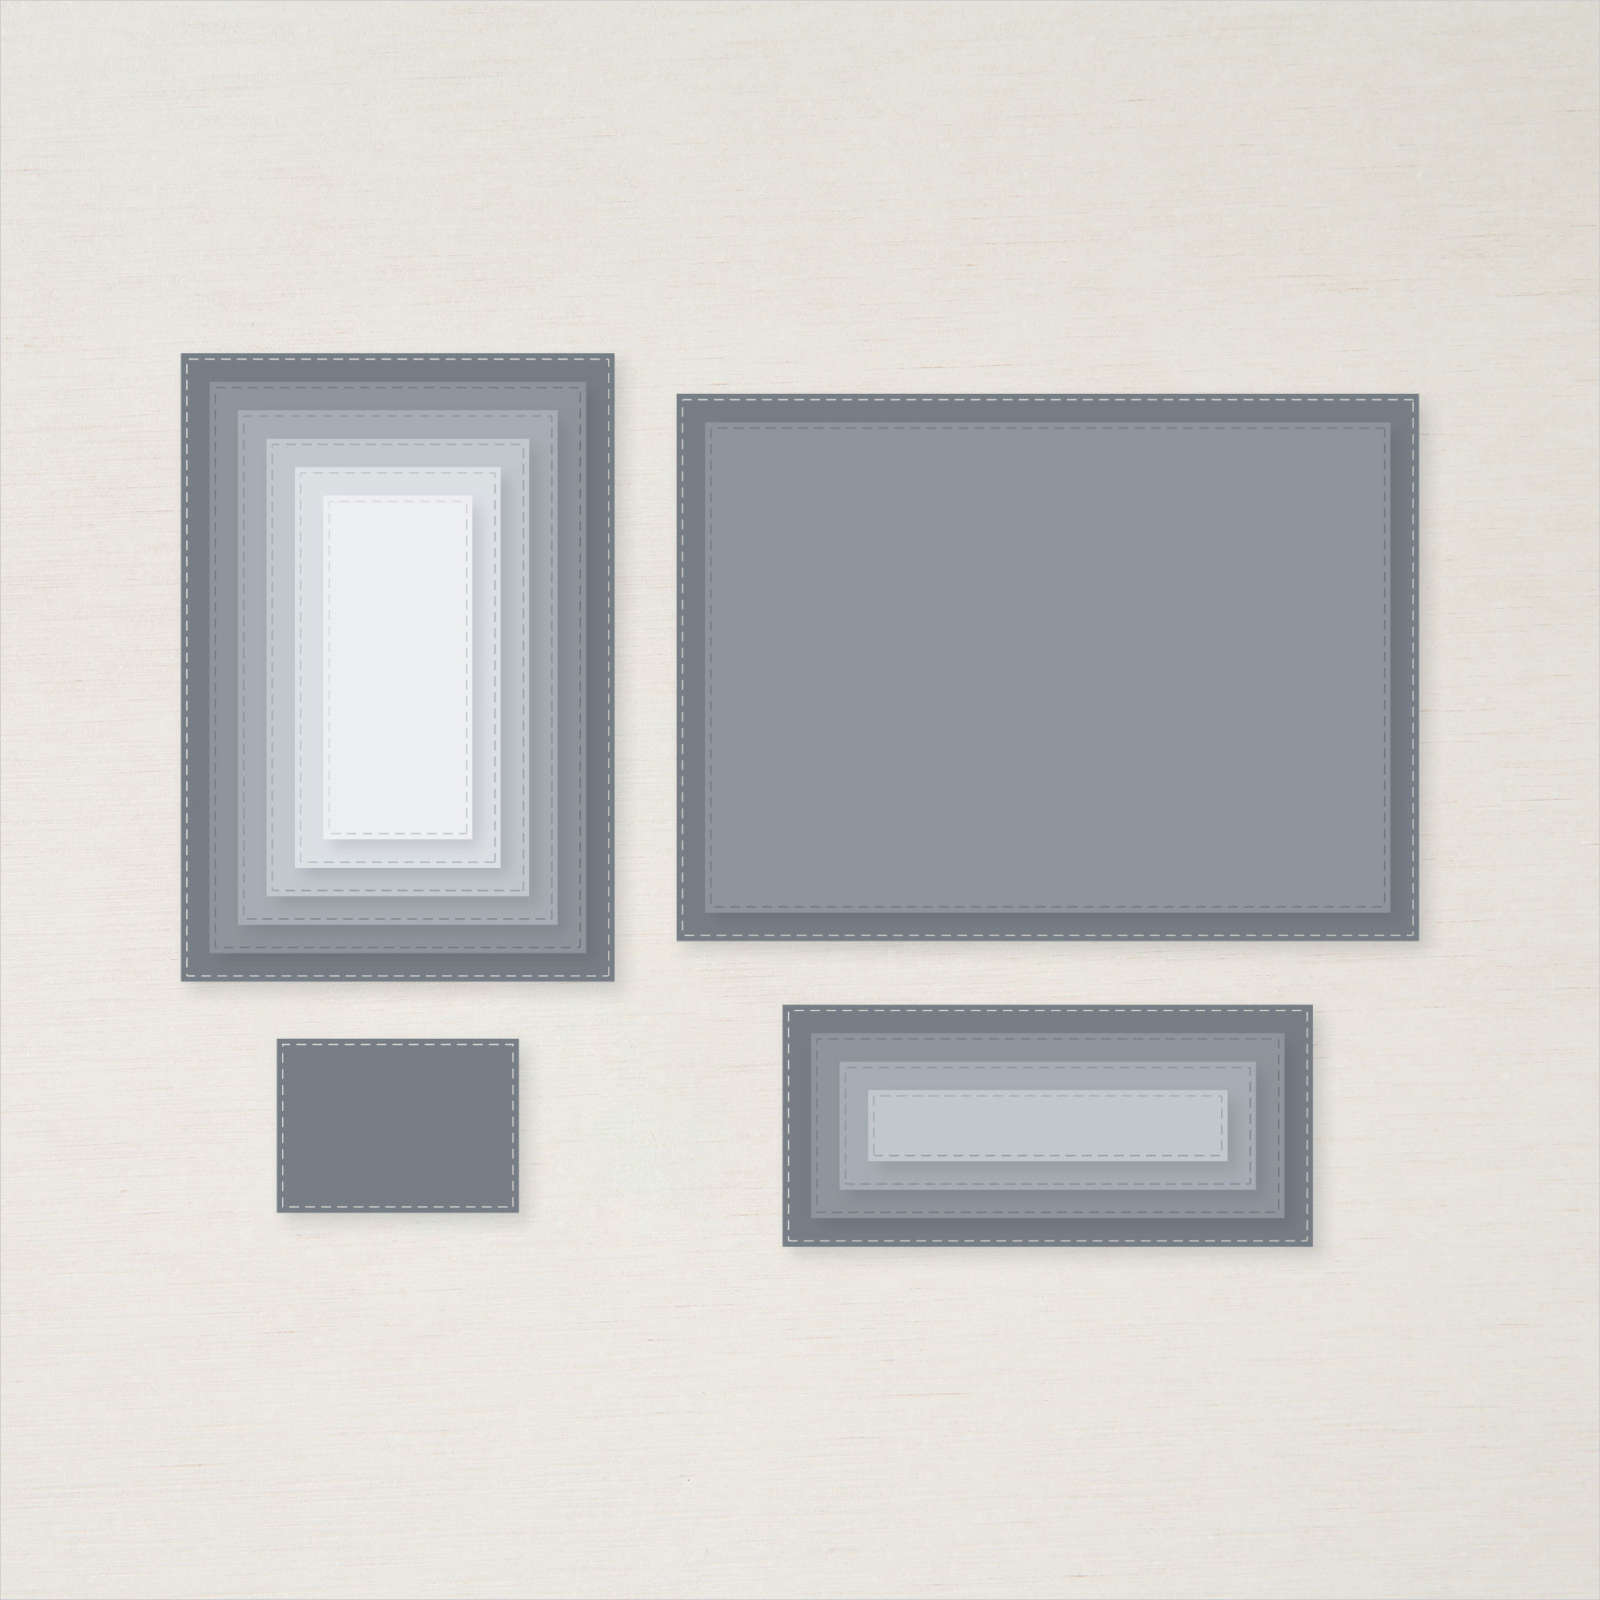
RECTANGLE STITCHED DIES
$35.00

BLENDING BRUSHES
$12.00

PAPER SNIPS SCISSORS
$10.00

Prices Vary
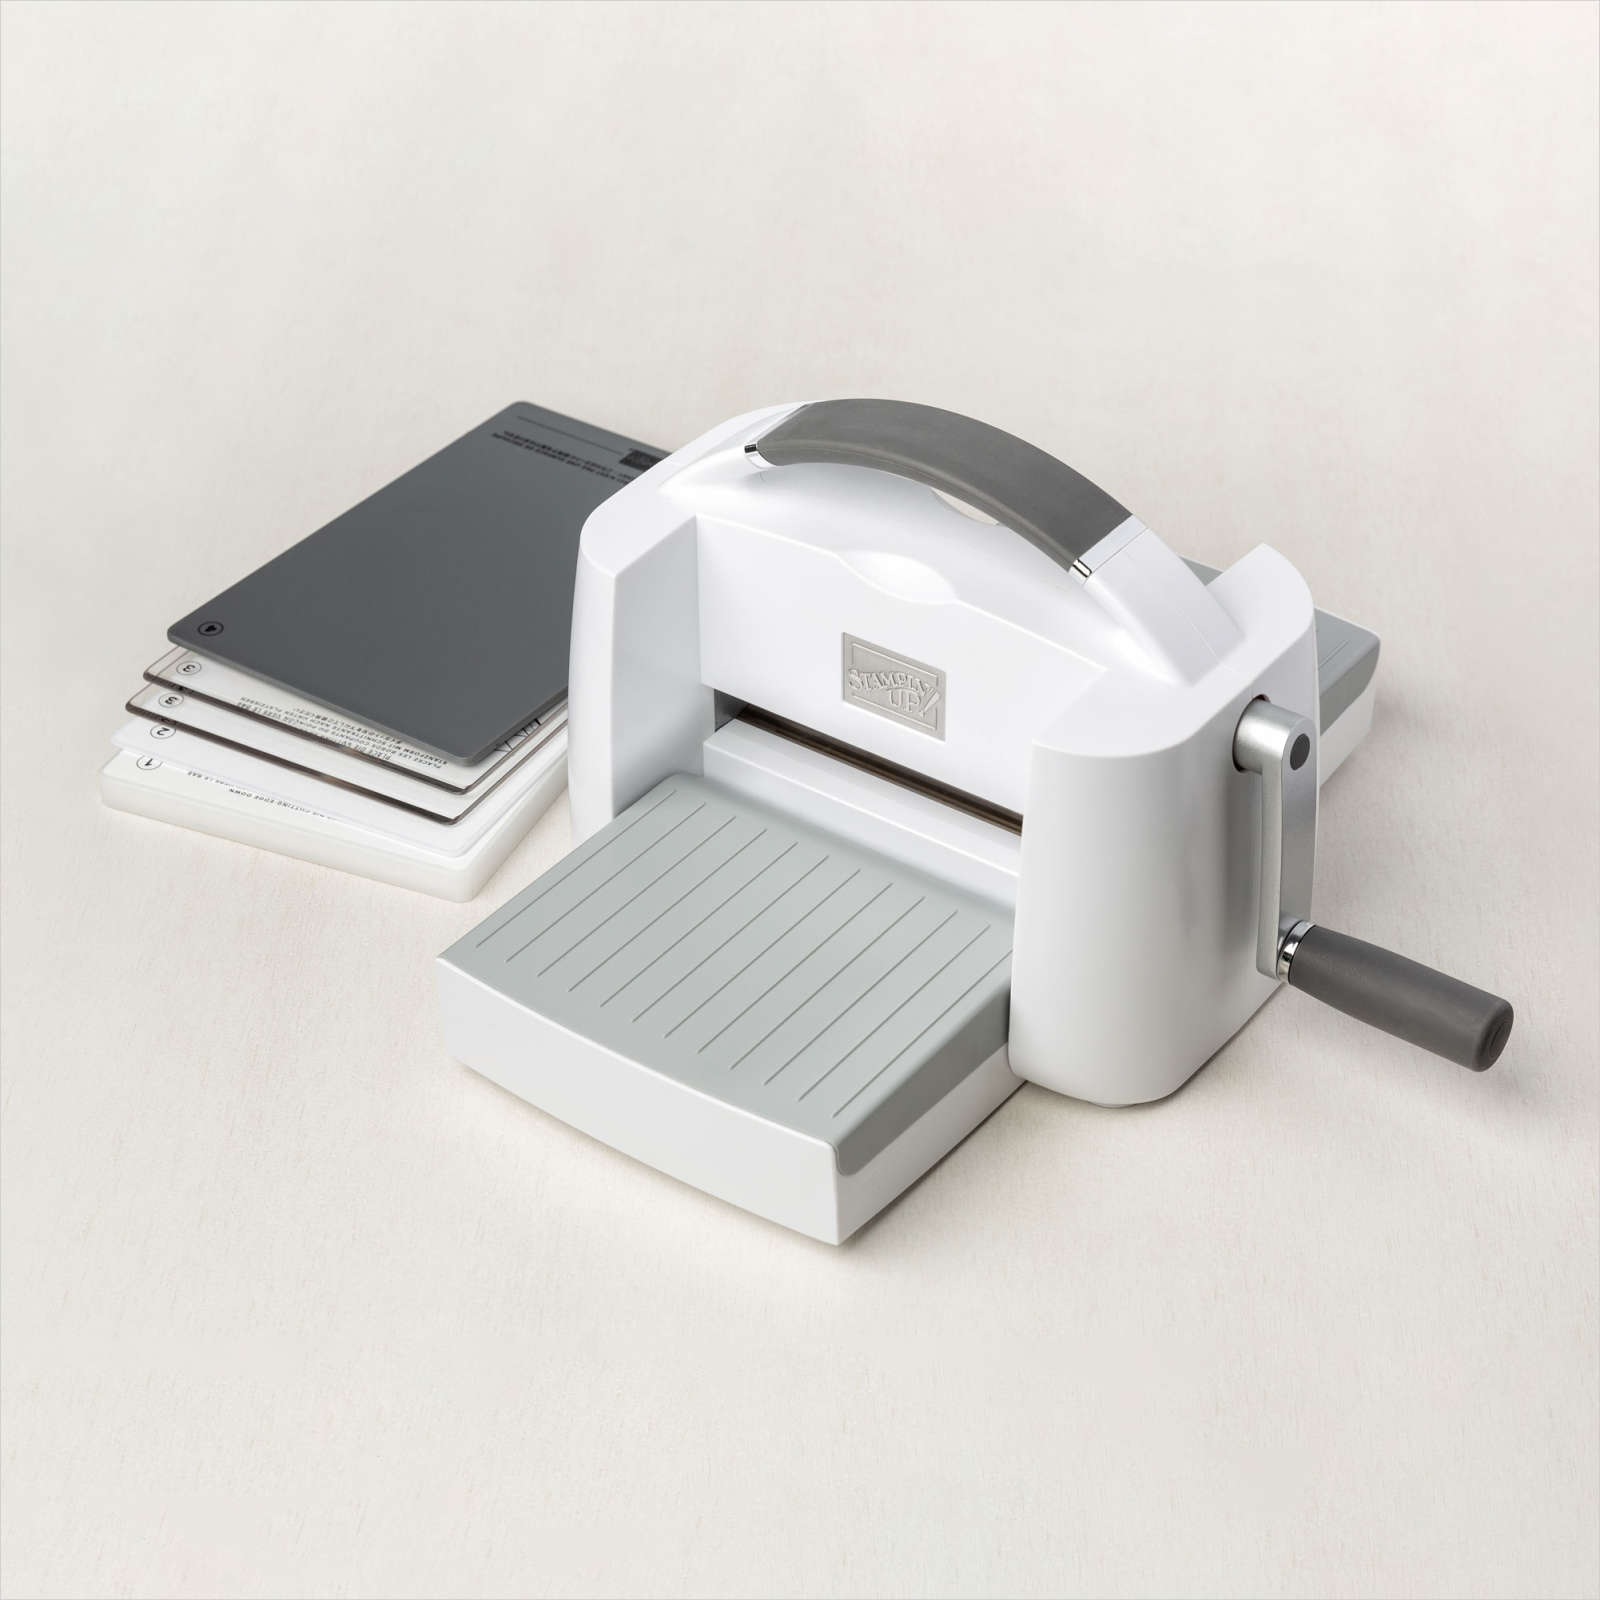
STAMPIN’ CUT & EMBOSS MACHINE
$120.00

PAPER TRIMMER
$25.00
