Happy Stampin’ Monday!
This week I will be featuring the Textures & Frames Photopolymer Sale-A-Bration stamp set, paired with other stamps sets (both retired and current), to help you create new projects from items you have in your stash. This a wonderful set for making your own stamped backgrounds for your cards. I love sets like this because when I run out of matching Designer Series Paper (DSP), I can pull out Textures & Frames to create fun new backgrounds myself.
Host to Earn more SaB rewards!
I cannot believe that Sale-A-Bration is already half way done! You only have until September 30th to place a $50 or $100 order to ear your free Sale-A-Bration products. Host a card making class with your friends today to earn even more free products! Contact me at letitsnowstamping@gmail.com today to book your event!
The Project:
Level: Beginner

Supply List:
- Textures & Frames Sale-A-Bration Photopolymer stamp set
- Art Gallery Photopolymer stamp set
- Cardstock:
- Flirty Flamingo -Card base measures 8-1/2″x5-1/2″, scored and folded at 4-1/4″
- Melon Mambo – measures 4″x5-1/4″
- Basic White – Card front measures 3-3/4″x5″
- Classic Stampin’ Pads
- Flirty Flamingo
- Melon Mambo
- Granny Apple Green
- So Saffron
- Stampin’ Blends -Light So Saffron
- Crinkled Seam Binding Ribbon
- Seal Adhesive
- Scotch Tape
- Paper Snips Scissors
- Paper Trimmer
Instructions:
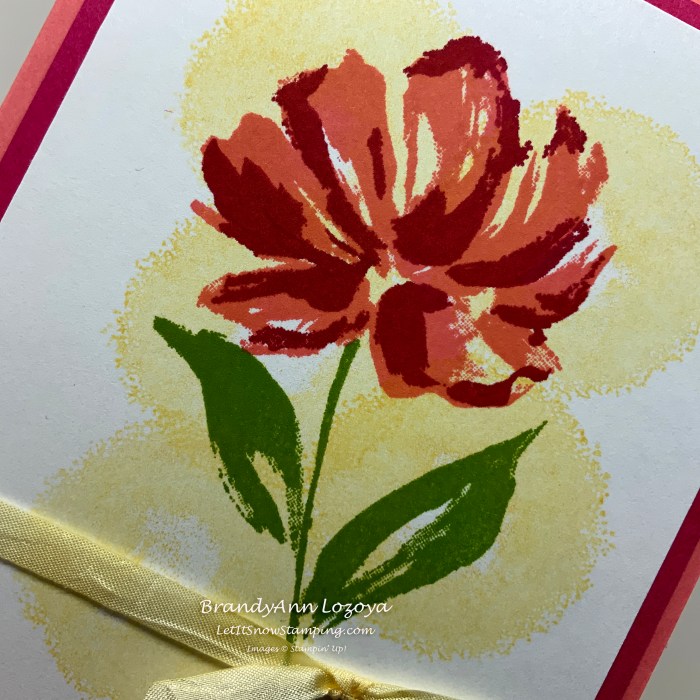
Begin by stamping the Art Gallery large flower in Flirty Flamingo on the top half of the Basic White cardstock piece.
Next, take the highlight flower stamp and stamp over the first image using Melon Mambo. The clear photopolymer stamps make it easier to layer these images over one another for the two step stamping technique they were designed for.
Now, stamp the stem of the flower in Granny Apple Green.


Use the Textures & Frames circle stamp to create the background. Here I used So Saffron ink after stamping off the first image onto a scrap piece of paper to create a lighter version on the card front. I tried for a random effect to highlight the flower.

Finished stamped image.

Cut a 5″ and a 4″ length of ribbon and color it to match the card using the Light So Saffron Stampin’ Blends marker.

Line up the 5″ ribbon where desired on the white card front, then using Scotch tape, secure it to the back of the card front.


Now, tie the 4″ piece of ribbon to the 5″ piece using a shoelace knot and trim the edges.


Stamp the sentiment on the bottom right corner using Flirty Flamingo.
To finish the card, first mount the card front to the piece of Melon Mambo and then mount that onto the Flirty Flamingo card base.
I like to line the inside of my cards with a 4″x5-1/4″ piece of white cardstock where I will write my message.


The Final Project:

I hope you enjoyed today’s project. Make sure to subscribe to Let It Snow Stamping so you never miss another blog post. Every week I pick a stamp set and make one project (possibly two) every weekday. As an added bonus I also make videos for new techniques. The techniques can also be found under the Technique Corner tab.
When ordering use my name and the August 2021 host code for extra benefits
BrandyAnn Lozoya
GWHVVMBG
Make sure you find LISS on:
Facebook (#LISStamping, @LetItSnowStamping),
Instagram (@LetItSnowStamping),
