Happy Stampin’ Tuesday!
How is your day going? So far so good here! I had fun making today’s project. I stamped one background and realized I applied too much pressure on the stamp, so I made another one. Needless to say, I ended up using both because my goof up was not so bad after all!
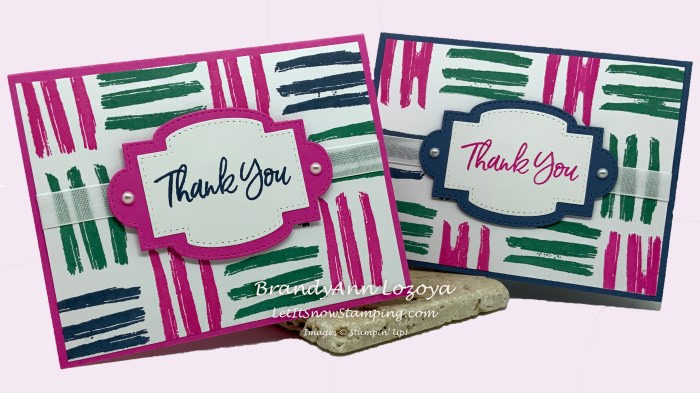
Textures & Frames is awesome for making quick and cute backgrounds like the one featured today.
Announcements:
On September 11, 2021, I will be hosting a Virtual Party where I will be showcasing two projects using two of the holiday bundles from the new July-December Mini Catalog, as well as doing fun giveaways!
Special: Buy the Merry Snowflakes Bundle (page 13 in the July-December Mini Catalog) and receive a roll of the White 3/8″ Glittered Organdy Ribbon FREE!
If you book an event during the Virtual Party, you will receive one free Classic’ Stampin’ Pad of your choice on top of the regular hostess rewards.
The Project:
Level: Casual (Intermediate)
Supply List:
- Textures & Frames Sale-A-Brations Photopolymer Stamp Set
- Sweet Ice Cream Photopolymer Stamp Set
- Stitched So Sweetly Dies
- Cardstock:
- Magenta Madness or Misty Moonlight – Card base measuring 5-1/2″x8-1/2″, scored and folded at 4-14″, scrap piece for the sentiment frame
- Basic White – (1) Card front and (1) inside panel measure 5-1/4″x4″, scrap piece for the sentiment
- Classic Stampin’ Pads
- Magenta Madness
- Misty Moonlight
- Just Jade
- Pearl Basic Jewels
- Flowers for Every Season ribbon combo pack
- Stampin’ Dimensionals
- Seal Adhesive
- Scotch Tape
- Bone Folder
- Paper Trimmer
- Mini Stampin’ Cut & Emboss Machine
Instructions:
Begin by folding and burnishing the card base using a bone folder and set aside.
On the Basic White card front, stamp the three lined stamp from Textures & Frames in random pattern using all three of the Classic Stampin’ Pads. Have some of the images floating off the side of the card front for a more playful look.

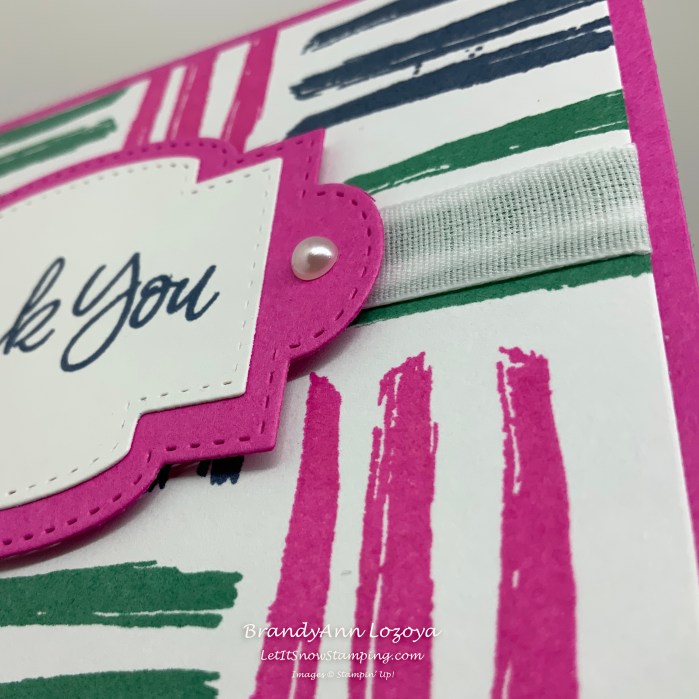
Next, cut a 7″ length of ribbon and place in the center of the card front as shown. Flip the card front over and tape the ribbon to the back to secure in place.


Adhere the card front to the card base with Seal Adhesive.

Stamp the sentiment from the Sweet Ice Cream stamp set onto Basic White cardstock. In this case, I used Misty Moonlight.
Using the Mini Stampin’ Cut & Emboss Machine, cut out a frame and the sentiment using the large label dies from the Stitched So Sweetly Dies set.

Adhere the sentiment to the frame.
Then, add Stampin’ Dimensionals to the back.


Adhere the sentiment frame to the card front.

Add Pearl Basic Jewels to the sentiment frame.

The Finished Project:

I hope you enjoyed today’s project. Make sure to subscribe to Let It Snow Stamping so you never miss another blog post. Every week I pick a stamp set and make one project every weekday. As an added bonus I also make videos for new techniques. The techniques can also be found under the Technique Corner tab.
When ordering use my name and the August 2021 host code for extra benefits
BrandyAnn Lozoya
GWHVVMBG
Make sure you find LISS on:
Facebook (#LISStamping, @LetItSnowStamping),
Instagram (@LetItSnowStamping),
