Happy Stampin’ Monday!
I hope everyone is enjoying the holiday weekend! The weather is beautiful and life couldn’t be better in our little spot in the world.
This week I am going to jump into the other Holiday season I do not like to hear of until the day after Thanksgiving! LOL! However, this set can be used for all sorts of occasions! Today I am taking non-traditional colors to make a fun Christmas card with the gorgeous bird in the set.
The Project
Level – Casual (Intermediate)

Supply List
- Stamp Sets
- Happy Holly-Days Cling Stamp Set
- Die Sets
- Stitched So Sweetly Dies set
- Cardstock
- Crumb Cake – Card Base measures 5-1/2″x8-1/2″, scores and folded at 4-1/4″
- Blushing Bride – 4″x2″
- Basic White – 3″x5/8″, 5-1/4″x4″ inside panel, scraps for sentiment and stamped image
- Hand-Penned Designer Series Paper (DSP) – 4-7/8″x1/2″, 5-1/4″x1/2″ inside embellishment
- Classic Stampin’ Pads
- Crumb Cake
- Blushing Bride
- Pumpkin Pie
- Embellishments
- Pearl Basic Jewels
- Adhesive
- Stampin’ Seal
- Stampin’ Dimensionals
- Tools
- Bone Folder
- Paper Snips Scissors
- Blending Brushes
- Water Painters
- Clear (Acrylic) Blocks
- Take Your Pick Tool
- Paper Trimmer
- Simply Scored Scoring Tool
- Mini Stampin’ Cut & Emboss Machine
Instructions
Today I will be working with a card layout sketch. Sketches are a wonderful way to use the same basic layout to make a wide range of cards. Simply change up the colors, DSP, and elements. Notice on today’s card, I added a sentiment piece that is not on the sketch to change it up a bit.

Begin by folding the card base and burnishing it with the bone folder for a nice crisp fold.

Using the Simply Scored Scoring Tool makes creating the perfect fold easy! It helps to prevent uneven folds and bumpy creases.

After scoring the cardstock, keep the upper left corner in the scoring tool’s corner and fold the other end of the cardstock into the same corner. While holding it down, crease the paper with your right hand, then finish the crease by running a bone folder down it.


You are left with a perfect fold with no overhang.

On a scrap of white cardstock, stamp the bird using Crumb Cake ink.

Using a clear acrylic block, pull up a bit of Crumb Cake ink onto it.


Color in the bird as much or as little as you like using a Water Painter and the ink on the acrylic block.


Another way to gather up ink for coloring with a Water Painter is to squeeze the ink pad before opening. This will press ink onto the lid. I used Pumpkin Pie to color in the bird’s beak and talons.


Using the Paper Snips Scissors, fussy cut around the bird.


Make banner edges on all of the remaining rectangles of cardstock and DSP.
Begin by making a small horizontal cut on one edge. From each corner, cut from the corner to the end of the horizontal cut as shown below. Do this from both corners.


Mount strips as shown on the sketch above. I turn my card base sideways so I can line it up properly. I only do it this way because the camera gets in my way :)


Attach the bird to the card front using Stampin’ Dimensionals to keep him from blending into the background.


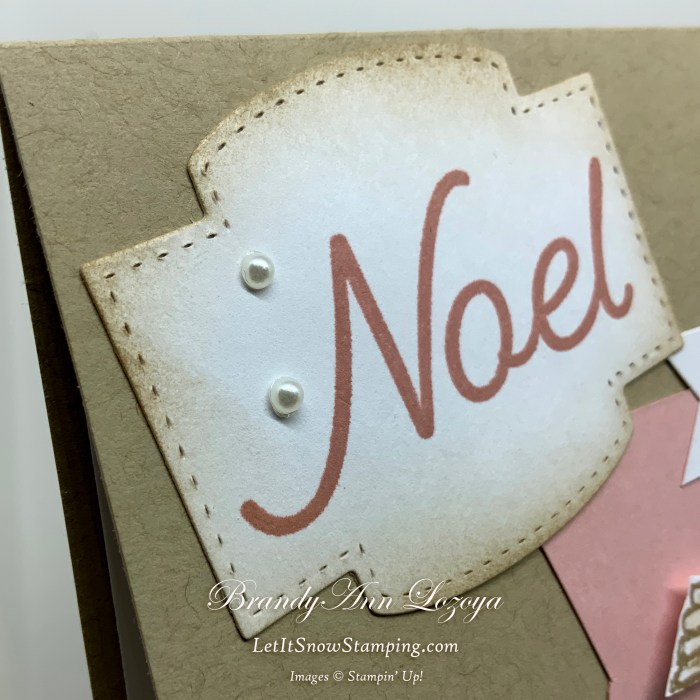
Cut out the sentiment from a scrap of white cardstock using the Stitch So Sweetly Dies set.

Using the Stamparatus, hold down the sentiment frame using the magnets (my magnets are wrapped in painter’s tape to make it easy to lift them off the platform) and stamp your image.

For more in depth instructions on how to use the Stamparatus visit this blog post
With a Blending Brush, add Crumb Cake ink to the edges of the sentiment. To add ink, use wide circular motions starting off the paper and drawing the ink onto it.


Mount onto the upper left corner of the card and embellish with pearls.

Embellish the inside of the card by mounting a 5-1/4″x4″ white cardstock panel and 5-1/4″x1/2″ DSP strip.


The Final Project

Announcements:
Virtual Party: On September 11, 2021, I will be hosting a Virtual Party where I will be showcasing two projects using two of the holiday bundles from the new July-December Mini Catalog, as well as doing fun giveaways!
If you book an event during the Virtual Party, you will receive one free Classic’ Stampin’ Pad of your choice on top of the regular hostess rewards.
September Special: Buy the Merry Snowflakes Bundle* (page 13 in the July-December Mini Catalog) and receive a roll of the White 3/8″ Glittered Organdy Ribbon FREE! (While Supplies Last)
*Orders must be placed through me and not through the online store.
I hope you enjoyed today’s project. Make sure to subscribe to Let It Snow Stamping so you never miss another blog post. Every week I pick a stamp set and make one project every weekday. As an added bonus I also make videos for new techniques. The techniques can also be found under the Technique Corner tab.
When ordering use my name and the September 2021 host code for extra benefits
BrandyAnn Lozoya
A69ERDDQ
Make sure you find LISS on:
Facebook (#LISStamping, @LetItSnowStamping),
Instagram (@LetItSnowStamping),
