Happy Stampin’ Wednesday!
Ohhhhhh I cannot wait to mail this card out! It is so sweet and I know just who to mail it to!
Maybe tomorrow I’ll make a holiday card with this set, but the beautiful weather outside made me think floral (even though it is technically fall!). So pull out your Hand-Penned Designer Series Paper and Highland Heather cardstock to create with me!
The Project
Level – Avid (Advanced)

Supply List
- Stamp Sets
- Happy Holly-Days Cling Stamp Set
- Die Sets
- Stitched So Sweetly Dies
- Cardstock
- Highland Heather
- Card Base measures 5-1/2″x8-1/2″, scored and folded at 4-1/4″
- Hand-Penned Designer Series Paper (DSP)
- Card front measures 5-1/4″x4″
- Inside panel strip measures 3/4″x4″
- Basic White
- Inside panel measures 5-1/4″x4″
- Image layer to be cut by die from (a piece at least 4-1/4″x3-1/4″ for the large frame die to fit on)
- Scrap piece for the bird image
- Highland Heather
- Classic Stampin’ Pads
- Smoky Slate
- Highland Heather
- Pumpkin Pie
- Cajun Craze
- Stampin’ Blends/Markers
- Highland Heather
- Wink of Stella
- Embellishments
- Rhinestone Basic Jewels
- Crinkled Seam Binding Ribbon – 16″ piece
- Adhesive
- Stampin’ Seal
- Stampin’ Dimensionals
- Tools
- Bone Folder
- Paper Snips Scissors
- Water Painters
- Clear (Acrylic) Blocks
- Take Your Pick Tool
- Paper Trimmer
- Simply Scored Scoring Tool
- Stampin’ Cut & Emboss Machine
Instructions
Fold your Highland Heather card base and burnish with a bone folder for a smooth crease.
Stamp the bird using Smoky Slate ink on the scrap of Basic White cardstock


Now, we are going to color in the bird. Do not panic if you are not good at coloring. As any artist will tell you, neither can I, but that doesn’t stop me from trying :)
First, you can use an acrylic block to use as a pallet, but today I am lazy and will use my stamp pads. I’ll clean them up on the day it drives me crazy, like it usually does, LOL.
To use your ink pad as a pallet, squeeze the ink pad before you open it. This will press ink onto the lid.

I used a Water Painter when I am doing light coloring. I want my bird to have soft coloring to match my DSP and not over power it.
Begin by gather some ink onto the Water Painter brush. Start on the areas of the bird that look like the have shading. Your first stroke will always be the darker, so you want that to be in the “shaded” spots on the stamped image. Draw the brush into the open (white) spaces to pull color in that direction.
I began with Smoky Slate on the top part of the bird, and then added some Highland Heather to brighten it up. I only put Highland Heather on the shaded parts of the image and only drew out a bit into the brighter (white) areas because it is a highlight and I did not want a purple bird.
I used Pumpkin Pie on the breast, beak, and talons. Then, added a bit of Cajun Craze to the shaded area of the belly (not pictured). Because I like bling, I added a point of Wink of Stella to the eye.
See, not too hard. Just practice a bit. In all honesty, I tossed the first bird I colored for this project! I didn’t like the Cajun Craze on the beak and talons because it was too dark. Glad I tried again!


Now, fussy cut the bird. My least favorite thing to do, LOL, but the paper snips make it easy when I have to do it!

I used the largest frame in the Stitched So Sweetly Dies set for my bird.
Using a Blending Brush, gently add Highland Heather ink to the edges of the frame. I do mine in a circular motion on a glass mat. I begin with the brush on the glass mat and draw the ink onto the frame. This prevents dark spots on the frame.


Now, stamp your sentiment on the bottom right corner of the frame using Smoky Slate (not pictured).
Adhere the DSP to the card base followed by the frame as shown below using Stampin’ Seal adhesive.


Add Stampin’ Dimensionals to the bird and adhere in the middle of the frame.


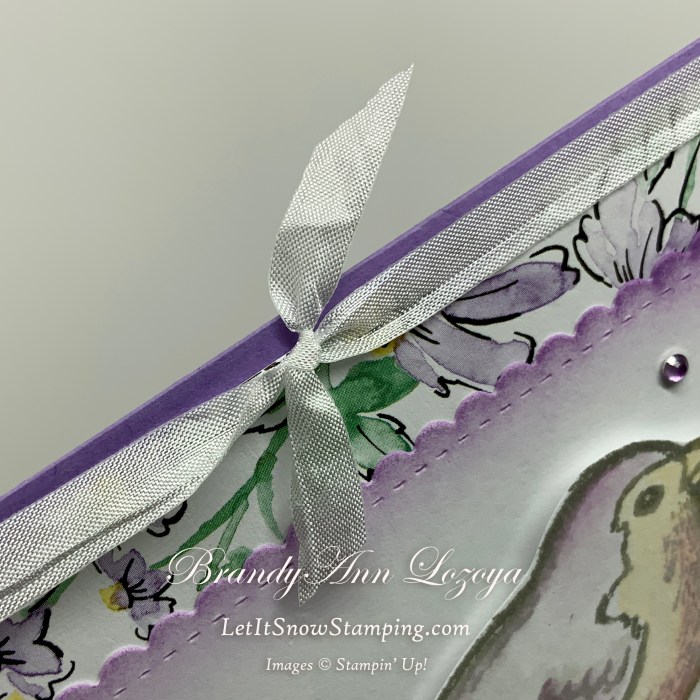
Tie ribbon in a simple knot to the top of card as shown and trim the edges.

Use the Light Highland Heather Stampin’ Blends to color three Rhinestone Basic Jewels and place around the bird for added bling.
Using the Stampin’ Blends to color the Rhinestones or Pearls is a great way to add matching color to any project as the Stampin’ Blends coordinate with all of Stampin’ Up!’s products.

Adhere white inside panel to the card and add the strip of DSP to the the left side.


The Final Project

Announcements:
Virtual Party
Virtual Party: On September 11, 2021, I will be hosting a Virtual Party where I will be showcasing two projects using two of the holiday bundles from the new July-December Mini Catalog, as well as doing fun giveaways!
If you book an event during the Virtual Party, you will receive one free Classic’ Stampin’ Pad of your choice on top of the regular hostess rewards.
September Special

Merry Snowflakes Bundle 
White 3/8″ Glittered Organdy Ribbon
September Special: Buy the Merry Snowflakes Bundle* (page 13 in the July-December Mini Catalog) and receive a roll of the White 3/8″ Glittered Organdy Ribbon FREE! (While Supplies Last)
*Orders must be placed via and not through the online store.
When ordering use my name and the September 2021 host code for extra benefits
BrandyAnn Lozoya
A69ERDDQ
I hope you enjoyed today’s project. Make sure to subscribe to Let It Snow Stamping so you never miss another blog post. Every week I pick a stamp set and make one project every weekday. As an added bonus I also make videos for new techniques. The techniques can also be found under the Technique Corner tab.
Make sure you find LISS on:
Facebook (#LISStamping, @LetItSnowStamping),
Instagram (@LetItSnowStamping),
