Happy Stampin’ Thursday!
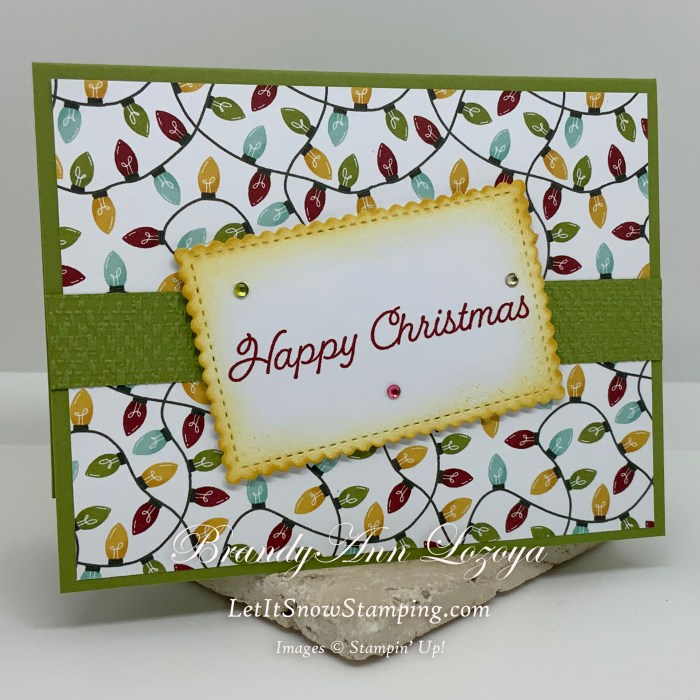
I finally did it! I used traditional Christmas colors for this set, LOL. The Designer Series Paper made it so easy.
This is a quick 5 minute card, and the only reason it is rated at a Casual Stamper card is because I used an embossing folder and die. To make it a beginner lever card, simply leave those two things out. The sentiment can be stamped on a colored cardstock if you do not have Blending Brushes or Daubers. I will post the Beginner card on the Facebook Group later this week for you :) so you can see what I am talking about!
The Project
Level – Casual (Intermediate)
Supply List
- Stamp Sets
- Happy Holly-Days Cling Stamp Set
- Die Sets/Embossing Folder
- Stitched So Sweetly Dies
- Tasteful Textile 3D Embossing Folder
- Cardstock
- Old Olive
- Card Base measures 5-1/2″x8-1/2″, scored and folded at 4-1/4″
- 5-1/2″x3/4″ embossed strip
- Sweet Stockings Designer Series Paper (DSP)
- Card front measures 5-1/4″x4″
- Basic White
- Inside panel measures 5-1/4″x4″
- Image layer to be cut by die from (a piece at least 4-1/4″x3-1/4″ for the large frame die to fit on)
- Old Olive
- Classic Stampin’ Pads
- Cherry Cobbler
- Bumblebee
- Stampin’ Blends/Markers
- Cherry Cobbler
- So Saffron
- Old Olive
- Embellishments
- Rhinestone Basic Jewels
- Adhesive
- Stampin’ Seal
- Stampin’ Dimensionals
- Tools
- Bone Folder
- Clear (Acrylic) Blocks
- Take Your Pick Tool
- Paper Trimmer
- Simply Scored Scoring Tool
- Stampin’ Cut & Emboss Machine
Instructions
Begin by folding and burnish the card base with a bone folder for a smooth, crisp crease.
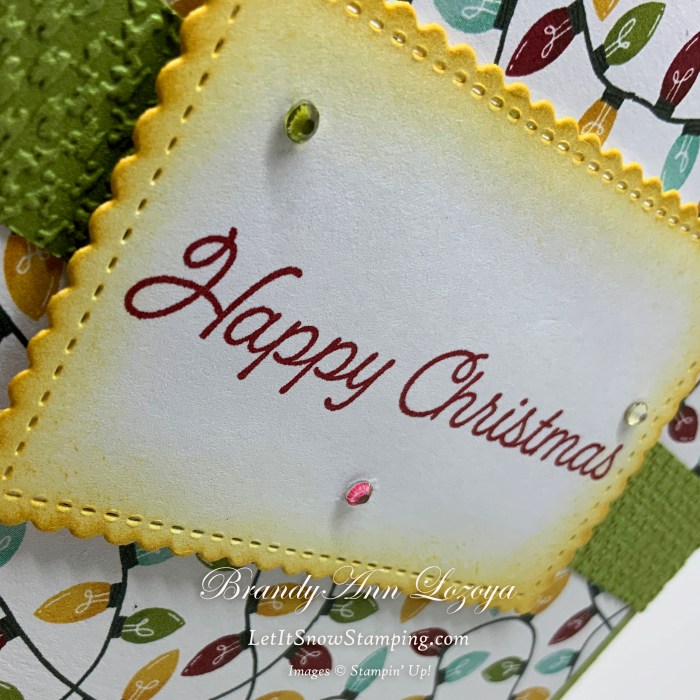
Using the smaller piece of Basic White cardstock, stamp your sentiment using Cherry Cobbler ink.


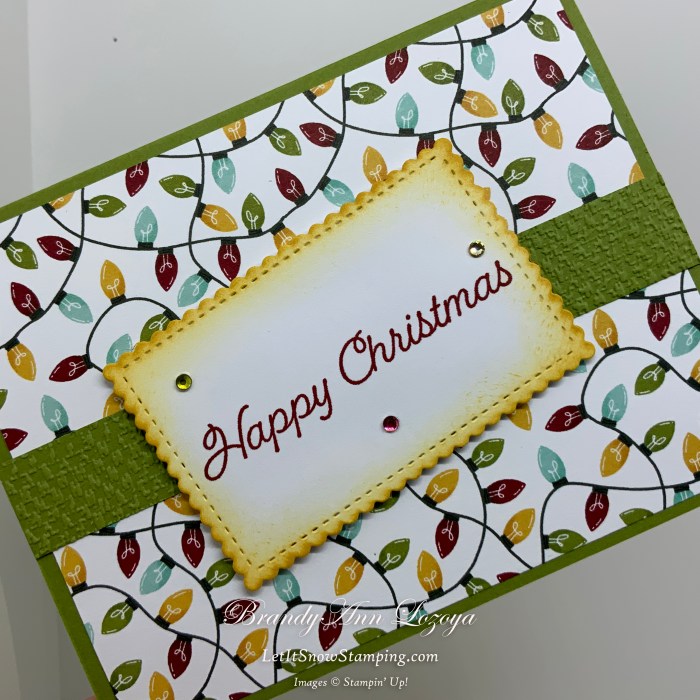
I used the third largest rectangle frame to cut out my sentiment.

Next, using a Blending Brush, I brushed Bumblebee ink onto the edges of my frame in circular motions.

Now, adhere the DSP card front, with Stampin’ Seal adhesive, to the card base. When I do this, I always start on the long open side of the card base (versus the long folded side). Make sure it is even on all three sides and straight before pressing down.

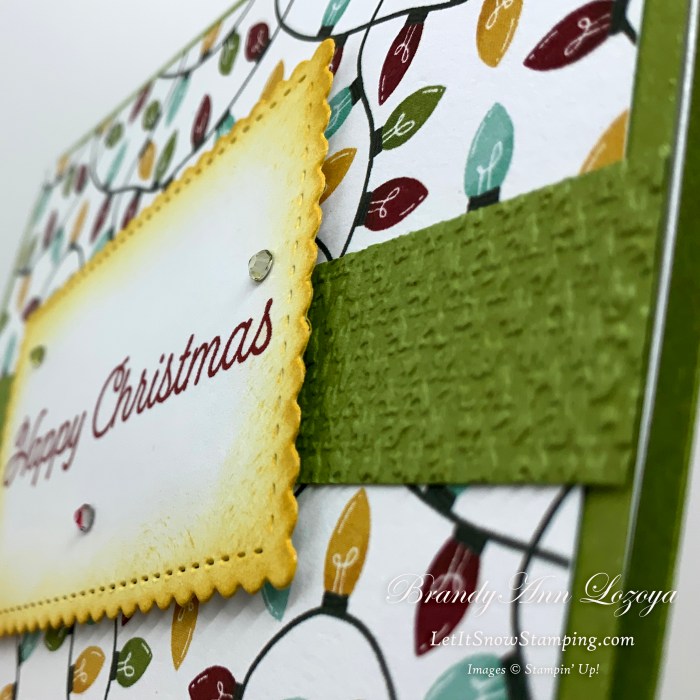
Run the green strip through the Tasteful Textile embossing folder to achieve a textured look.
Adhere the green strip down the center of the card by lining it up along the edge of the card.

Using Stampin’ Dimensionals, adhere the sentiment frame at a slight angle.
Finally, color three Rhinestone Basic Jewels with the Stampin’ Blends, one in each color, and place around sentiment to accent it.

The Final Project
Announcements:
Virtual Party
Virtual Party: On September 11, 2021, I will be hosting a Virtual Party where I will be showcasing two projects using two of the holiday bundles from the new July-December Mini Catalog, as well as doing fun giveaways!
If you book an event during the Virtual Party, you will receive one free Classic’ Stampin’ Pad of your choice on top of the regular hostess rewards.
September Special

Merry Snowflakes Bundle 
White 3/8″ Glittered Organdy Ribbon
September Special: Buy the Merry Snowflakes Bundle* (page 13 in the July-December Mini Catalog) and receive a roll of the White 3/8″ Glittered Organdy Ribbon FREE! (While Supplies Last)
*Orders must be placed via and not through the online store.
When ordering use my name and the September 2021 host code for extra benefits
BrandyAnn Lozoya
A69ERDDQ
I hope you enjoyed today’s project. Make sure to subscribe to Let It Snow Stamping so you never miss another blog post. Every week I pick a stamp set and make one project every weekday. As an added bonus I also make videos for new techniques. The techniques can also be found under the Technique Corner tab.
Make sure you find LISS on:
Facebook (#LISStamping, @LetItSnowStamping),
Instagram (@LetItSnowStamping),
