Step-by-Step Card Making Instructions
Happy Stampin’ Monday!
October Paper Pumpkin
There is still time to order October’s Paper Pumpkin kit. The Peaceful Christmas Paper Pumpkin kit contains enough supplies to create 10 beautiful Christmas cards (5 each of 2 designs) with coordinating envelopes. The all-inclusive kits contains printed card bases, die cut paper pieces, embellishments, adhesive, and more.
Perfect for beginner stampers!

October Special
Buy one of the following sets and receive a free roll of the Black & White Gingham Ribbon*
- Penguin Place
- Sweet Little Stockings
- Peaceful Deer
- Strong of Heart
*Orders must be placed via email and not through the online store to receive offer.

Penguin Place 156410 
Sweet Little Stockings 156282 
Peaceful Deer 156891 
Strong of Heart 156376

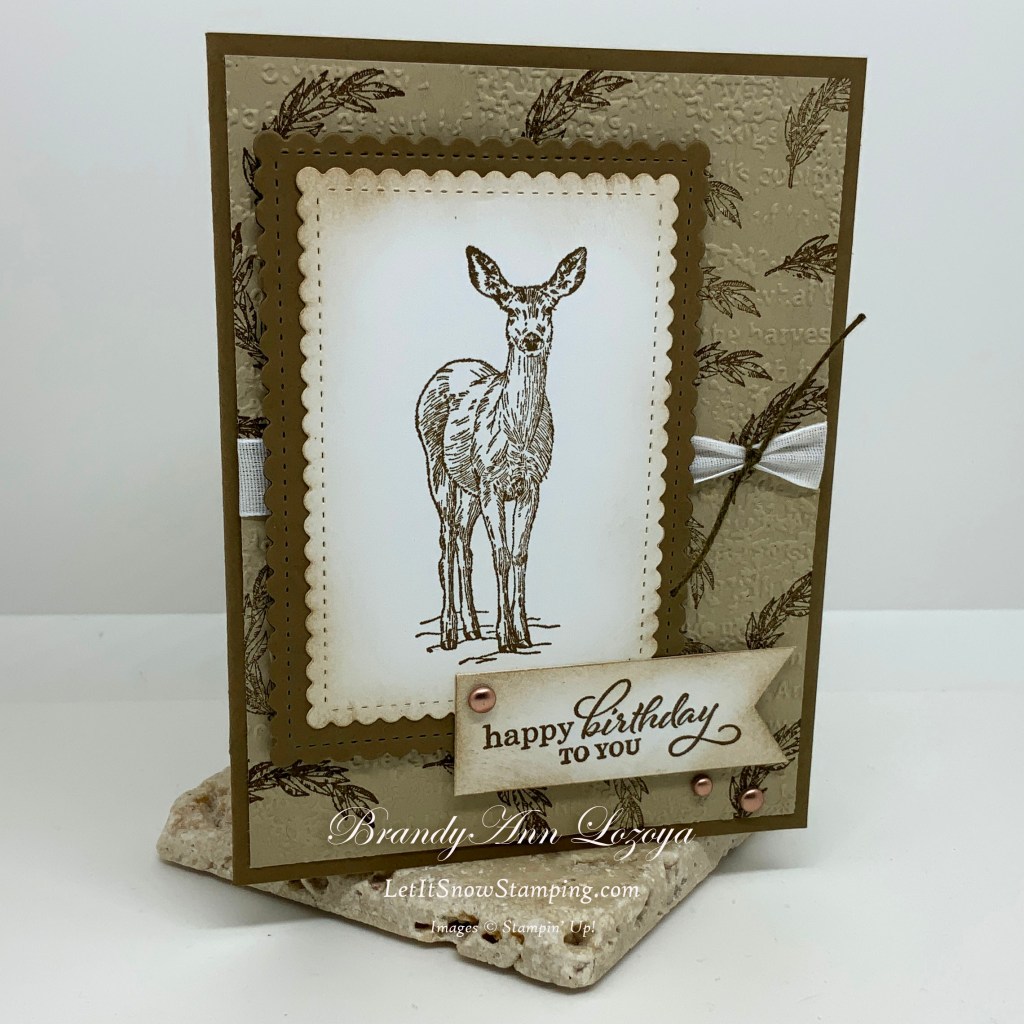
The Project
I am in need of more masculine cards again, what about you? The Nature’s Beauty set is one of my favorites for them!
Level – Casual (Intermediate)
Supply List
- Stamp Sets
- Nature’s Beauty set
- Best Year set
- Dies/Embossing Folders
- Stitched So Sweetly Dies
- Timeworn Type 3D Embossing
- Cardstock/DSP
- Soft Suede
- Card Base measures 5-1/2″x8-1/2″, scored and folded at 4-1/4″
- Piece for largest die frame should measure no less than 3-1/4”x4-1/2”
- Crumb Cake
- Card front measures 4″x5-1/4″, before embossing
- Basic White
- Inside panel measures 4″x5-1/4″
- Image piece should measure no less than 2-3/4”x4”
- Sentiment measures 2-1/2”x7/8”
- Soft Suede
- Stamp Pads
- Soft Suede
- Crumb Cake
- Stampin’ Blends/Markers
- Dark Soft Suede
- Embellishments
- Brushed Metallic Adhesive-Backed Dots
- White Baker’s Twine
- Flowers for Every Season White ribbon
- Adhesive
- Stampin’ Seal
- Stampin’ Dimensionals
- Tools
- Bone Folder
- Ruler
- Tweezers
- Blending Brush
- Take Your Pick Tool
- Clear (Acrylic) Blocks C & H
- Paper Trimmer
- Stamparatus
- Simply Scored Scoring Tool
- Stampin’ Cut & Emboss Machine
Instructions
Begin by folding your card base at 4-1/2″ and burnishing it with a bone folder for a nice, crisp fold.


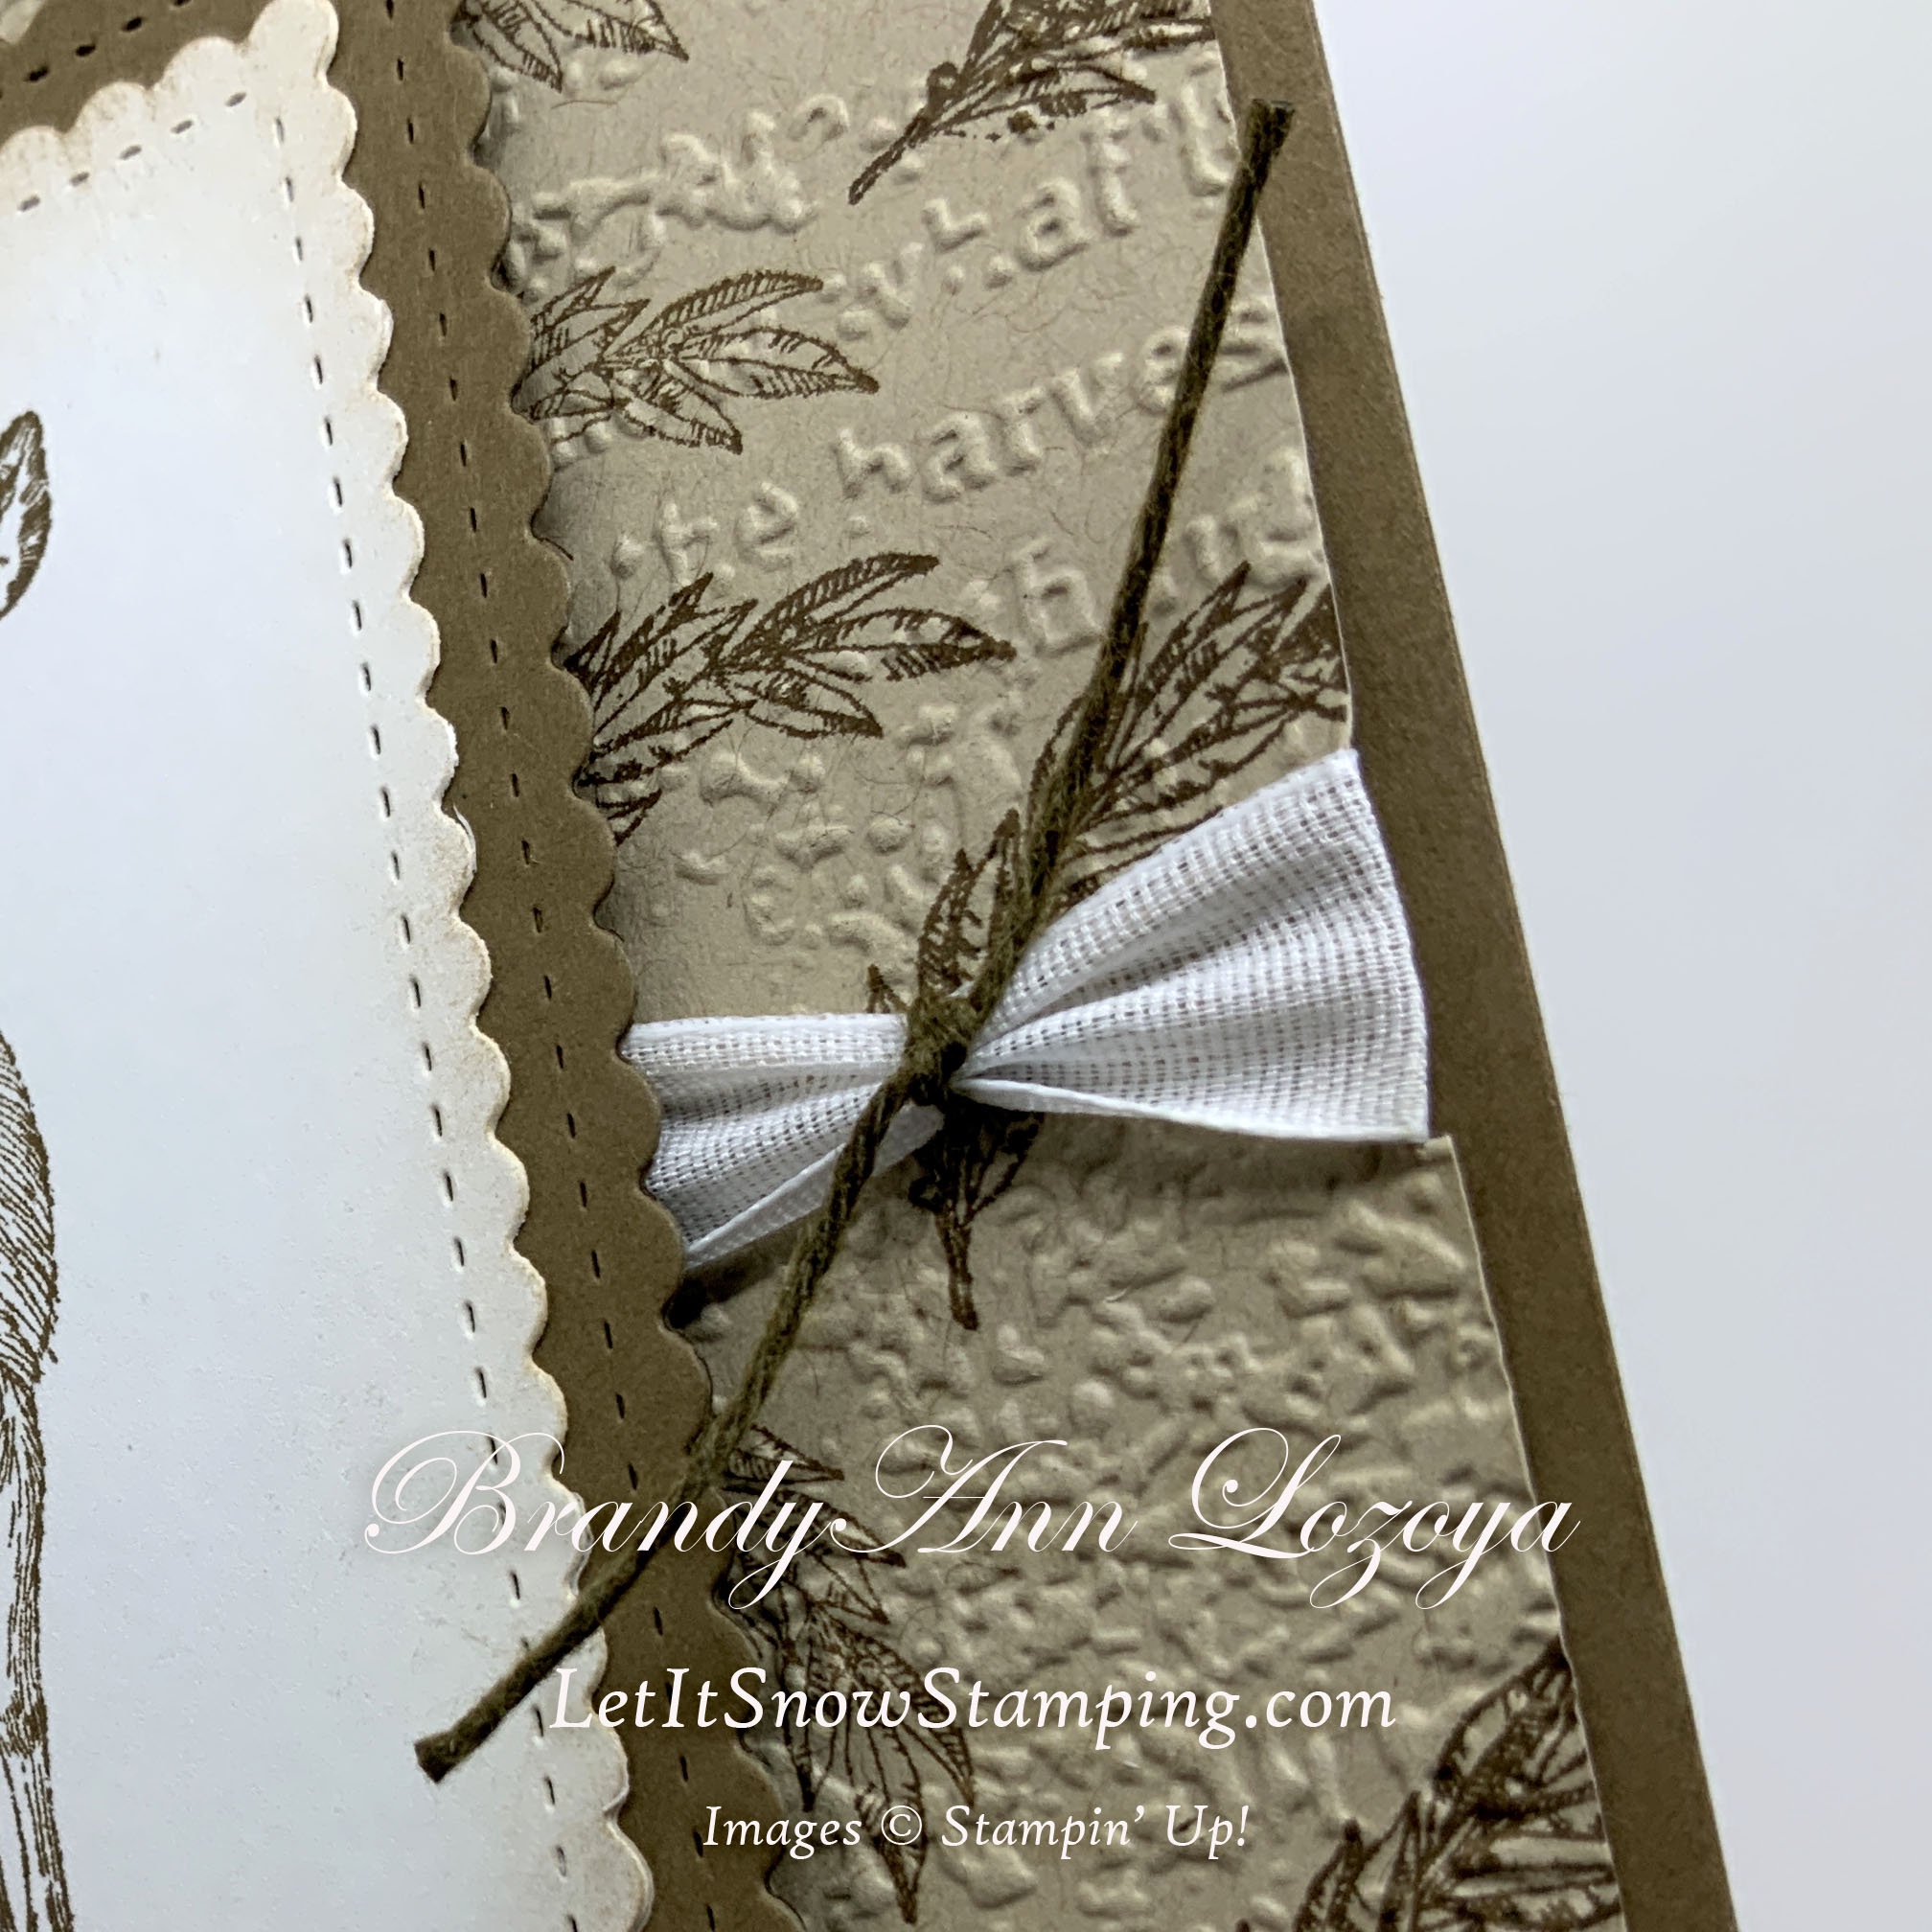
On Crumb Cake card front, stamp feather stamp randomly to make your background. Some feathers were stamped twice before re-inking.


Now, using the Timeworn Type embossing folder, emboss card front background.


Stamp deer image on white cardstock piece that can fit the second largest die frame. I just used a 1/4 sheet of Cardstock just to make sure, but you can have a piece with the above measurements. I stamped in Soft Suede ink.
I forgot to take a picture before I used a Blending Brush to antique the edges. I antiqued the edges using Crumb Cake.


Cut a 6” length of ribbon and tape to the backside to secure it. Adhere card front to the card base.


Die cut the image mat from the largest scalloped rectangle in the Stitched So Sweetly Dies set from a piece of Soft Suede Cardstock.

Adhere deer piece to the Soft Suede mat. Next, adhere piece to card base using dimensionals. Make sure it is offset to the left.


Color Baker’s Twine using the Stampin’ Blends marker. Make sure all sides are colored.

Now, tie it to the existing ribbon using a simple knot. Trim to desired length.


Stamp sentiment in Soft Suede. Make sure it is offset to the left.

Cut right edge of sentiment into a banner edge.


Antique edges with a blending brush and Crumb Cake ink.

Adhere sentiment by adding one dimensional next to the banner edge and tape runner adhesive to the left side, since the deer image already has dimensionals you do not want a lopsided sentiment.

Lastly, add 3 dots as accents.

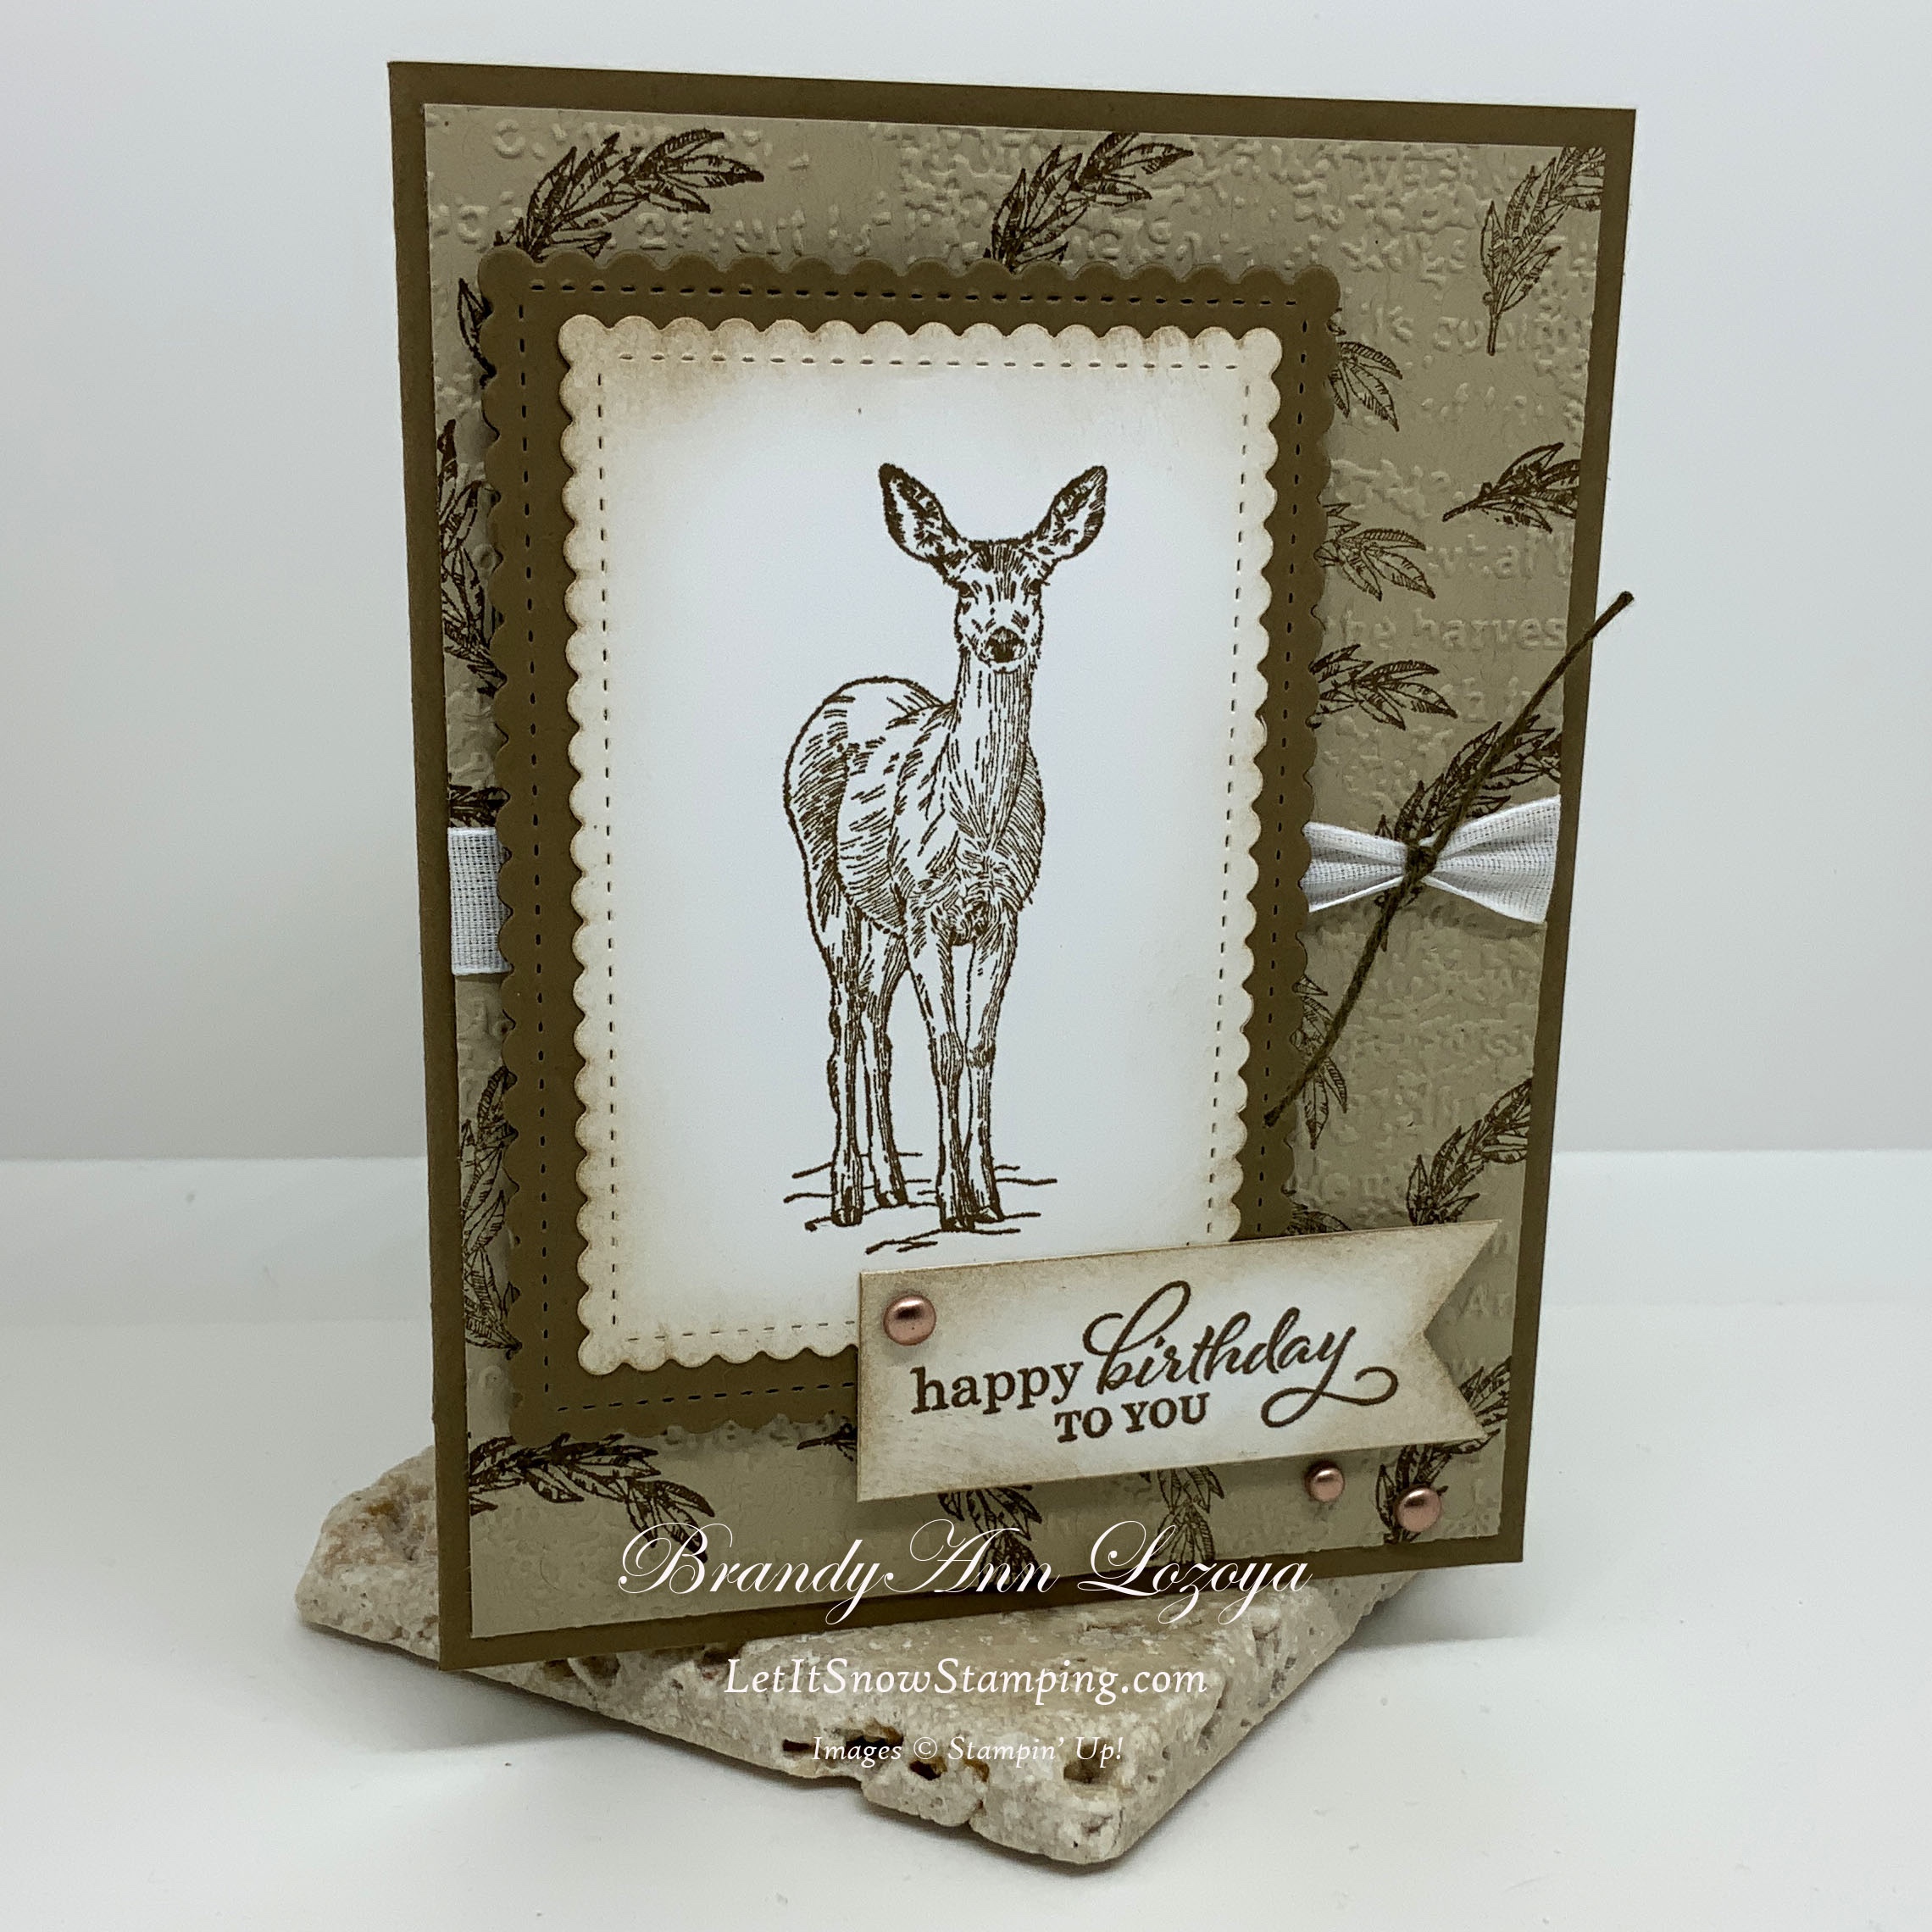
The Final Project


When ordering use my name and the October 2021 host code for extra benefits
BrandyAnn Lozoya
DKGKTMQ2
I hope you enjoyed today’s project. Make sure to subscribe to Let It Snow Stamping so you never miss another blog post. Every week I pick a stamp set and make one project every weekday. As an added bonus I also make videos for new techniques. The techniques can also be found under the Technique Corner tab.
Make sure you find LISS on:
Facebook (#LISStamping, @LetItSnowStamping),
Instagram (@LetItSnowStamping),
