Happy Monday Morning!
I am so happy to be back sharing my projects with you! It was a rough week last week. With the housing market coming almost to a stand still, I was laid off from my job. But, as many of you mentioned, when one door closes many others open up. I am so glad to have you all here to help me see the good in the world! That is what sharing does, it brings people together.
The stamp set I am sharing this week will be my inspiration for the days to come. The LISS Magic Spin Wheel chose well for this week!
Beautifully Happy Sale-A-Bration Set
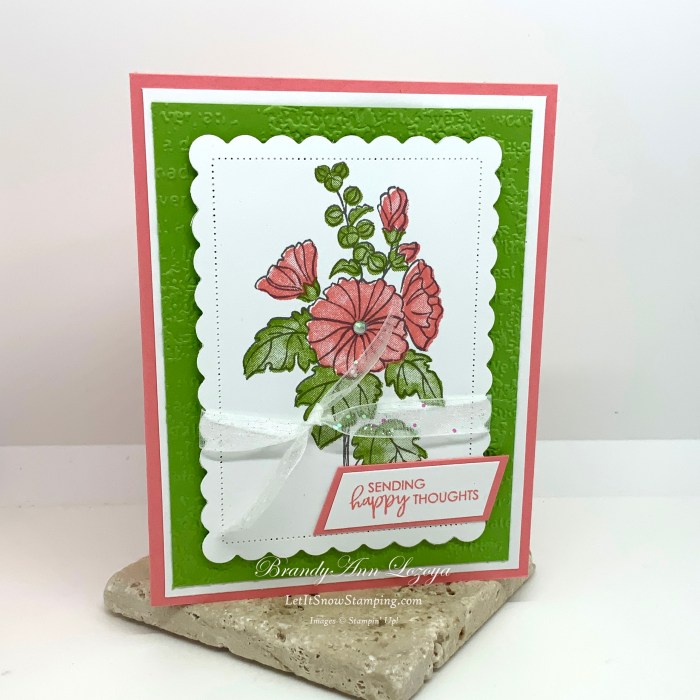
Don’t you just love the bright colors on this Beautifully Happy card? It makes me feel beautifully happy and I am sure your recipient will feel the same way when they open their mail. This set can be yours FREE with a $100 purchase (before tax and shipping)! So, let’s not waste time and let’s get to creating!
Supplies:
- Card Base – Flirty Flamingo
- 8-1/2″ x 5-1/2″, folded at 4-1/4″
- Card Front
- Basic White (2), 4″ x 5-1/4″
- Granny Apple Green, 3-3/4″ x 5″
- Inside Mat
- Basic White, 4″ x 5-1/4″
- Scraps for Sentiment
- Flirty Flaming, 3/4″ wide
- Basic White, 5/8″ wide
- Stamp Pads
- Basic Gray
- Flirty Flamingo
- Granny Apple Green
- Embellishment
- White Glittered Organdy Ribbon (Item #156408)
- Iridescent Rhinestones Basic Jewels (Item #158130)
- Tools
- Stamparatus (Item #146276)
- Scalloped Contours Dies (Item #155560)
- Timeworn Type 3D Embossing Folder (Item #156505)
- Stampin’ Dimensionals (Item #104430)
Let’s make this!
First we want to fold the card base in half and burnish it with a bone folder for a nice crisp crease. If you don’t have a bone folder, your finger nail or your stamping block will work as well.


Next, emboss your Granny Apple Green card front piece with the Timeworn Type embossing folder, or whatever you have on hand. Then, adhere it to the card base. I used my tape runner.


Now, let’s stamp! I used my Stamparatus so I could line things up better, not that it is perfect, nor should it be! Use Basic Gray for the base flower image, Granny Apple Green for the leaves, and Flirty Flamingo for the flowers.


The wonderful thing about the Stamparatus is that I have four surfaces to cling stamps to (the front and back of each plate). If you have not used a Stamparatus before, click on the VIDEOS menu above and view the HOW TO… page to watch a video on the Stamparatus.
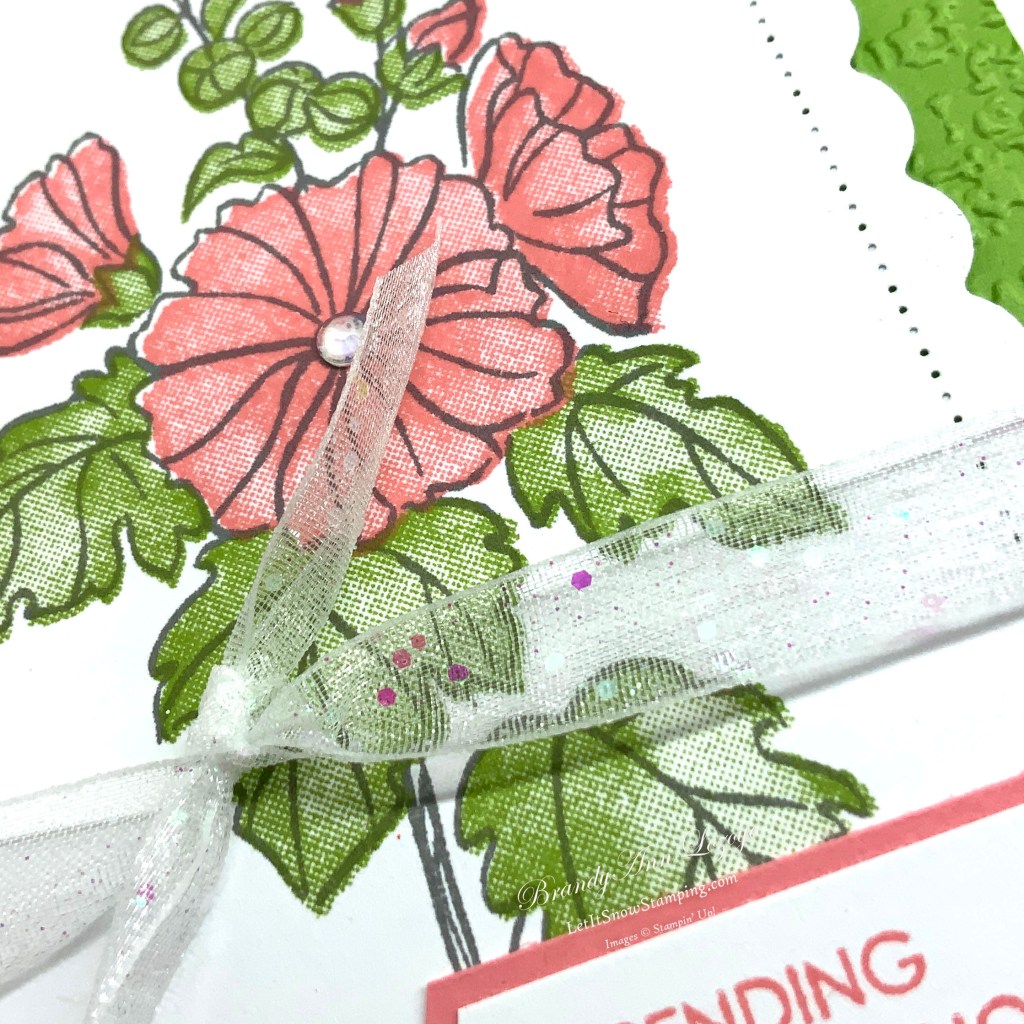
Next, die cut the image using the 2nd largest frame from the Scalloped Contours Dies set. Then, cut a length of ribbon to wrap around the die cut image and make a shoelace knot. Trim the ribbon’s edges at an angle.


Using Stampin’ Dimensionals, adhere die cut image to the card front.


For the sentiment I used scraps of Flirty Flamingo and Basic White. Using Flirty Flamingo ink, stamp the sentiment onto the 5/8″ Basic White Scrap. Trim the edges at an angle, adhere to the 3/4″ Flirty Flamingo scrap, and trim edges to match the long sides in width.


Using a tape runner, adhere the sentiment to the card front.

Add rhinestone to the middle of the large flower.


Lastly, adhere the inside card mat to the inside of the card and stamp with a flower in Flirty Flamingo.


Up close & personal


I hope you enjoyed today’s Beautifully Happy card!
Have a Stamptastic Day!
~BrandyAnn
Subscribe to LISS today!
Make sure to subscribe to Let It Snow Stamping so you never miss another blog post. Every week I pick a stamp set and make one project every weekday. As an added bonus I also make videos for new techniques. The techniques can also be found under the Technique Corner tab. Enter Email Below to Subscribe!
When ordering use my name and the January 2023 host code for extra benefits
BrandyAnn Lozoya
EVWWHJNT
Make sure you find LISS on:
Facebook (#LISStamping, @LetItSnowStamping),
Instagram (@LetItSnowStamping),
YouTube (@LetItSnowStamping)

One thought on “Beautifully Happy – Project 1”