Happy Wednesday!
Today you will actually get two posts as I try to catch up after my computer issues. I had to break down and call in the tech support hubby!
This was originally supposed to be Tuesday’s post/project. I struggled with it (on top of the computer issues) and it did not come out as I had envisioned. I must not like the color scheme I chose, even though in my head it looked a lot better.
Before I get to the card, how to you choose your color pallet for a card? I try to keep the number of colors down to no more than 3 colors (not including neutrals). I have this little Happy Notebook where I keep a list of the color combos that go with a specific color. Here is the page for the colors that can be matched with Highland Heather. Most of the combos come from Pinterest.
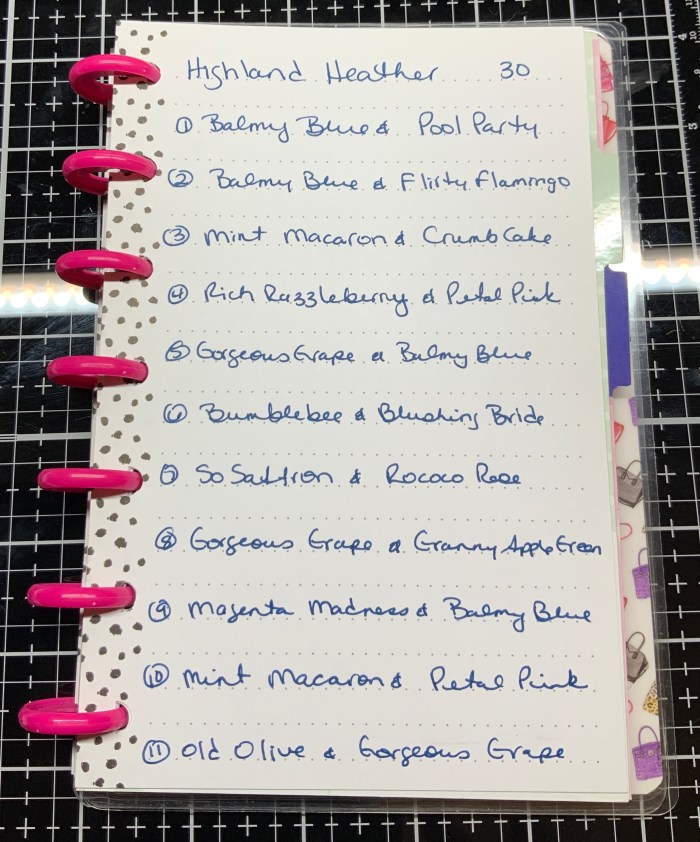
I grabbed my book to help me choose something that went with Highland Heather, because I haven’t used that color much. I decided to go with combo #5 on my list. Highland Heather, Gorgeous Grape, and Balmy Blue.
After playing around with my colors, I decided on a Gorgeous Grape card base (measuring 8-1/2″x5-1/2″, scored at 4-1/4″).
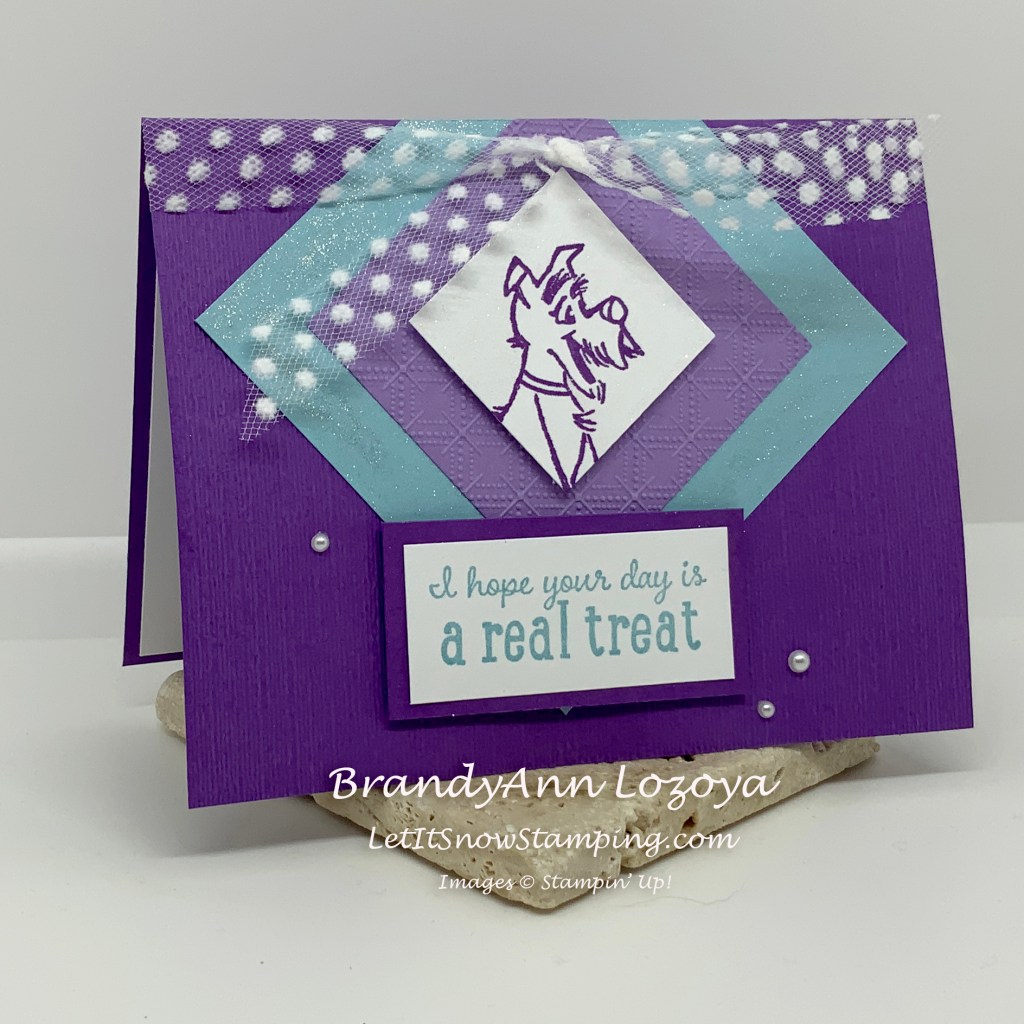
Next, I cut squares out of my Balmy Blue (3-1/2″x3-1/2″) and Highland Heather (2-1/2″x2-1/2″).

Then, I ran the pieces through the embossing machine. For the card base I used the Subtle 3D Embossing Folder (EF). For the Highland Heather square I used the Dainty Diamonds 3D EF. Ignore that I embossed the Balmy Blue square in the photo. I changed my mind about it after I took the photo!

Here is a quick look on how to embossing the front of your card base….
After you have scored and folded your card base, choose your embossing folder. I chose a full sized EF.

Line up your fold to the edge line of the EF’s image line. I tried to take a picture so you could see, but it did not come out. The end of the EF image is not always at the edge of the folder. On this folder, there is about a 1/16″ gap between the end of the image and the edge of the folder. I don’t want that gap to be visible on the front of my card. I am picky and don’t want the embossed image to be seen on the back side of my card base either.

Carefully fold the folder closed and run it through your embossing machine EF fold side first.

Now, back to the actual card…
Layer the two squares and glue together.

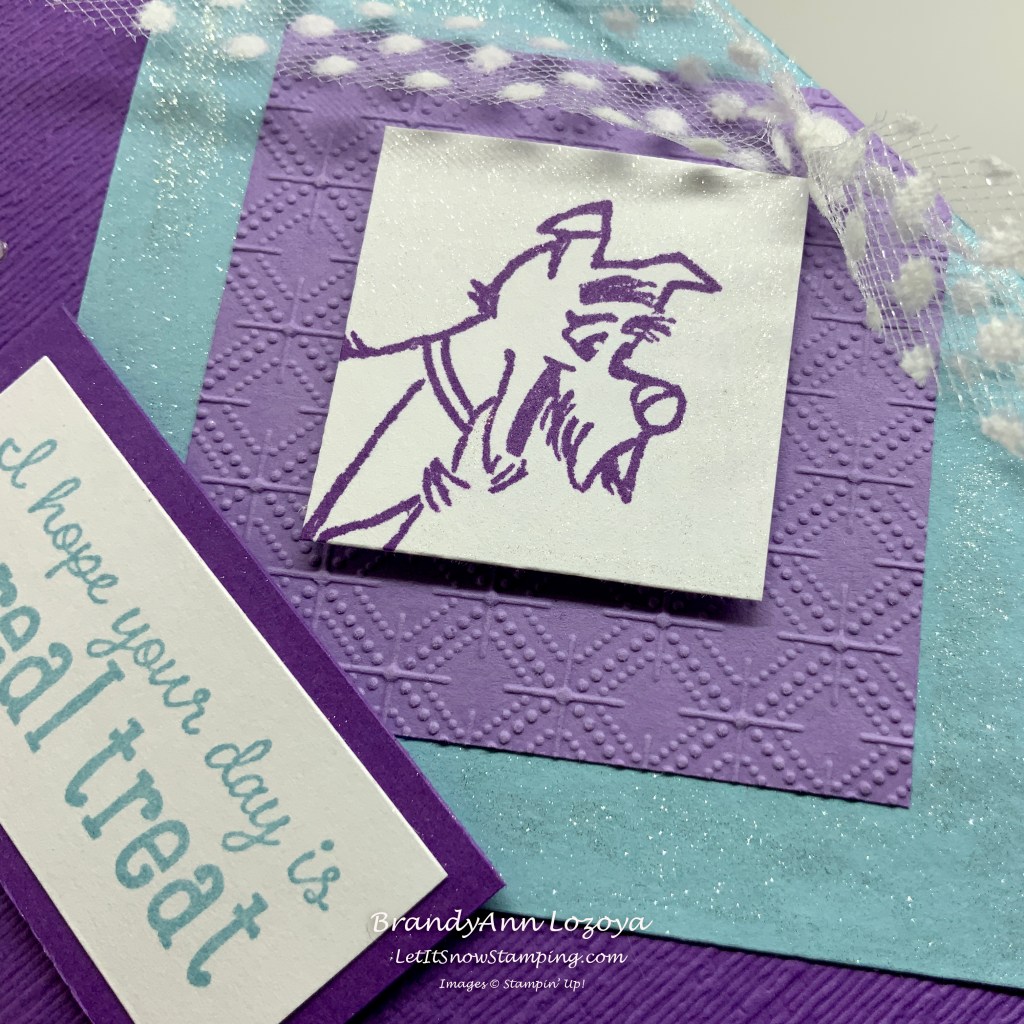
Next, on a 1-1/2″x1-1/2″ square of Basic White, I stamped my pup image using Gorgeous Grape then glued it to the other two squares.
Then, place your stacked squares on the card base where you want them and glue them down.

Trim off the portion that is hanging off the side of the card with scissors.

Next, I cut a ribbon about 18″ long to tie to the top of the card.

Here is an image of what the inside of the card looks like after I tie the ribbon to it.

I measured my sentiment and cut the Basic White cardstock to size and stamped the sentiment in Balmy Blue. Then I cut a scrap piece of Gorgeous Grape to 1/4″ bigger than then sentiment. Now my frame is 1/8″ on all sides. Sorry for the math. I believe my sentiment box is 2-1/4″x1″ and I cut the mat to 2-1/2″x1-1/4″. Is that better? Not so Mathy!
Next I mounted it to the card using dimensionals. I also added some Wink of Stella to the sentiment mat.

Instead of using the embossed Balmy Blue square, I decided to use plain cardstock and added Wink of Stella to make it glittery. I also added Wink of Stella on the white square around the pup.
Wheww! That felt like a long post with a lot of photos for technique. I hope this helped you! In order to prep the next blog post for Project 3, I am not going to list all of the materials used with picture links. I hope you will forgive me!
I hope you enjoyed today’s project. Make sure to subscribe to Let It Snow Stamping so you never miss another blog post. Every week I pick a stamp set and make one project (possibly two) every weekday. As an added bonus I also make videos for new techniques. The techniques can also be found under the Technique Corner tab.
Make sure you find LISS on:
Facebook (#LISStamping, @LetItSnowStamping),
Instagram (@LetItSnowStamping),
When ordering use my name and the April 2021 host code for extra benefits
BrandyAnn Lozoya
DFWNJWQF
Supplies
- Pampered Pets Bundle
- Gorgeous Grape Card Stock
- Balmy Blue Cardstock
- Basic White Cardstock
- Gorgeous Grape Ink
- Balmy Blue Ink
- Wink of Stella
- Pearl Basic Jewels
- Polka Dot Tulle Ribbon
- Dainty Diamonds 3D Embossing Folder
- Subtle 3D Embossing Folder
- Stampin’ Dimensionals

2 thoughts on “Pampered Pets Week – Project 2”